
Last updated October 9, 2026
Free in-home measure and quote - PGT, CGI and CWS impact lines compared on your actual openings, style by style
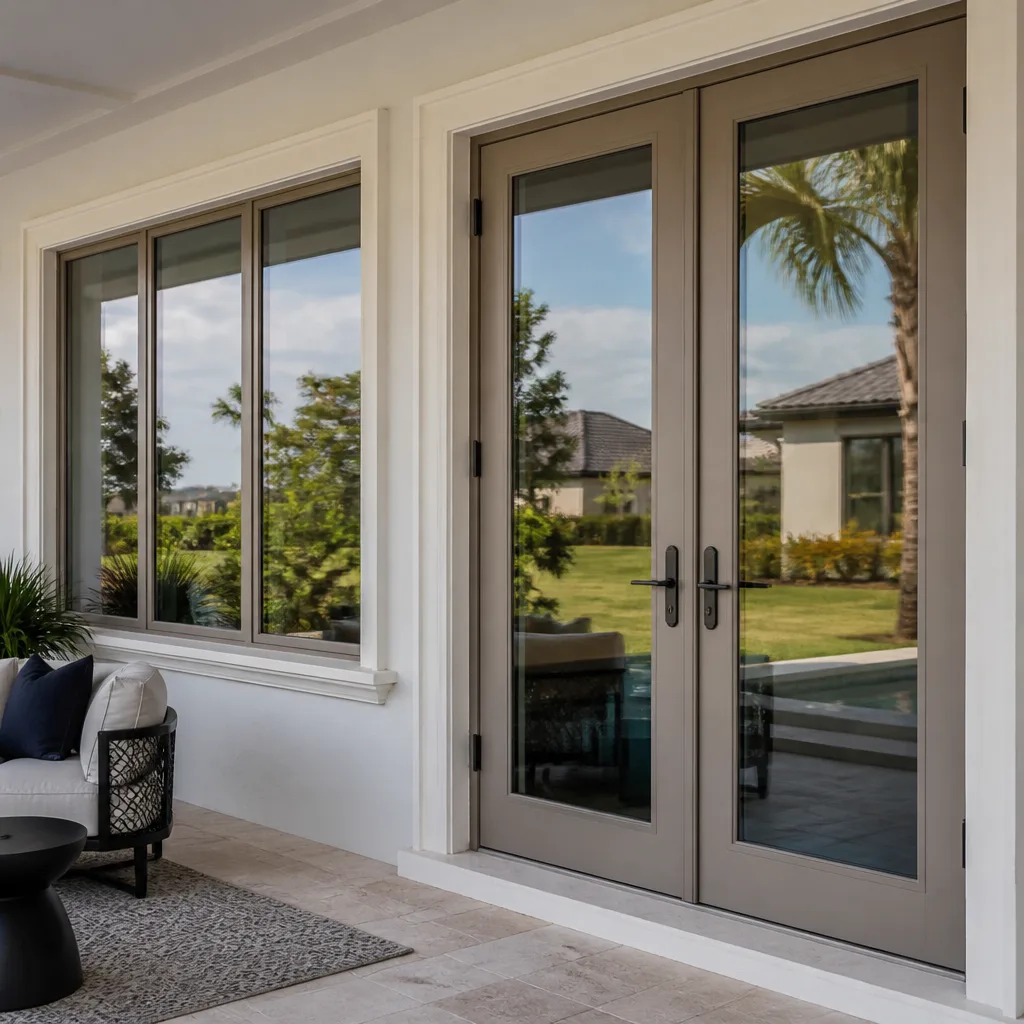

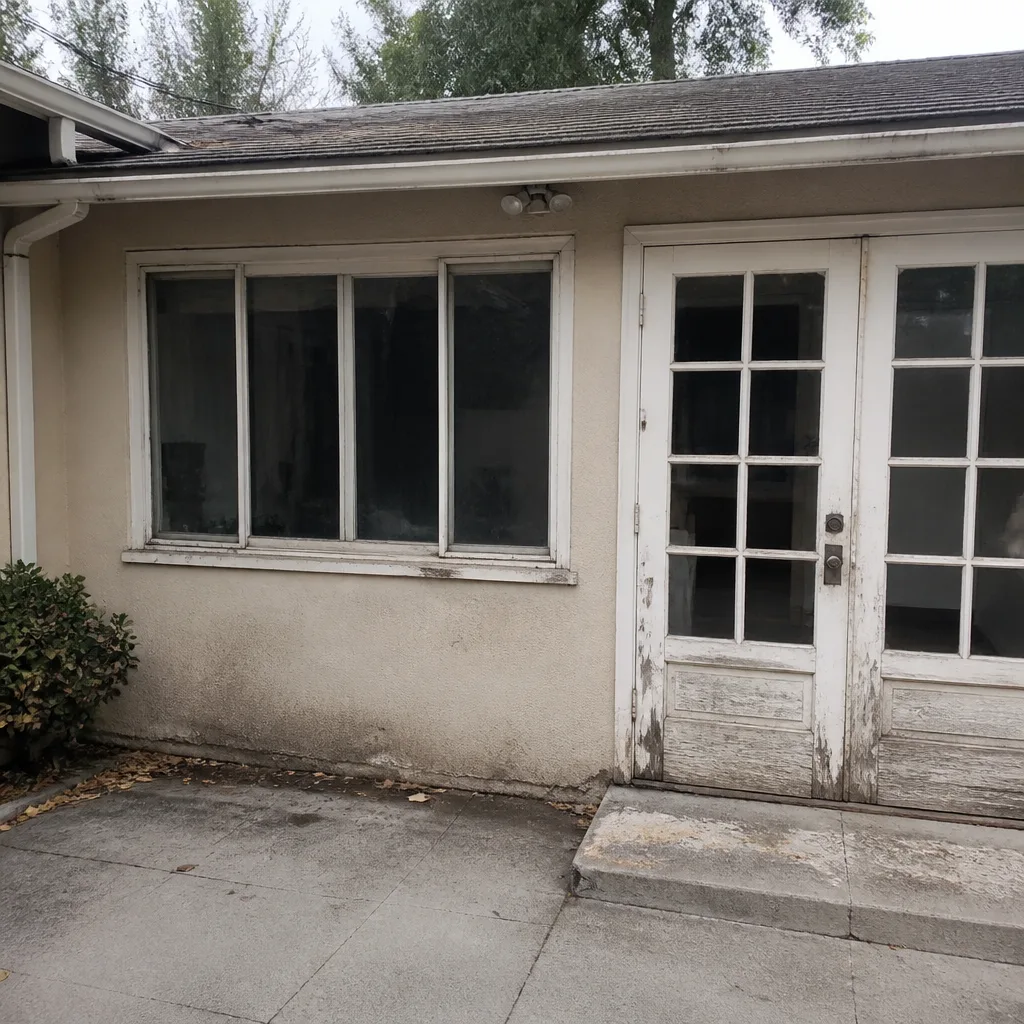 Before
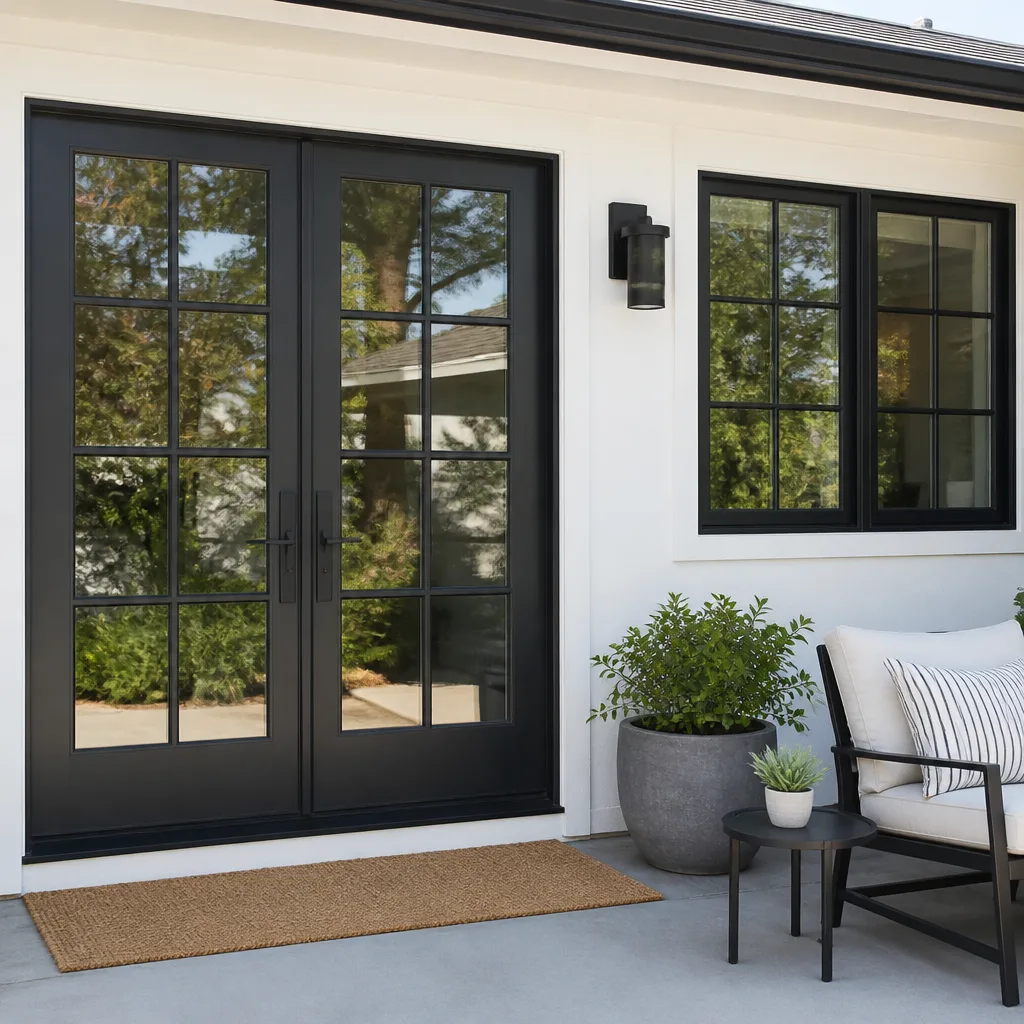 After
After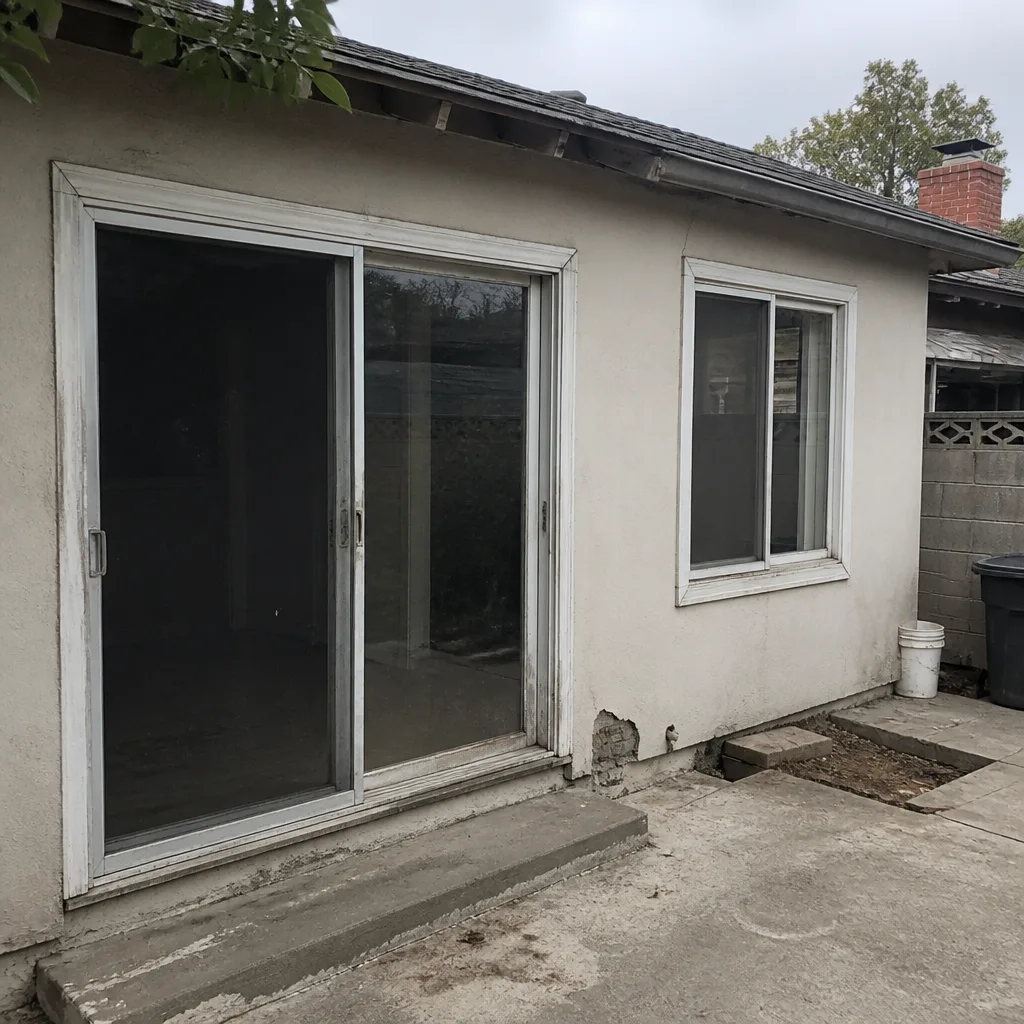 Before
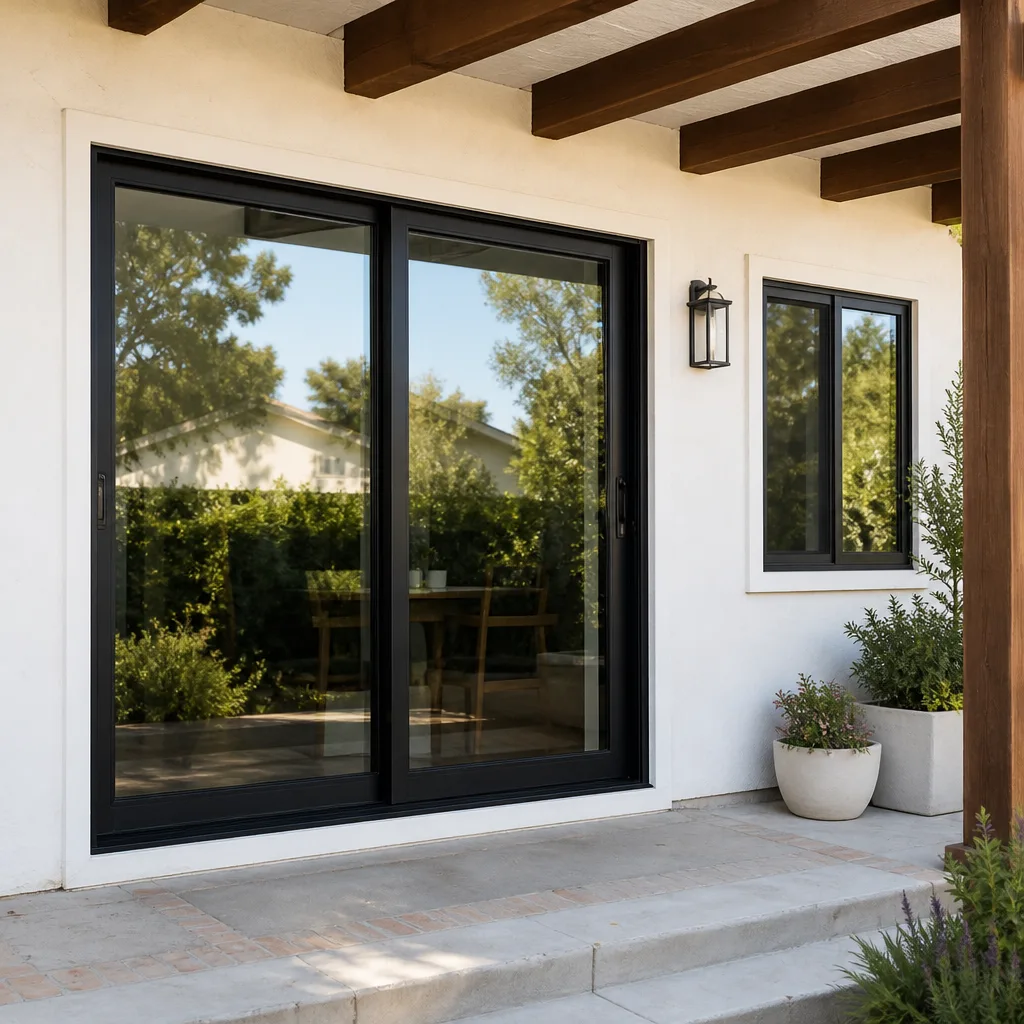 After
After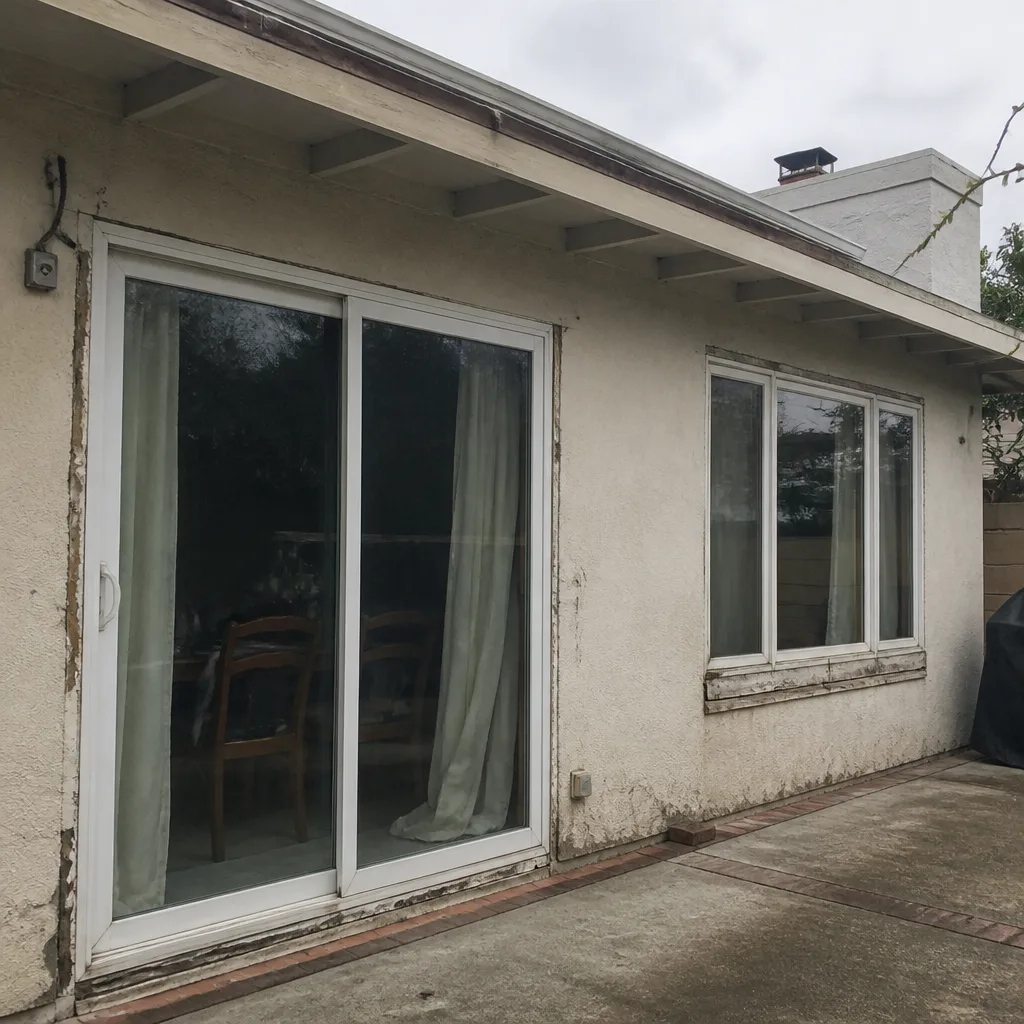 Before
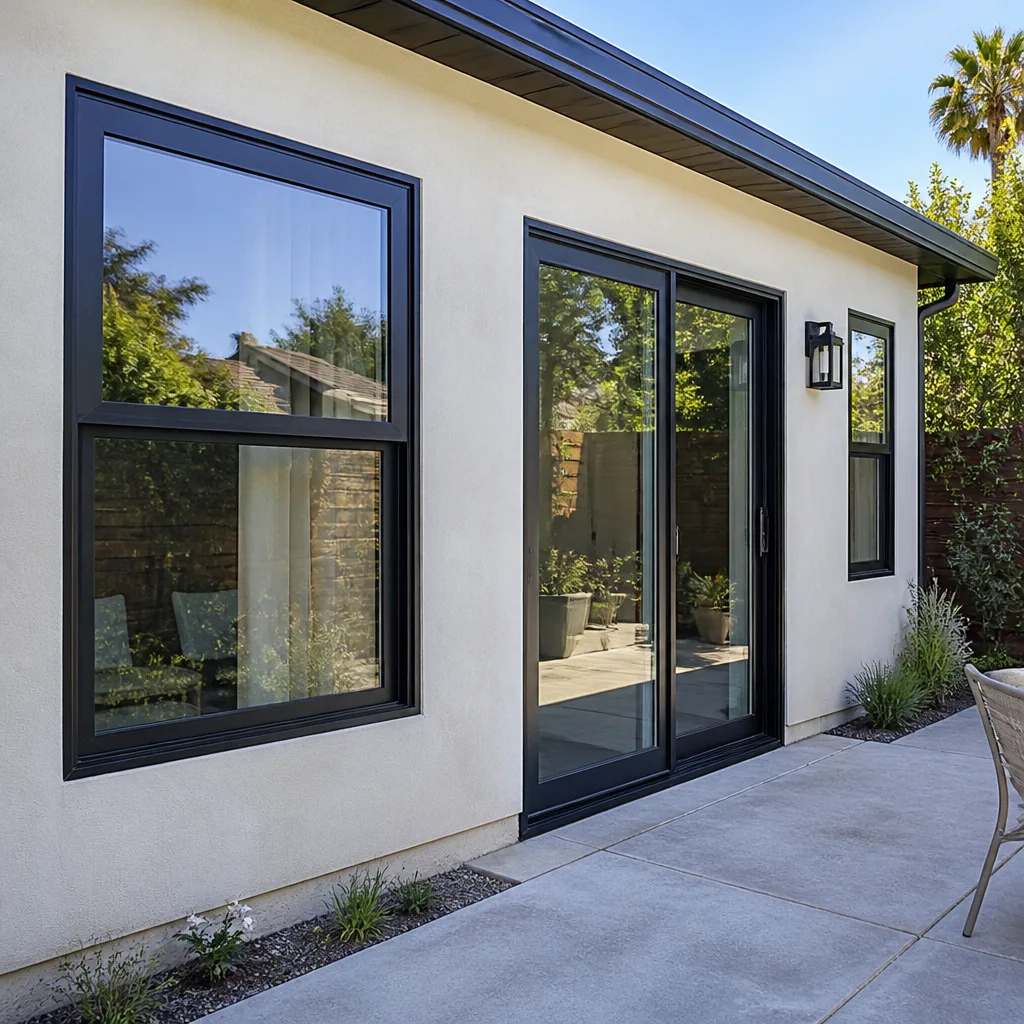 After
AfterWindows & Doors Warning Signs: A Los Angeles Homeowner’s Reference Guide
Most Los Angeles homeowners don’t replace a window because it suddenly fails. They replace it because they ignored three quieter warnings that came first. A draft you shrugged off last winter, fog you wiped away for a season, a lock that felt “fine enough” – each one is a signal, and the sequence matters. Here’s the part that costs real money: a door that starts sticking after a week of LA rain isn’t swelling from humidity. It’s almost always a framing or foundation shift, and waiting one more season can leave the frame too far out of square to hold a new slab at all. This guide to windows & doors in Los Angeles walks you through the failure sequence every window and door follows, how to spot stage one before it becomes stage three, and what each signal actually means for your repair budget.
Quick Answer
Windows and doors in Los Angeles fail in a predictable order: draft first, then fog between panes, then sticking or sagging, then visible rot or frame damage. Catching a stage-one draft typically means a $150 to $400 repair like weatherstripping or caulking. Missing it until stage three routinely turns into a $1,800 to $4,000+ full replacement. The single best early-warning tool you own is a lit incense stick on a breezy afternoon – it maps exactly where air is moving through a frame, jamb, or threshold before you spend a dollar on repairs.
Table of Contents
- The Draft-Fog-Stick-Damage Sequence: Why Stage One Is a $400 Problem and Stage Three Is a $4,000 One
- #1: Fog Between the Panes – Reading IGU Seal Failure at Every Stage
- #2: Draft Mapping – How to Use an Incense Stick to Find the Exact Failure Point
- #3: Doors That Stick, Bind, or Rub – LA Hillside Movement and Post-Northridge Framing Fatigue
- #4: The Hardware Failure Sequence – When a Loose Lock Becomes a Security Problem
- #5: Exterior Sealant Cracking – Cosmetic Crazing vs. Active Water Infiltration
- #6: Los Angeles Climate Factors – Sun, Smog, and Salt Air That Accelerate Failure
- #7: Repair vs. Replace – A Straightforward Decision Framework
The Draft-Fog-Stick-Damage Sequence: Why Stage One Is a $400 Problem and Stage Three Is a $4,000 One
Every window and door assembly fails the same way, in the same order. The materials change, the climate shifts the timeline, but the sequence is remarkably consistent. Here’s what we see across Los Angeles, from Santa Monica bungalows to Pasadena craftsman homes to Van Nuys ranches:
- Draft (stage one). A subtle air leak you feel on cold nights or notice as a bump in your utility bill. At this stage, the frame is still square, the glass is intact, and the fix is almost always weatherstripping, caulk, or a threshold adjustment. Typical repair: $150 to $400.
- Fog between panes (stage two). The insulated glass unit (IGU) seal has failed and moisture is now inside the sealed airspace. This is not a cleaning problem – it’s a structural failure in the glass assembly. Typical repair: $250 to $600 per IGU replacement, depending on size and glass type.
- Sticking, binding, or sagging (stage three). The frame or surrounding structure has moved enough that the panel no longer operates cleanly. On doors, this is where a worn hinge side or a shifted foundation becomes a real problem. Typical repair: $700 to $1,800, sometimes requiring frame realignment or partial reframing.
- Visible damage (stage four). Rot, warping, cracked glazing, failed locks, or daylight visible through the frame. At this point, partial fixes are often throwing money at a frame that’s no longer structurally sound. Typical replacement: $1,800 to $4,000+ per opening, depending on product line and glass specs.
The gap between stage one and stage three is usually 18 to 36 months in Los Angeles. That’s your window – literally – to fix a $400 problem before it becomes a $4,000 one. The rest of this guide covers exactly how to identify each stage, and when to stop diagnosing and call a professional.
#1: Fog Between the Panes – Reading IGU Seal Failure at Every Stage
Fog between the panes of a double-pane or triple-pane window is not condensation on the room side of the glass. It’s moisture trapped inside the sealed airspace, and it means the insulated glass unit (IGU) seal has failed. Once that seal breaks, the argon or krypton gas between the panes escapes, ordinary air moves in, and the window’s insulating performance drops by 40 to 60 percent, depending on the original gas fill.
Stage-by-stage IGU failure signals
- Early: intermittent haze. You notice a light fog on the inside airspace on cool mornings that clears by midday. This is moisture entering and evaporating with temperature swings. The seal is compromised but not fully open. Repair cost if caught here: IGU replacement only, no frame work.
- Middle: persistent fog that won’t wipe off. You’ve tried cleaning both sides of the glass and the haze is still there. The seal has fully failed and the airspace is now equalizing with outdoor air. This is the stage most Los Angeles homeowners call about, and it’s a straightforward IGU swap in most cases.
- Late: mineral deposits and permanent clouding. Water has been cycling through the airspace for months, leaving calcium and mineral staining on the interior glass surfaces. At this stage, the glass often cannot be salvaged even if you dismantle the unit. Full IGU replacement is the only fix, and on older frames, it may make more sense to replace the entire window.
One thing competitors rarely mention: the window itself isn’t always the root cause. Homes with strong negative indoor air pressure – common in Los Angeles homes with powerful range hoods, whole-house fans, or unbalanced HVAC returns – can accelerate IGU seal failure. The constant inward pull on the glass stresses the perimeter seal and shortens its life. If you’re replacing IGUs every few years in the same wall, have an HVAC tech check your pressure balance before you blame the window.
On the product side, this is exactly why we stock impact-rated lines from PGT and CGI alongside higher-end options like ViewLux. The seal quality and gas retention vary significantly between entry-level and premium IGUs, and in Los Angeles’s sun load, that difference shows up in as little as five to seven years.
#2: Draft Mapping – How to Use an Incense Stick to Find the Exact Failure Point
Feeling a draft tells you a window or door is leaking. It doesn’t tell you where, and that matters because the fix differs by location. A leak through the weatherstrip is a $40 DIY repair. A leak through the frame-to-wall seam means the install itself is failing and requires professional re-flashing or reframing. Here’s how to map the leak precisely:
The incense stick draft-mapping method
- Pick a windy day. Los Angeles gets predictable afternoon winds through the passes and the coastal zones. A 10 to 20 mph day is ideal – strong enough to move smoke, not so strong that it overwhelms the signal.
- Close all windows and doors, and turn on exhaust ventilation. Run your kitchen hood, bathroom fans, or whole-house fan to create negative indoor pressure. This amplifies any leak path and makes it much easier to spot.
- Light an incense stick (or a thin taper candle) and hold it still, two inches from the frame perimeter. Move slowly along each edge – the jamb, the header, and the sill or threshold. Watch the smoke, not the flame. Smoke will deflect indoors wherever air is moving through the assembly.
- Mark every deflection point with a small piece of painter’s tape. When you’re done, the tape pattern tells you the failure type. See the list below.
Reading the tape pattern
- Deflection along the sashes or the door edge where the weatherstrip sits: worn or compressed weatherstripping. Easy fix – replace the gasket or add a thicker profile.
- Deflection at the bottom corners of a door: threshold sweep or threshold seal failure. Common in LA homes with original wood thresholds that have been painted over too many times to seal properly.
- Deflection along the seam where the frame meets the wall or stucco: failed install sealant. This is the stage-one signal for a much bigger problem – air and water are moving through the building envelope, not just around the weatherstrip. Call a professional for re-flashing, not caulk.
- Deflection across the glass surface itself: the IGU seal has failed (see section #1) or the pane is cracked and air is passing through the glass assembly. Replace the IGU or the window.
We use a version of this method on every window diagnostic we run in Los Angeles. It costs less than $2 in incense and saves an average of $300 to $600 in misdiagnosed repairs. The draft is the smoke signal; read it before you spend on a fix.
#3: Doors That Stick, Bind, or Rub – LA Hillside Movement and Post-Northridge Framing Fatigue
Here’s the counterintuitive part most guides miss: in Los Angeles, a door that “sticks after rain” is rarely about humidity. LA’s climate is not consistently humid enough to swell a properly sealed door slab by more than a millimeter or two. When a door starts binding along the hinge side or the top corner after a wet week, we’re almost always looking at structural movement – the frame, the subfloor, or the ground under the house.
Two LA-specific causes we see repeatedly
- Hillside lot movement. Homes on the east side of the Hollywood Hills, the slopes above Echo Park, Mount Washington, and parts of Studio City sit on expansive soils or cut-and-fill lots. After a wet season, the fill compacts or the slope creeps, and the door opening twists with it. The door binding isn’t a door problem – it’s a building-movement problem showing up at the most rigid opening in the house.
- Post-Northridge framing fatigue. Homes built before 1994 that went through the Northridge earthquake often carry subtle, progressive racking in the framing. The walls never fully returned to plumb, and over decades, that strain concentrates at the door and window openings. A door that binds in the same corner every summer, year after year, is frequently tracing back to this.
Diagnosing hinge-side binding vs. slab swelling
- Remove the door from the hinges (two people, lift carefully, keep the pin removal order consistent).
- Measure the slab diagonally from corner to corner, both directions. If the measurements differ by more than 1/8 inch, the slab itself has warped or swollen.
- Measure the rough opening diagonally, both directions. If the opening is out of square by more than 1/4 inch, the frame has moved. This is structural, not a door problem.
- Re-hang the door and watch the reveal – the gap between the door edge and the jamb. A uniform reveal with a bind point at one top corner is classic racking. A wedge-shaped reveal is a sagging hinge or worn hinge screws.
What it costs if you catch it now: re-hanging a solid-core entry door on new hinges with reinforced screw holes typically runs $350 to $800 in Los Angeles, door size and frame condition depending. What it costs if you wait until the frame is out of square by 1/2 inch or more: you’re looking at reframing the opening, which is $1,500 to $3,000 before you even buy the new door. The door is never the expensive part of a door project. The frame and the opening are.
This is where the product matters less than the install. A Therma-Tru fiberglass entry system is built to hold its geometry better than wood through these movements, but every door – regardless of brand – will bind when the framing behind it shifts. Address the opening before you shop the slab.
#4: The Hardware Failure Sequence – When a Loose Lock Becomes a Security Problem
Hardware talks before it fails, and the conversation follows a predictable script. Ignoring the early lines is how a $18 strike plate adjustment becomes a $500 lock replacement – or worse, a security exposure you don’t know about until someone tests it.
The sequence we see on Los Angeles doors
- The deadbolt throws harder than it used to. You feel resistance in the last quarter-inch of the throw. The lock is not worn out – the strike plate is misaligned because the frame has shifted or the hinges have sagged. This is the first and easiest correction point.
- The latch “rattles” or feels loose when locked. The door can be pulled 1/8 to 1/4 inch away from the frame while locked. The strike plate has too much play, or the screws holding it are pulling out of the jamb. A locked door with this much movement can often be defeated with a simple pry or a firm shoulder.
- The deadbolt no longer fully throws. You turn the key and the bolt goes 80 percent of the way, then stops. The misalignment has progressed to the point where the bolt is catching on the strike plate edge. At this point, most people start applying force – which bends the bolt, strips the cylinder, or cracks the jamb.
- The lock feels “loose” even when you’re not using it. The entire mechanism is wiggling in the bore hole. This is end-stage: worn internal components, a compromised strike, and a jamb that’s lost integrity. This is a security vulnerability, not a minor annoyance.
A misaligned strike plate is the best early-warning signal a door gives you. The fix at stage one is often just longer screws driven into the rough frame behind the jamb, plus a minor plate reposition. In Los Angeles, that’s a $75 to $200 service call. The fix at stage four routinely involves a new lockset, a reinforced strike, and sometimes a new jamb section – $400 to $900, plus the uncomfortable fact that your door wasn’t actually securing your house for the months you ignored it.
If you’re going to replace the hardware anyway, secure it into the rough framing with 3-inch screws. A deadbolt is only as strong as the wood holding the strike plate.
#5: Exterior Sealant Cracking – Cosmetic Crazing vs. Active Water Infiltration
Sealant cracks on the exterior of a window or door frame range from completely cosmetic to actively channeling water into your wall. Telling them apart is simpler than most people assume, but it requires actually looking at the crack pattern instead of just noticing it exists.
Cosmetic crazing: surface-level, hairline, parallel
Cosmetic crazing is what happens to old caulk that’s lost its elasticity. The cracks are extremely thin – often almost invisible from more than 10 feet away – and they run parallel to the frame edge, like fine lines across the top of the sealant bead. They don’t penetrate deeply, and they don’t connect the outside air to the frame interior. Cosmetic crazing is a maintenance concern, not an emergency. You can address it with a fresh sealant bead on your next scheduled repaint.
Active infiltration paths: gaps, fissures, or a break in the sealant’s “watershed line”
A sealant failure that’s actively moving water shows one of these three patterns:
- A gap you can slide a playing card into. Not a crack – an actual separation between the sealant and the frame or the stucco. This is a straight air-and-water path.
- A fissure that runs perpendicular to the frame edge, cutting across the bead from the exterior surface down to the gap behind it. This breaches the watershed line and allows water to track inward.
- Cracks through the sealant at the bottom corners of window openings. Water pools at the lowest point of the sill by gravity. If the sealant fails at the bottom corners, you’ll see staining, efflorescence, or soft drywall inside the wall below the window.
- Pick a dry day with no rain in the forecast. You want a clean baseline.
- Remove any interior trim or access panel that lets you see the framing around the window. If you can’t, feel the drywall around the opening for cool spots or softness after the test.
- Run a garden hose at a gentle, rain-like volume along the top edge of the window, then the sides, then the sill. Hold it for two minutes per edge. You’re simulating water hitting the frame the way Los Angeles rain does – at an angle, wind-driven.
- Check the interior immediately after each edge. Moisture appearing inside during or immediately after the hose test is active water infiltration, not a cosmetic concern. Stop testing and call for repair before the wall cavity develops mold.
- The frame is square, undamaged, and the opening is structurally sound.
- The problem is isolated to weatherstripping, sealant, hardware, or a single IGU.
- The window or door is less than 15 years old and the product line is still in production.
- You’re at stage one or stage two in the failure sequence.
- Total repair cost is under 30 percent of the replacement cost for the same opening.
- The frame shows visible rot, warp, or movement (stage three or four).
- Multiple IGUs in the same wall have failed, suggesting a systemic problem with the original install or product.
- The existing windows leak air through the frame-to-wall seam, not through the weatherstripping.
- The door is out of square at the opening, not just at the slab.
- You’re paying for repairs on the same opening more than once every two years.
- Energy bills keep climbing and the windows are single-pane or early-generation double-pane without low-E coatings.
- Weatherstripping replacement on one window: $75 to $200 installed.
- Weatherstripping on one door: $100 to $300, hardware and threshold condition depending.
- Single IGU replacement (double-pane, low-E): $275 to $600 per unit, glass size and coating depending.
- Full window replacement (mid-range, low-E, double-pane): $950 to $1,800 per window installed, based on size and frame material.
- Full door replacement (entry, composite or fiberglass): $1,800 to $4,500 installed, slab, frame, hardware, and finishing depending.
The hose test: confirming active infiltration
In our experience in Los Angeles, the most common location for active sealant failure is the bottom corner of the frame where the stucco meets the window – especially on west-facing walls that take the brunt of afternoon sun and evening wind. The sealant dehydrates, cracks away from the stucco, and the next good rain starts working its way into the wall. If you find this, it’s a re-sealing and flashing repair, typically $400 to $900, not a caulk gun job.
#6: Los Angeles Climate Factors – Sun, Smog, and Salt Air That Accelerate Failure
Los Angeles is not one climate. It’s several microclimates, and each one attacks windows and doors differently. Here’s what we see across the region:
Inland sun load (San Fernando Valley, Glendale, Pasadena, Inland Empire)
West- and south-facing windows in these areas bake from March through October. Surface temperatures on dark-framed windows routinely pass 140°F in August. That heat cycle – expanding by day, contracting by night – is what kills sealant adhesion and IGU perimeter seals. Vinyl frames in these zones deteriorate noticeably faster than the same product on the coast. If you’re replacing windows in the Valley, prioritize low U-factor glass and UV-stable frames. The $500 you save on an entry-level window in Van Nuys often costs you $700 in early seal failure within eight years.
Coastal salt air (Santa Monica, Venice, Marina del Rey, Palos Verdes, Long Beach)
Salt corrosion attacks door hardware first – hinges, locks, rollers, and weatherstrip channels. A steel lock that lasts 15 years in Sherman Oaks may show pitting and stiffness in five years in Marina del Rey. Coastal homeowners should be using marine-grade or powder-coated hardware, and any replacement door should be specified with corrosion-resistant hinges and stainless steel screws. This is one of the reasons we stock Therma-Tru doors for coastal entries – their composite construction doesn’t react to salt the way steel or wood does.
Canyon fog and marine layer (Laurel Canyon, Beachwood Canyon, the coastal shelf)
Homes that sit in the marine layer or canyon fog belts see more exterior moisture than the rest of LA. The wood frame members behind your stucco are more consistently damp, and exterior sealant breaks down faster when it’s cycling between fog-wet mornings and dry afternoons. If your windows face up-canyon into the fog line, inspect the bottom corners at least twice a year – once after the rainy season, once before it starts.
None of these factors mean you should avoid one product or another. They mean you should match the product to the climate zone, and pay attention to the failure signals that show up first in your area.
#7: Repair vs. Replace – A Straightforward Decision Framework
This is the question every homeowner actually wants answered: do I fix what I have, or spend the money on new? Our Buyer’s Guide for Choosing the Right Windows & Doors Brand in Los Angeles covers product selection, but here’s the repair-versus-replace framework we use on our own estimates:
Repair makes sense when:
Replace makes sense when:
Here’s the honest pricing picture in Los Angeles, based on what we quote across the city:
These are honest ranges – not “call us for pricing” placeholders. Every project we quote in Los Angeles gets a written price before any work starts, and that number doesn’t change at the door. Our Juniper Windows & Doors home page shows exactly what that looks like.
Common Mistakes to Avoid
- Waiting until you can see fog, instead of acting on the draft that came first. The draft appears 12 to 24 months before visible IGU fog in most Los Angeles homes. Fixing the draft at stage one costs a fraction of a glass replacement at stage two.
- Assuming a sticking door is humidity when it’s actually structure. LA’s climate simply isn’t humid enough to swell a properly sealed door by more than a millimeter or two. If your door binds after rain, check the rough opening diagonals before you plane the slab.
- Ignoring a loose strike plate because “the lock still works.” A deadbolt that rattles in its strike is a door that can be pried in seconds. This is a $75 fix that many people defer into a $500 problem – or worse, a security event.
- Caulking over cracked sealant instead of removing and replacing it. Caulk doesn’t bond to failed caulk. And if the crack is an active water path, layering caulk over it just seals the water in the wall cavity. Pull the old bead, assess, then reseal.
- Replacing windows without addressing the negative pressure problem. If your kitchen hood or whole-house fan is pulling air through your window seals, new windows will fail early too. Fix the pressure balance or budget for shorter IGU life.
- Skipping the hose test because the crack “looks fine.” Cosmetic crazing and active infiltration look similar to an untrained eye. Two minutes with a garden hose tells you which one you have before you spend a dollar.
- Trying to replace a door into an out-of-square frame without reframing. A new slab in a racked frame will bind the same way the old one did – and you’ll have spent $2,000 to learn it. Measure the opening diagonals before you buy the door.
When to Call a Professional
Some signals are worth investigating yourself – draft mapping, a visual sealant check, watching for IGU fog. Others mean it’s time to stop diagnosing and make a call. Call a professional when: the draft map shows leakage through the frame-to-wall seam, not just the weatherstripping. When the hose test produces water inside the wall cavity. When a door reveals an out-of-square rough opening. When multiple IGUs in the same wall fail within a couple of years. When a lock has progressed past the “rattles while locked” stage. And when you’re tired of patch fixes and want a real evaluation of whether to repair or replace. Window Replacement in Los Angeles is the most common path once stage three signals appear, but a full diagnostic first often saves you from replacing something that can be repaired. Juniper Windows & Doors offers free estimates in Los Angeles – call (682) 281-2168 and we’ll go through the failure sequence with you, point by point.
Frequently Asked Questions
Most drafty windows in Los Angeles cost between $75 and $400 to fix, depending on whether the problem is weatherstripping ($75 to $200), a threshold adjustment ($100 to $250), or a failed seal between the window frame and the wall ($400 to $900 for professional re-flashing and resealing). The draft-mapping method we describe above tells you which of these you have before you pay for the repair. Call (682) 281-2168 for an exact quote – estimates are free, and you’ll get a written number before anything starts.
Rain in Los Angeles doesn’t cause door slab swelling the way it does in humid climates like Florida or New Orleans. If your door sticks after a wet week – particularly along the hinge side or the top corner – it’s almost always frame or foundation movement from soil expansion on a hillside lot or post-earthquake framing fatigue. Measure the rough opening diagonals to confirm, then call a professional before the frame moves too far out of square to hold a new slab.
Foggy double-pane windows require replacing the insulated glass unit (IGU) – the sealed glass assembly inside the frame. You cannot “clean” the fog away; it’s trapped between the panes and the seal has failed. IGU replacement in Los Angeles typically runs $275 to $600 per unit. If the frame itself is still square and undamaged, you don’t need a full window replacement – just the glass. We’ll inspect the existing frame before recommending either path.
Look at the crack pattern. Hairline cracks running parallel to the frame edge are usually cosmetic crazing – treat them during your next scheduled repaint. A crack perpendicular to the frame edge, a gap wide enough to slide a playing card into, or cracking at the bottom corners of the sill is a potential water infiltration path. Confirmed it with the hose test: run water along the top and sides for two minutes per edge and check the inside. Moisture appearing inside means the sealant failure is active, and the repair becomes urgent.
Expect 15 to 25 years from a mid-range or premium double-pane window in Los Angeles, with significant variation by climate zone. Inland sun load (the Valley, Glendale, Pasadena) shortens sealant life and IGU seal life on west- and south-facing walls – often 5 to 8 years earlier than the same product installed in Santa Monica or Brentwood. Coastal salt air attacks door hardware and weatherstripping instead. Match the product to the zone, and inspect according to the early-warning signals in this guide.
Repair is worth it when total repair cost is under 30 percent of the replacement cost for the same opening, the frame is square and undamaged, and the product is still in good structural condition. Replacement is worth it when multiple IGUs have failed in the same wall, the frame is racked, the frame-to-wall seal is compromised, or you’re repairing the same opening more than once every couple of years. We’ll give you an honest recommendation either way – our pricing is written up front whether it’s a $200 repair or a $3,000 replacement.
The Bottom Line
Windows and doors in Los Angeles don’t fail all at once. They signal – draft, then fog, then sticking, then damage – and each signal has a price tag attached. Read the signals early and you’re spending hundreds on weatherstripping, a hinge adjustment, or a sealant bead. Ignore them and you’re spending thousands on reframing a door opening or replacing a wall of failed IGUs. The tools are simple: an incense stick, a measuring tape, a garden hose, and an afternoon. Use them once a year, especially before the rainy season and after it, and you’ll catch stage-one problems before they become stage-four invoices. When you’re ready for a professional evaluation, Window Installation in Los Angeles and Door Replacement in Los Angeles both start the same way – a free estimate, a written price, and a conversation about what your windows and doors are trying to tell you.
Call Juniper Windows & Doors at (682) 281-2168 to schedule your free estimate. We’ll walk through the failure sequence with you, point by point, and give you a written number before anything starts.
Written by Sean Mackey, Owner at Juniper Windows & Doors, serving Los Angeles since 2001. Browse more guides & resources on windows, doors, and home performance.