
Last updated October 9, 2026
Free in-home measure and quote - PGT, CGI and CWS impact lines compared on your actual openings, style by style
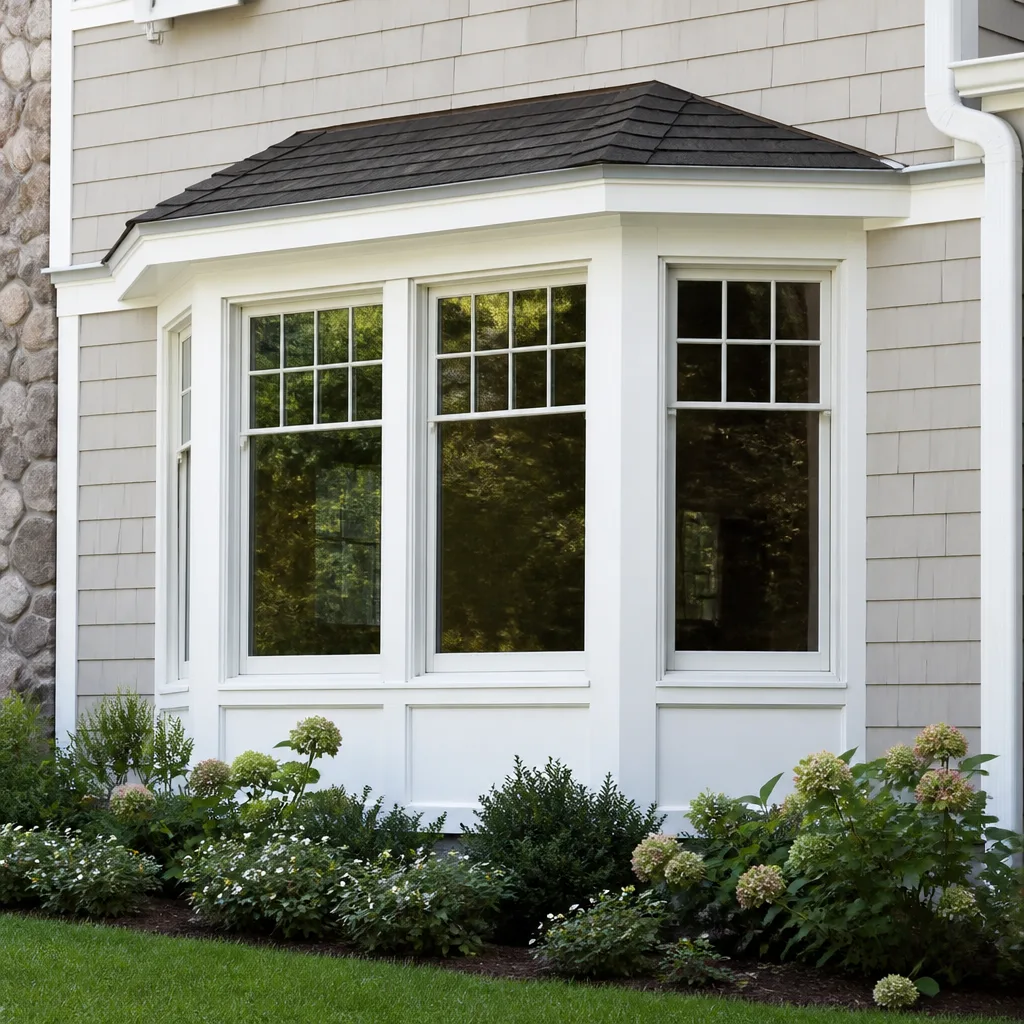
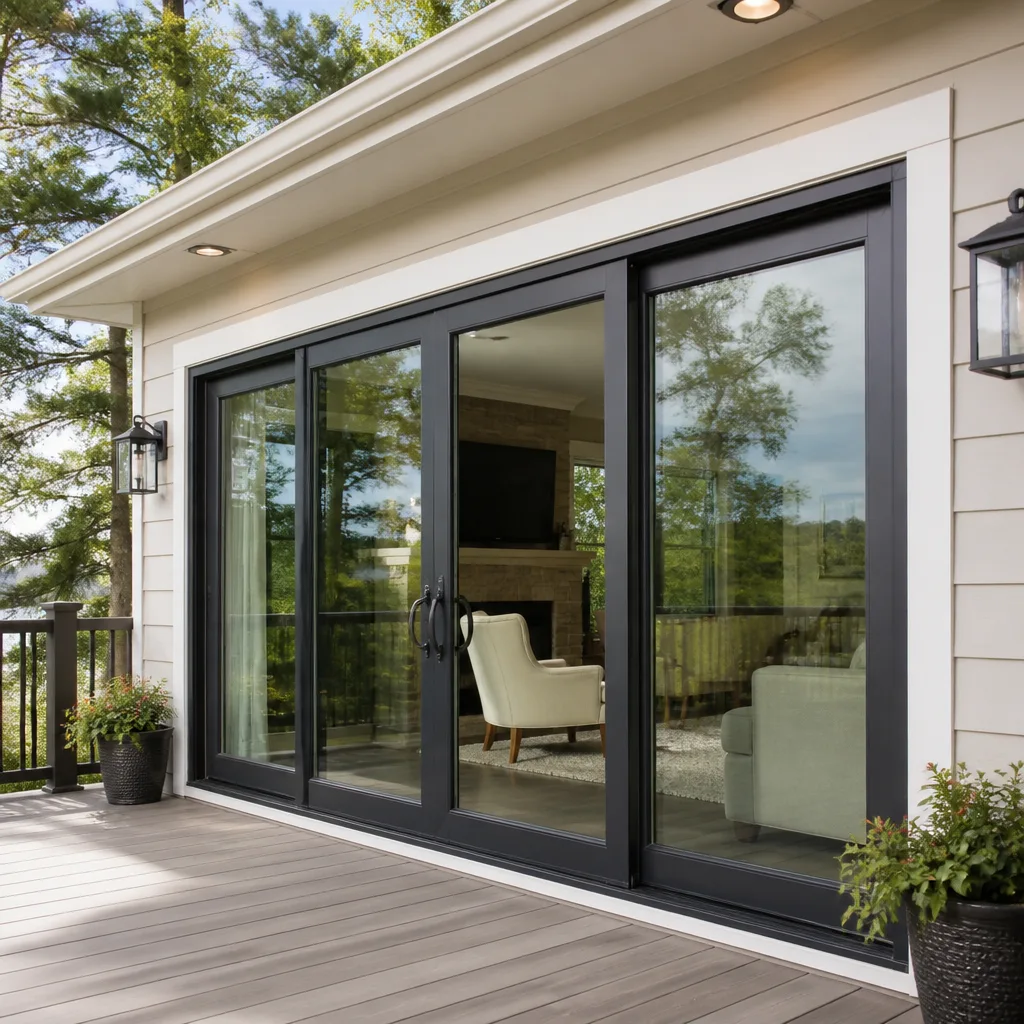
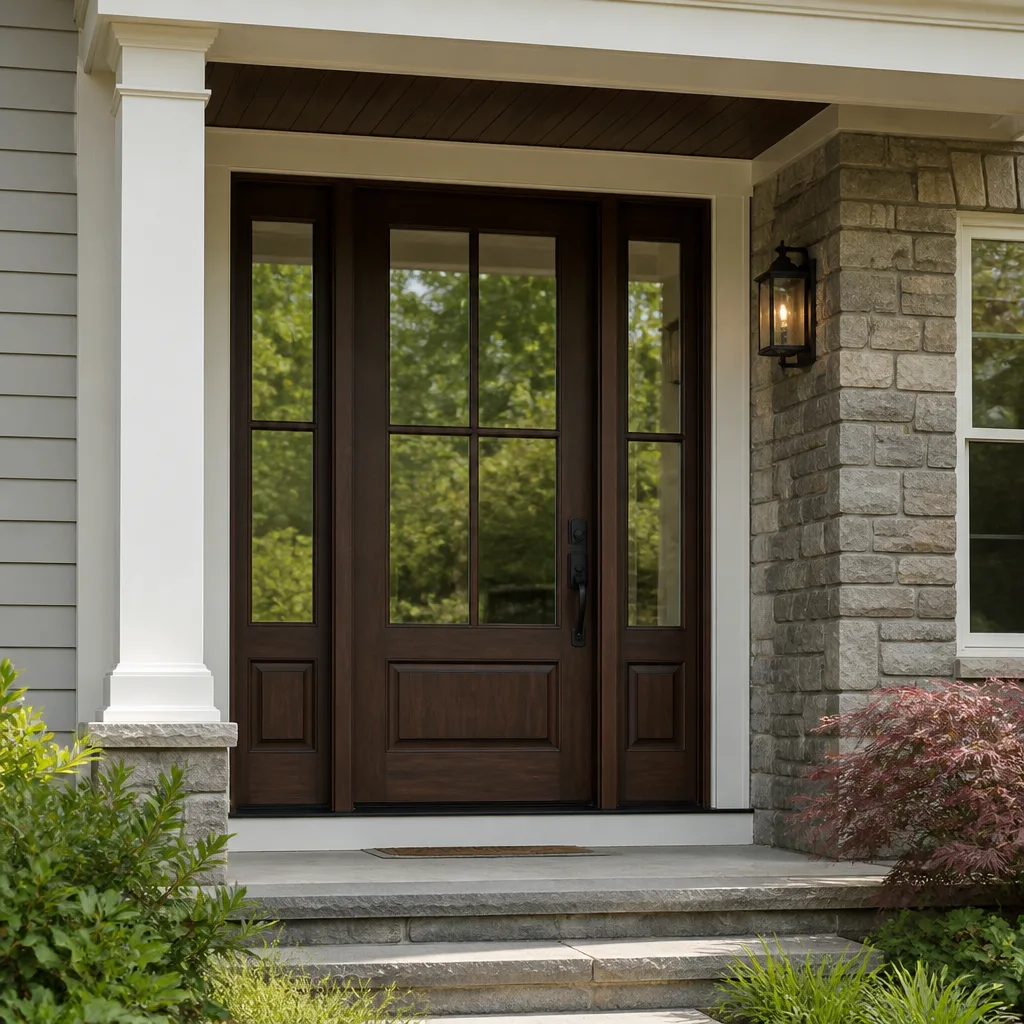
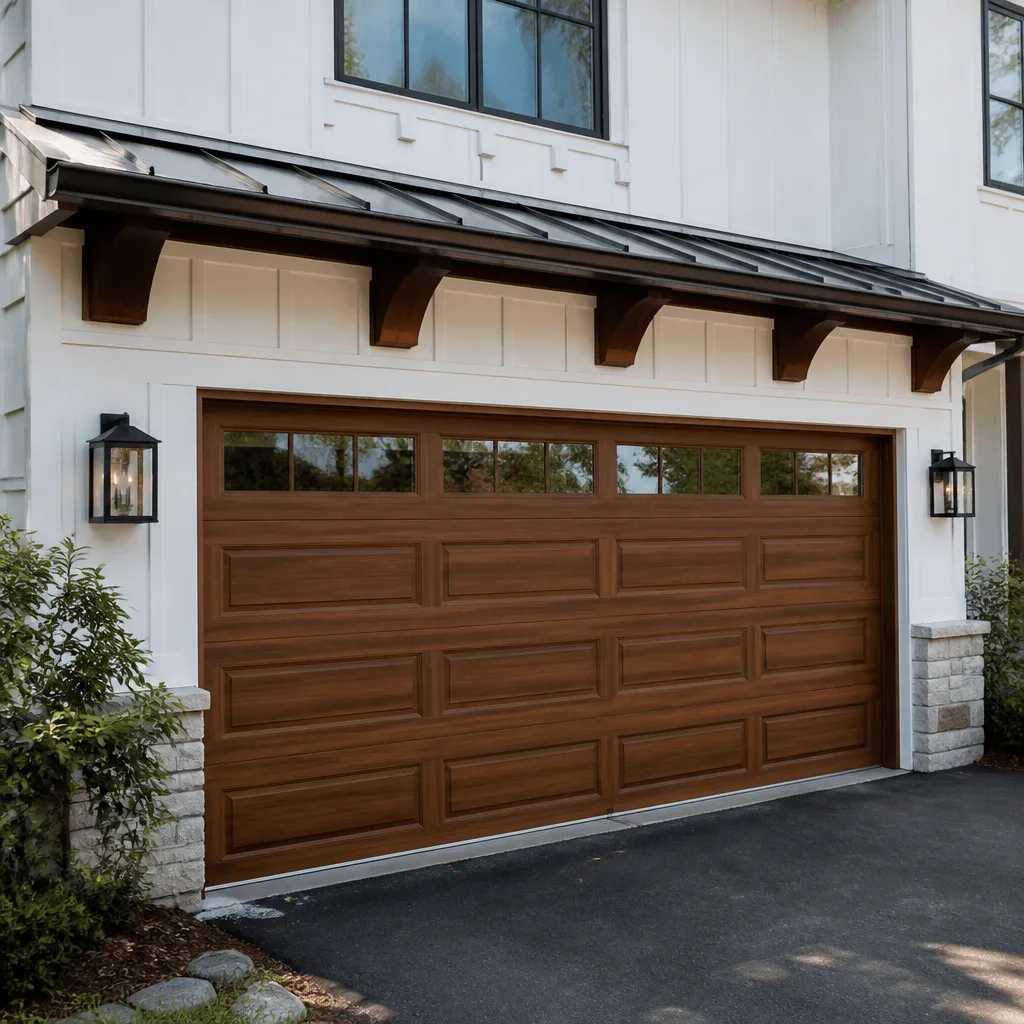
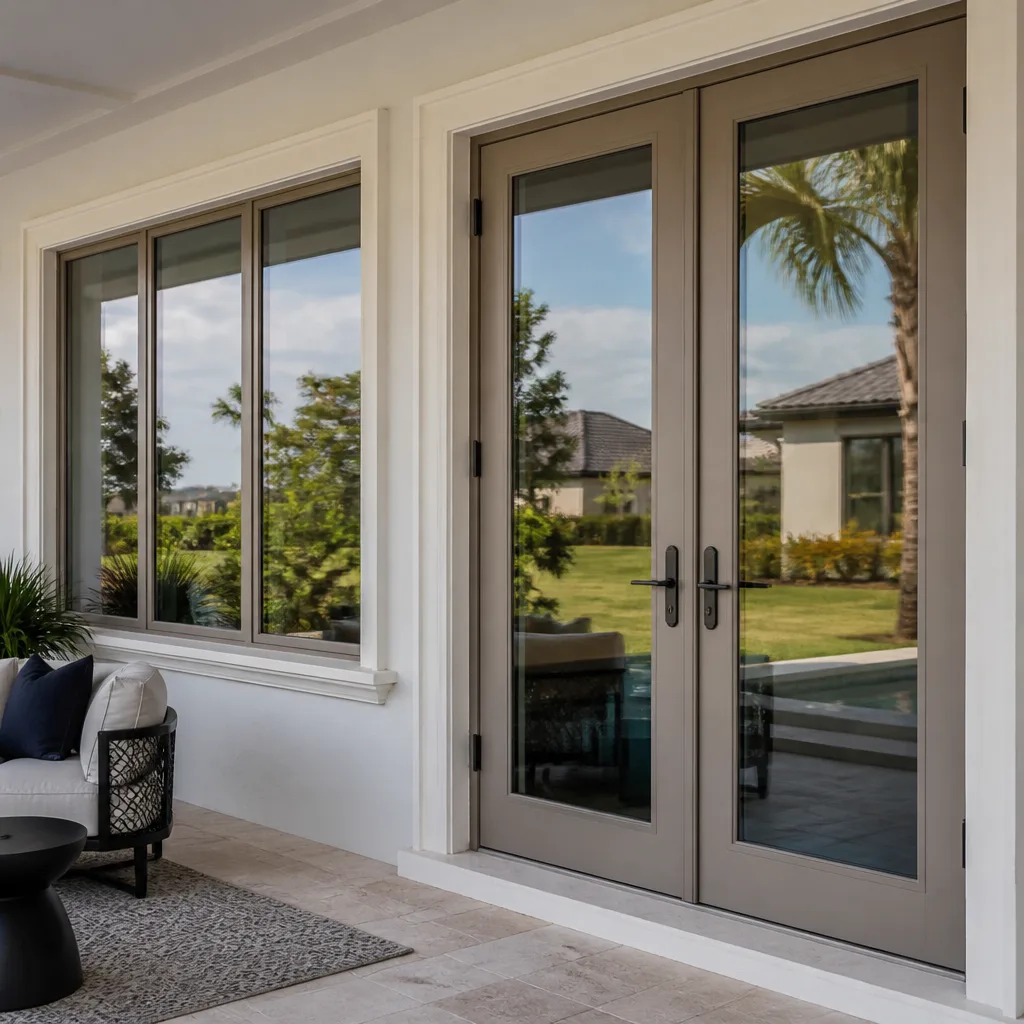

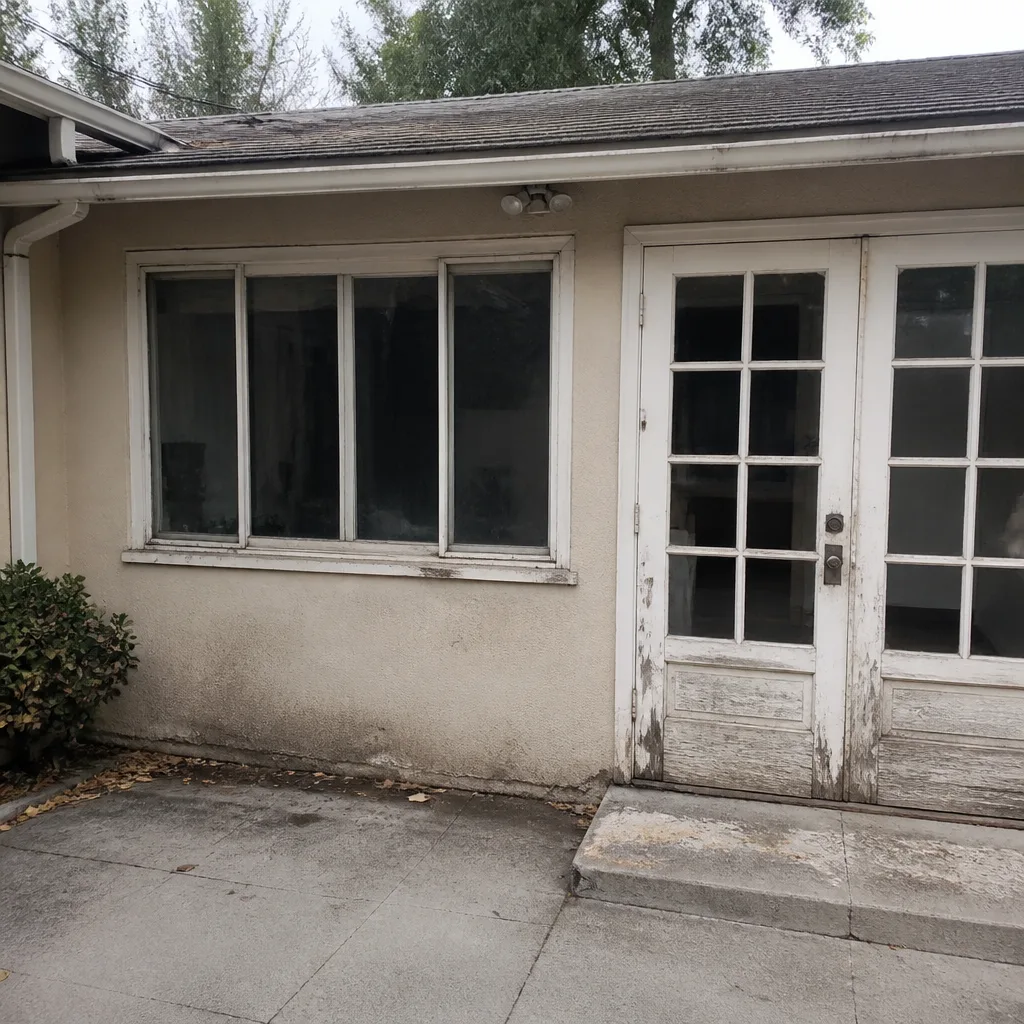 Before
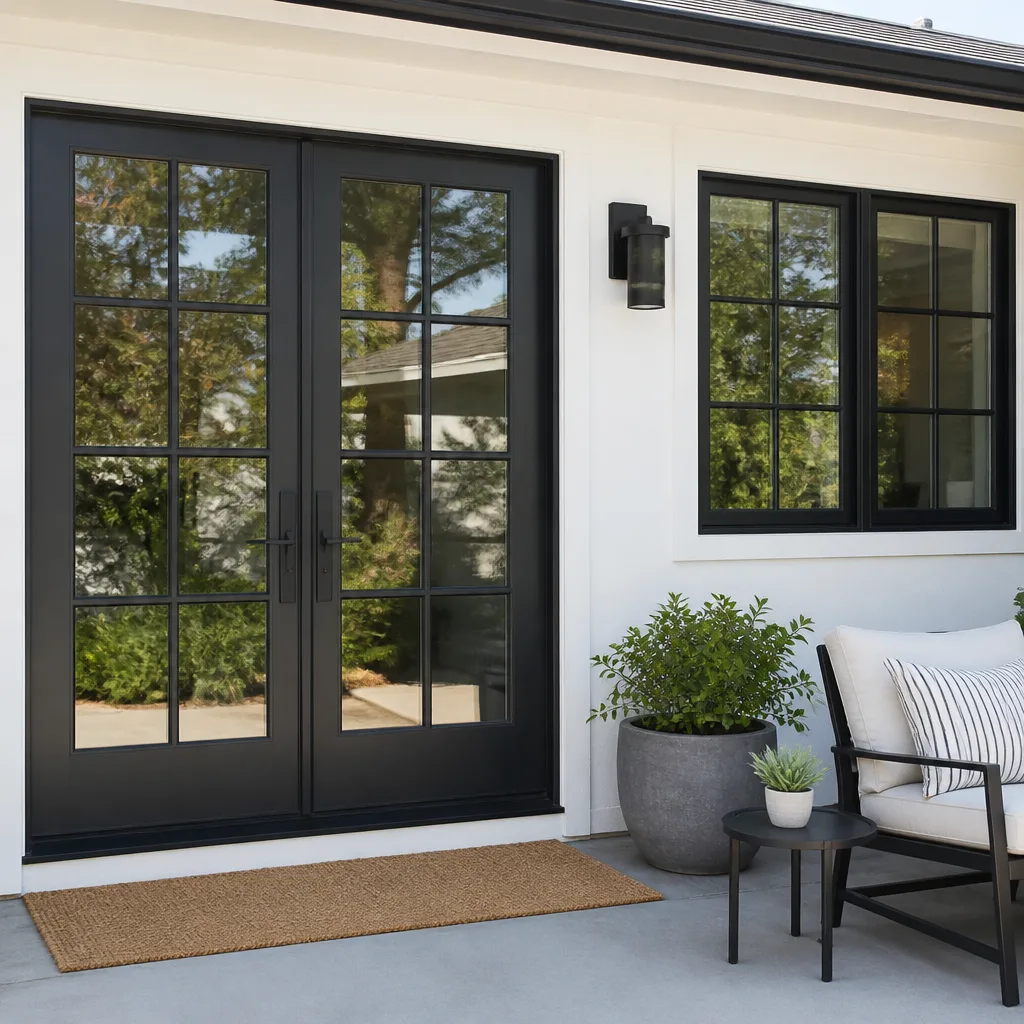 After
After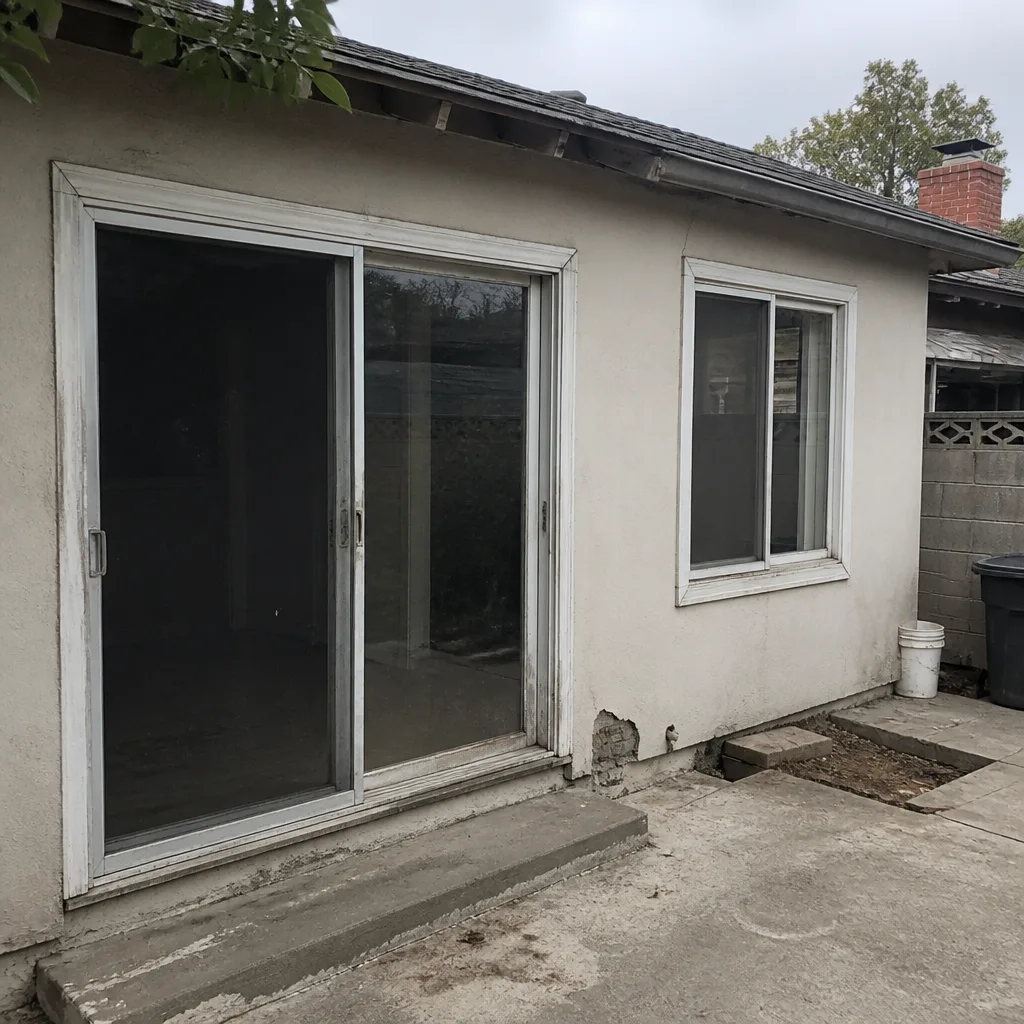 Before
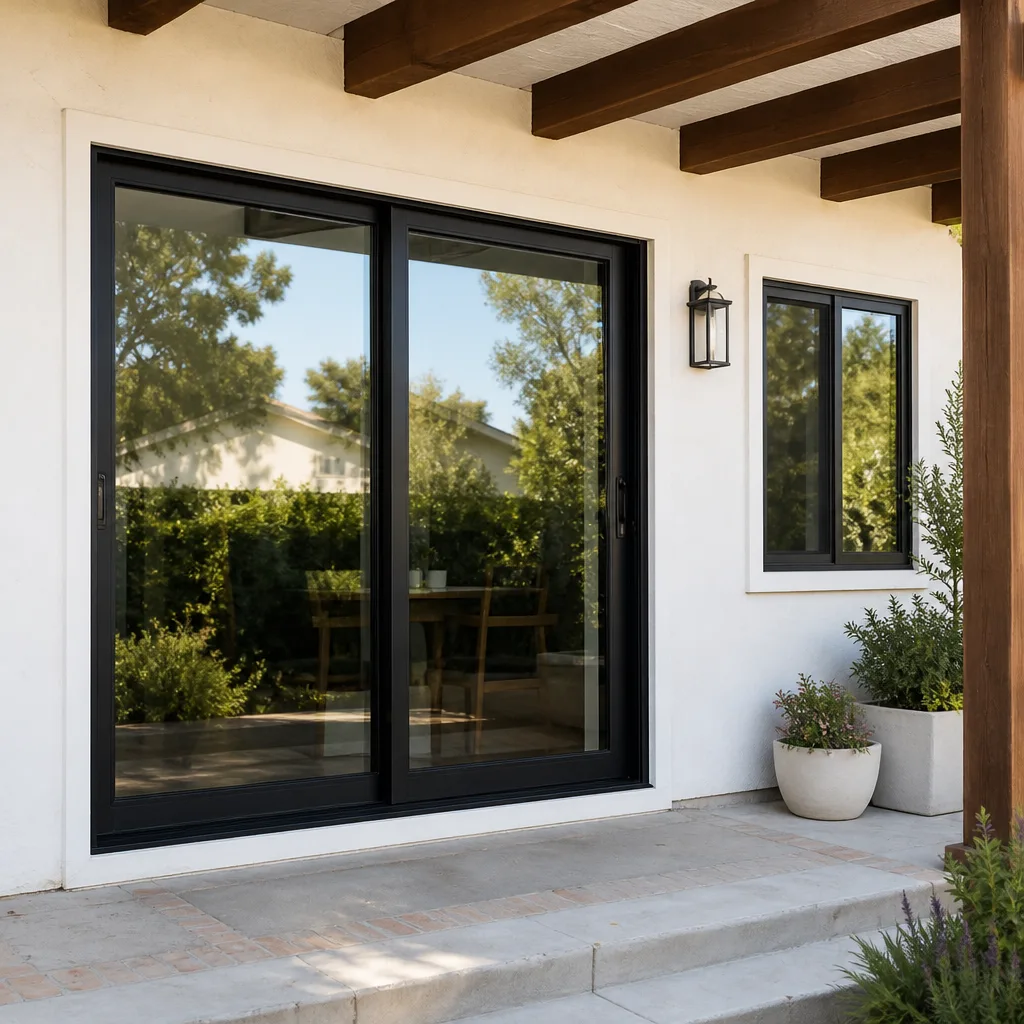 After
After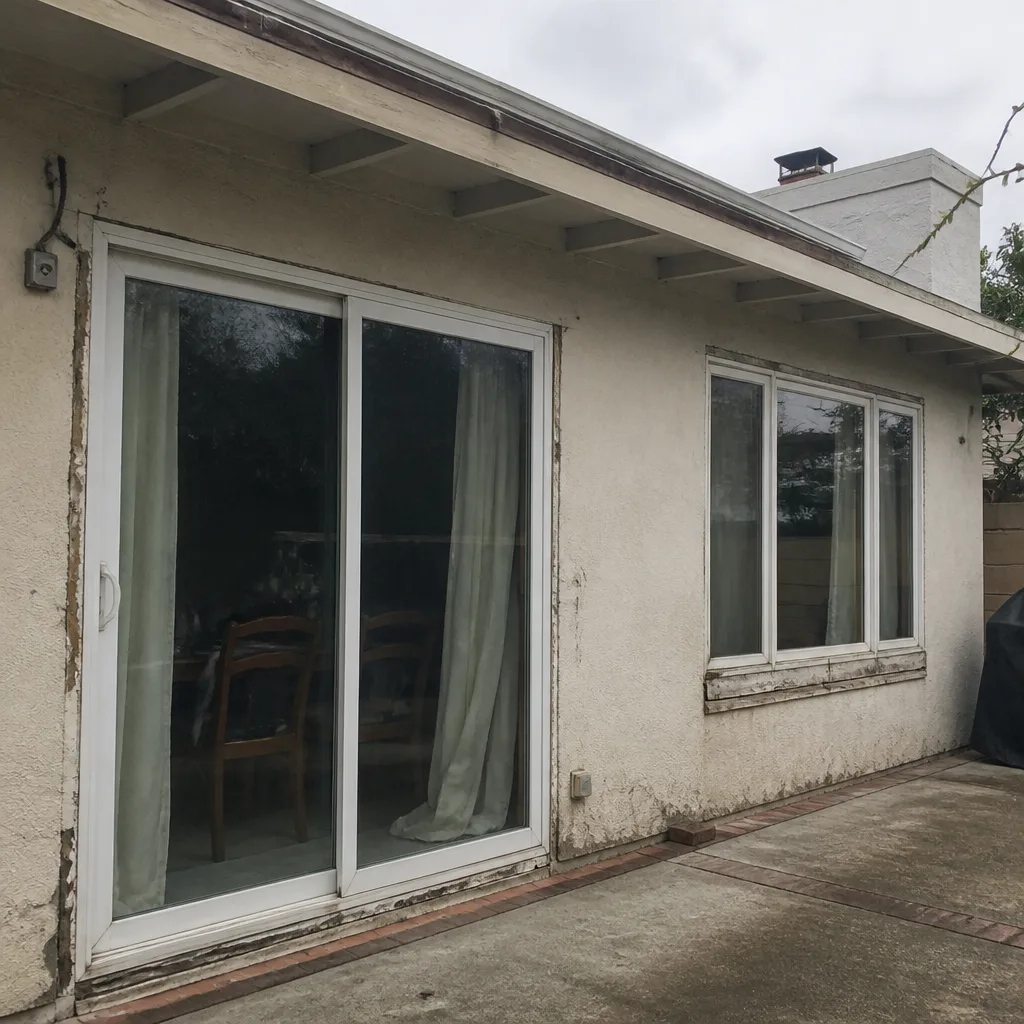 Before
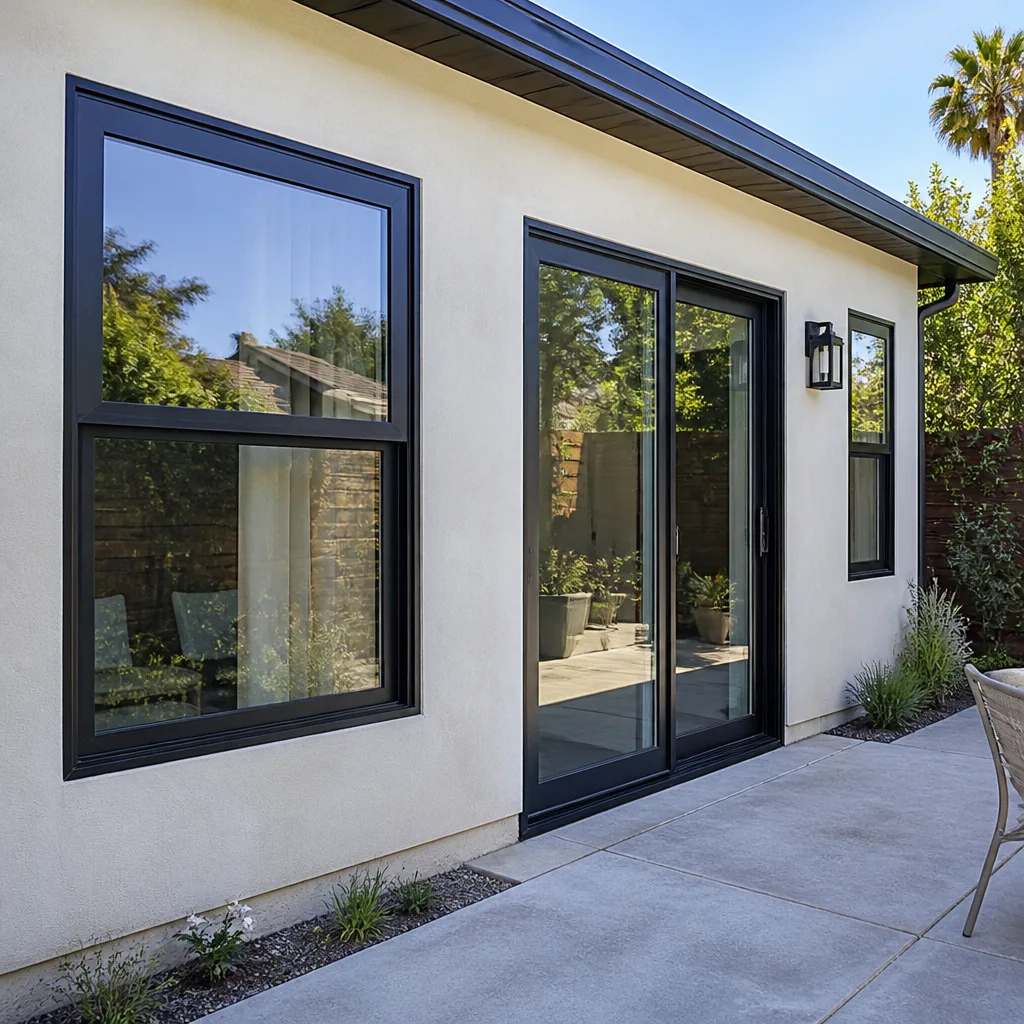 After
AfterWindow Installation Maintenance Schedule: What to Do and When
Window manufacturers warranty the glass unit. Installers warranty the labor. Nobody warranties the joint between the two – the perimeter where your window frame meets your home’s weather barrier, the seam where exterior cladding stops and window starts. That seam is where water finds its way in, and in Los Angeles, where a dry summer can hide a slow leak for six months before winter rains expose it, a homeowner who doesn’t inspect that joint annually is paying for damage with no one to bill. This guide covers exactly what to maintain, when to do it, and which tasks actually protect your home versus which ones just make the warranty booklet feel useful. For related reading, see our Window Installation Warning Signs Every Homeowner Should Know.
Quick Answer
A Window Installation maintenance schedule comes down to four tasks: inspect and reseal the exterior perimeter joint every 12 months, clean and lubricate moving hardware every 6 months, deep-clean glass and screens every 3 months, and keep a written maintenance log for warranty and resale documentation. In Los Angeles, the two critical timing windows are late spring (after June Gloom humidity) and late fall (after Santa Ana winds deposit grit into tracks and seals). Most window failures in LA homes start at the perimeter joint, not the glass unit itself.
Table of Contents
- The No Man’s Land Joint: Your Window’s Most Vulnerable Zone
- LA’s Two-Season Maintenance Reality: June Gloom vs. Santa Ana
- Hardware-Specific Maintenance by Window Type
- Screen Maintenance Most Homeowners Skip
- Glass and Glazing Care: What Actually Extends Lifespan
- Building a 3-Year Maintenance Log That Pays Off
- Common Mistakes to Avoid
- When to Call a Professional
- Frequently Asked Questions
The No Man’s Land Joint: Your Window’s Most Vulnerable Zone
The single most important maintenance task for any window installation is inspecting the exterior perimeter seal – the continuous bead of sealant where the window frame meets stucco, wood siding, or brick. This joint is the interface between two different materials that expand and contract at different rates. In Los Angeles, where daytime temperatures can swing 30 degrees between morning and afternoon in the San Fernando Valley, that differential movement is constant. The sealant stretches, eventually tears, and once it does, water follows gravity into the wall cavity.
Here’s what to inspect, and what to use when you find a problem:
- Visually inspect the full perimeter twice a year – once in March and once in November. Look for hairline cracks in the sealant bead, gaps where sealant has pulled away from stucco or siding, and any bubbling or soft spots that indicate the sealant has lost adhesion to the substrate.
- Use the right sealant for your substrate. For stucco homes (dominant across much of LA), a high-quality polyurethane or hybrid sealant rated for 50% joint movement handles the thermal cycling. For wood siding, a paintable polyurethane works. For hard-coat stucco to window frame joints, hybrid polymer sealants (silyl-terminated polyether) outperform basic silicone in UV exposure and adhesion longevity.
- Check the backer rod. If you see sealant cracking repeatedly in the same spot, the joint may have been filled too deeply without backer rod – the foam cord that controls sealant depth. A proper installation uses backer rod to keep the sealant at a 2:1 width-to-depth ratio, which is what allows it to flex without tearing. In our experience, repeat sealant failures at the same joint almost always mean the backer rod was skipped.
- Look for weep holes. The bottom frame of most window units has small weep holes that let condensation drain outward. If these are caulked over or clogged with dirt, water pools inside the frame and eventually rots the sill or bleeds into the wall below the window.
This perimeter joint is the exact zone the manufacturer’s warranty does not cover – the manufacturer covers the glass unit and frame, not the interface between the unit and your home. The installer’s labor warranty typically covers workmanship for a set period. But after that period ends, the joint belongs to you. A $14 tube of sealant applied correctly beats a $3,500 wall repair every time.
LA’s Two-Season Maintenance Reality: June Gloom vs. Santa Ana
Los Angeles doesn’t have a traditional four-season maintenance calendar. What we have is two distinct weather patterns that stress windows in opposite ways, and the smart homeowner times maintenance around them.
June Gloom (May through July): The marine layer brings persistent morning overcast and humidity levels that regularly hit 80-90% along the coast and in Westside neighborhoods like Santa Monica, Culver City, and Marina del Rey. That humidity doesn’t just make the air feel damp – it condenses on window frames, especially aluminum frames that cool overnight. Here’s what June Gloom does to windows and what to do about it:
- Condensation stress on interior seals and hardware. Repeated condensation cycles accelerate corrosion on steel casement hardware and can cause wood interior frames to swell. In coastal LA, we see more hardware corrosion from June Gloom than from actual rain.
- Clean interior tracks and wipe down frames in late May. Get the grit and salt film out before the humidity arrives. A dry track with no debris handles condensation far better than one with accumulated dust that turns to paste.
- Check interior window condensation patterns in June and July. If you see condensation between the glass panes (not on the interior surface), the insulated glass unit seal has failed, and the glass unit needs replacement. Surface condensation on the interior pane is a humidity issue; between-pane fogging is a seal failure.
Santa Ana season (September through December): The hot, dry offshore winds that rip through the valleys and foothills carry fine dust, grit, and occasionally embers. This is the season that abuses exterior seals, tracks, and screens. Here’s the fall protocol:
- Clear all exterior tracks and sills in early October, before the winds peak. Compressed air or a wet-dry vac works better than a rag for getting grit out of sill tracks. Left in place, that grit abrades the sealant every time the window opens or closes.
- Lubricate moving hardware before the dry season, not after. Dry Santa Ana air strips lubrication faster than any other condition in LA, and hardware run dry during high winds wears faster. Use a silicone-based lubricant on channel tracks and a light machine oil on casement crank gears.
- Inspect exterior sealant for sun damage in November. After a full summer of UV and a month of hot wind, sealant shows its age. This is the right time to spot-caulk small cracks before winter rain arrives.
The key takeaway: in Los Angeles, you don’t maintain windows “in spring and fall” because the calendar says so. You maintain them in late May (pre-humidity) and early October (pre-wind). If you anchor maintenance to those two triggers, you’ll stay ahead of LA’s actual weather instead of some generic national schedule.
Hardware-Specific Maintenance by Window Type
Different window types have different mechanical systems, and each has its own maintenance interval and failure pattern. Here’s what to do for each, with the schedule that keeps things working long-term.
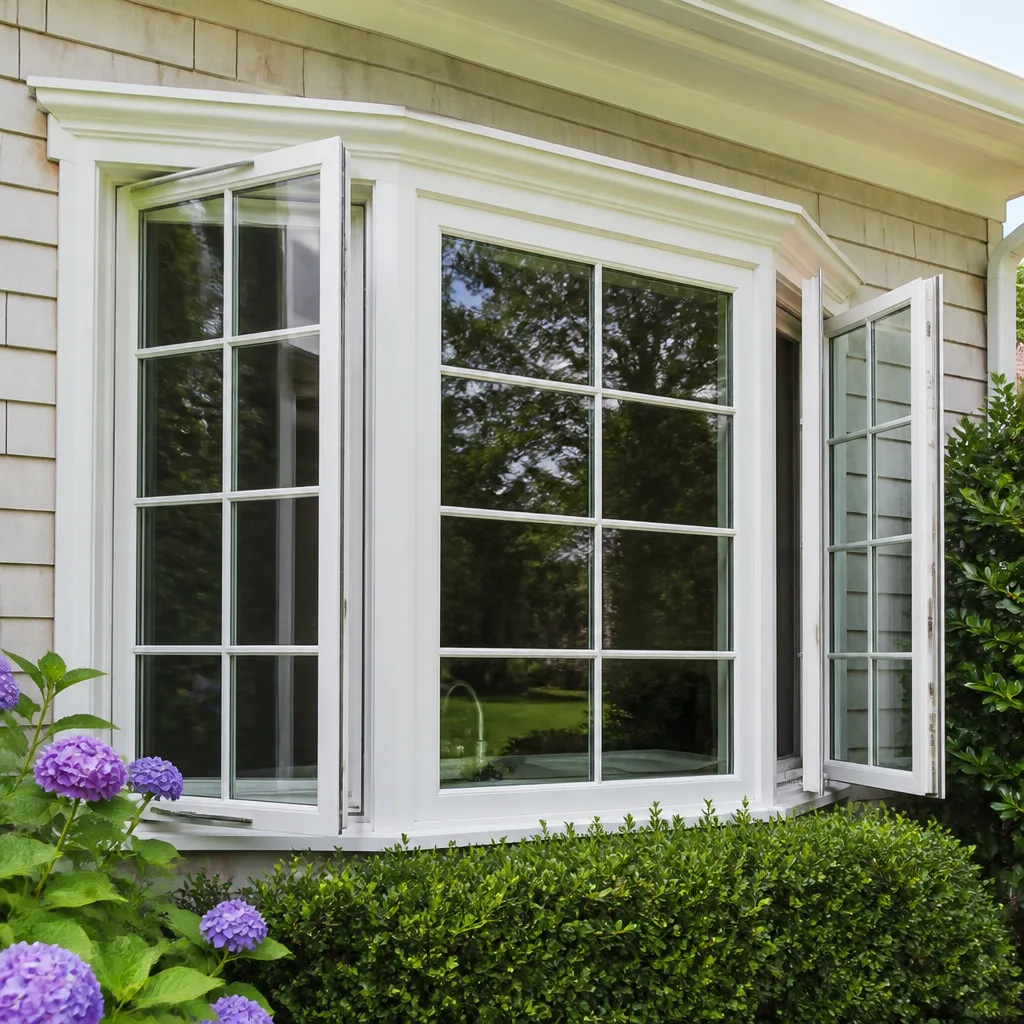
Casement Windows (Crank-Operated)
Casement operators – the crank mechanism that opens and closes the sash – are the most maintenance-hungry hardware in residential windows. The gear assembly sits in a housing that collects dust, and the hinge arms bear the full weight of the sash every time it swings.
- Every 6 months: Clean the crank housing with compressed air and apply fresh light machine oil to the gear. A dry gear binds and strips under load.
- Every 12 months: Inspect hinge arms for visible wear, especially the pivot rivets. A casement hinge that wobbles when the sash is half-open is a failure waiting to happen – the sash will eventually sag and strike the frame at the bottom corner when closing.
- Sign of trouble: If the crank turns but the sash stops moving smoothly, or you hear clicking under load, the gear teeth are stripping. Continuing to force it breaks the operator entirely.
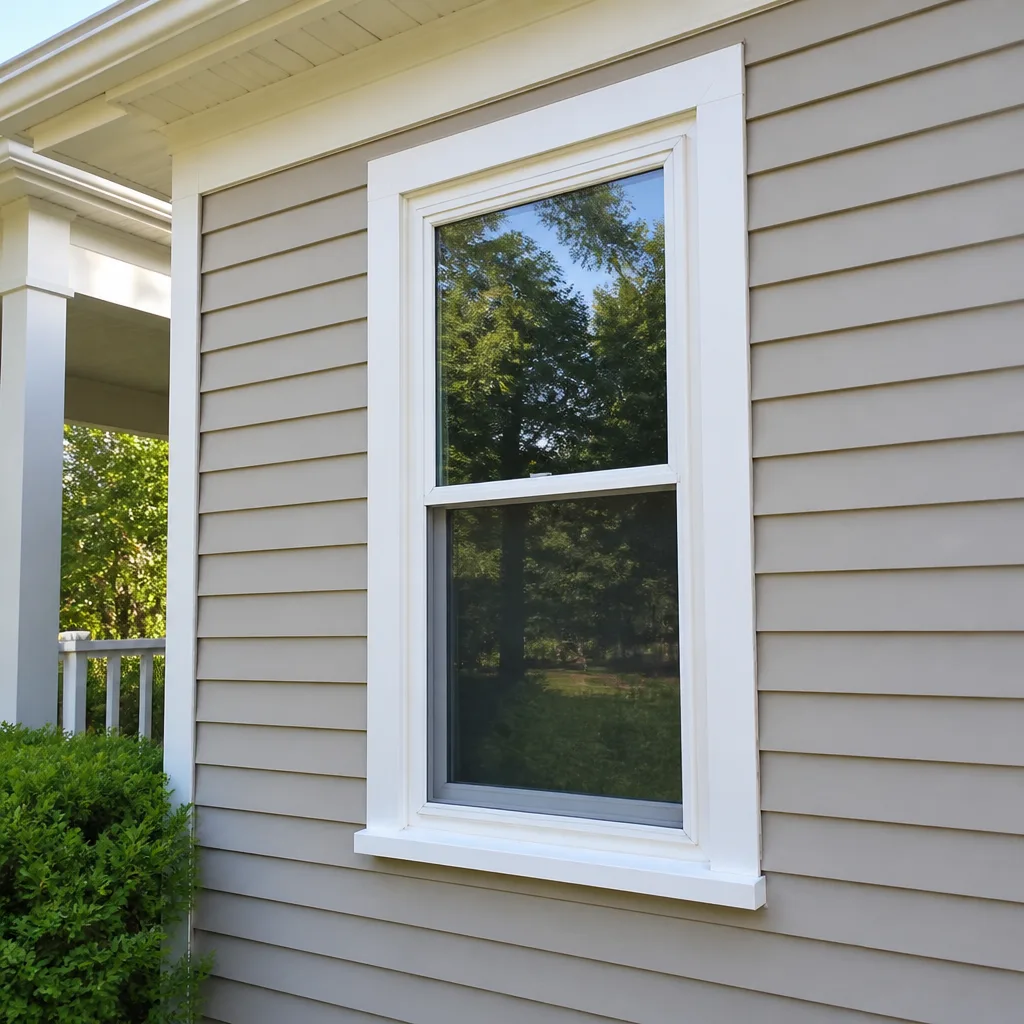
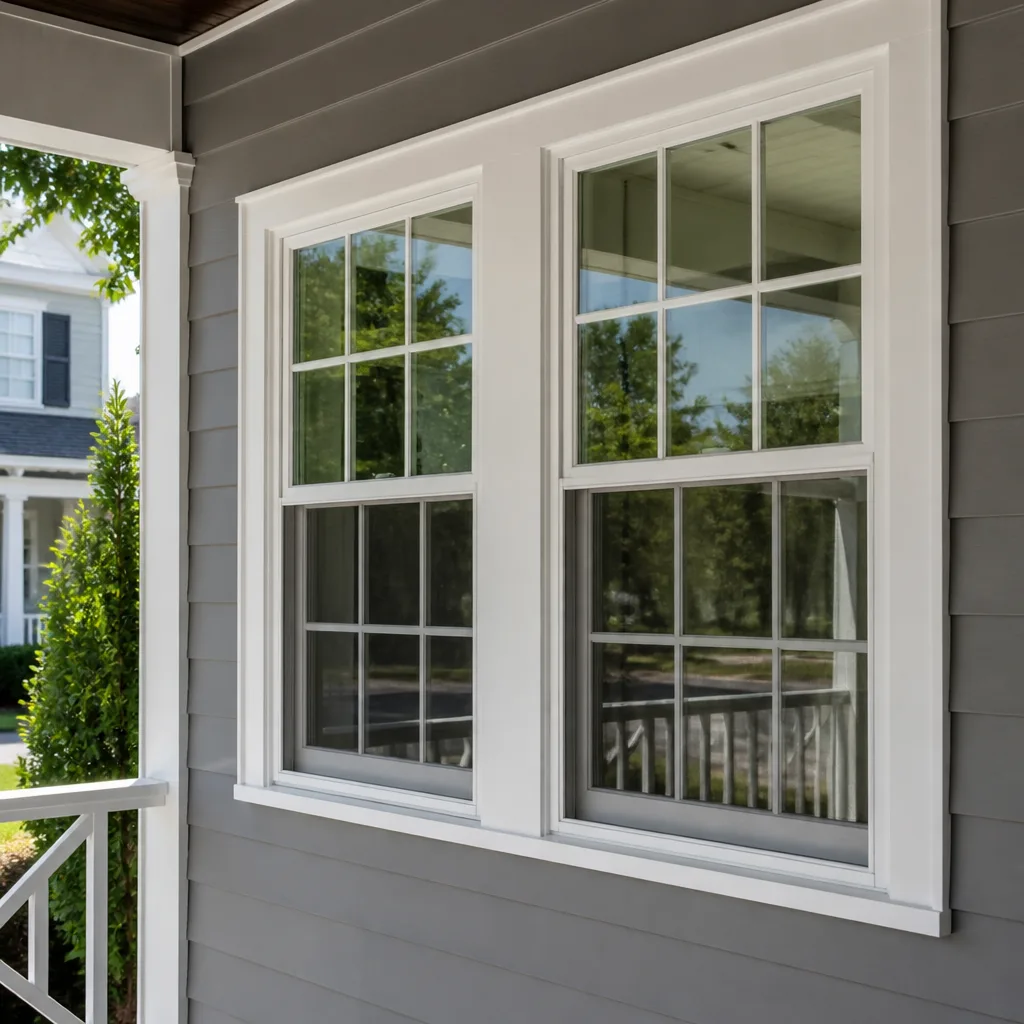
Double-Hung Windows (Vertical Sliding)
Double-hung windows rely on a balance system – spiral balances, block-and-tackle, or constant-force coil springs – to offset the sash weight. These systems are hidden inside the side jamb, but they communicate problems through how the sash behaves.
- Every 6 months: Clean the side jamb tracks where the sash slides. Use a soft brush and vacuum, not a wet rag, which leaves residue that attracts dust. Lubricate the track lightly with silicone spray if the sash drags.
- Every 12 months: Test both sashes for even movement. Raise each sash to mid-height and let go – a properly balanced sash holds position. If it falls, the balance is worn or disconnected. If it creeps up, the balance is over-tensioned.
- Sign of trouble: A sash that drops when released is a serious hazard on older windows and means the balance system needs replacement. This is not a DIY repair – window balances are under enough tension to cause injury when released incorrectly.
Sliding Windows (Horizontal Rolling)
The weak point on sliders is the bottom track, which collects everything from dust to pet hair in a normal LA household. A gritty track doesn’t just make the window hard to slide – it causes the roller wheels to chip and flat-spot.
- Every 3 months: Vacuum out the bottom track completely, then wipe with a dry cloth. This is the single highest-impact maintenance task for sliders.
- Every 12 months: Check the roller assembly by lifting the sash out (most sliders tilt out) and inspecting the wheels. Flat-spotted or cracked wheels grind in the track and wear grooves into the aluminum.
- Sign of trouble: If the sash drags on one end but not the other, you have a failed roller, not a dirty track. Continuing to force it bends the frame.
Tilt-Wash Windows (Tilt-In Sash)
The pivot bars at the bottom of tilt-in sashes are spring-loaded and take lateral force every time the sash tilts. They’re small, cheap, and often the first hardware to fail on mid-range vinyl and aluminum windows.
- Every 6 months: Test the tilt function gently and watch for asymmetry – if one side releases but the other sticks, the pivot bar on the sticking side is failing.
- Every 12 months: Apply a single drop of light oil to each pivot bar where it meets the shoe in the jamb. Over-lubricating attracts dust.
Screen Maintenance Most Homeowners Skip
Screens are the most ignored component of any window installation, which is ironic because they’re the easiest to check and the cheapest to fix. But a torn or sagging screen doesn’t just let bugs in – it forces the homeowner into a bad habit: leaving the window closed, which worsens indoor air stagnation and increases cooling costs.
Here’s a screen maintenance schedule that covers what most homeowners never think to check:
- Every 6 months: Check every screen frame for squareness. Aluminum screen frames get racked over time – pushed out of square by kids, pets, and repeated removal. A racked frame doesn’t seat properly in the window, leaving a gap that defeats the screen entirely. If corners are loose, the frame needs re-cornering or replacement.
- Annually: Inspect the spline – the rubber cord that holds the screen mesh in its groove. Spline dries out and shrinks after 3-5 years of LA sun, especially on south- and west-facing elevations. If the mesh pulls out of the groove when you press on it with a finger, the spline needs re-seating or replacement.
- Mesh lifespan by material: Fiberglass mesh (the standard on most homes) lasts 3-5 years in direct LA sun before it starts to become brittle. Aluminum mesh lasts longer structurally – 8-10 years – but oxidizes over time and starts to look chalky and gray, especially in coastal areas where salt air accelerates corrosion. If you’re within a mile of the coast from Santa Monica down through the South Bay, expect aluminum screens to need replacement on the shorter end of that range.
- Annual cleaning protocol: Remove each screen, lay it flat on a towel, and wash with a soft brush and mild soap solution, then rinse with a low-pressure hose (never a pressure washer, which tears mesh). Reinstall only after it’s completely dry to prevent aluminum frame corrosion at the corner keys.
Screens that get maintained on this schedule typically last 10-15 years, meaning you replace the screen mesh two or three times before you replace the window itself.
Glass and Glazing Care: What Actually Extends Lifespan
Most glass maintenance advice centers on cleaning, but cleaning is window dressing (pun intended). What actually determines whether your insulated glass units last 10 years or 30 is the integrity of the perimeter seal on the glass unit itself and the glazing bead that holds the unit in the frame. Here’s what matters:
- Inspect the sightline annually. The sightline is the visible edge of the insulated glass unit where the two panes meet the spacer bar. Look for any discoloration, bubbling, or delamination. Those symptoms mean moisture is breaching the edge seal, and that failure is irreversible – once the desiccant inside the spacer bar saturates, the unit fogs permanently.
- Check for glazing bead movement. The glazing bead is the snap-in strip that holds the glass in the sash. On sun-exposed elevations in Los Angeles, vinyl glazing beads can warp over time, especially on dark-framed windows that reach high surface temperatures in summer. A warped bead doesn’t just look bad – it lets water sit against the edge seal and accelerates unit failure.
- Clean with the right chemistry. Avoid ammonia-based glass cleaners on interior surfaces if you have vinyl frames – ammonia attacks the plasticizer in vinyl and causes yellowing at the glass-to-frame junction. A simple water and white vinegar solution (1:1) does the job on glass without risk.
- Check the argon or krypton fill indirectly. You can’t see gas fill, but you can see its failure symptom: a visible concave dip in the center of a large pane on cold mornings means the gas has leaked and atmospheric pressure is pushing the panes together. If you see that, record it in your log and budget for glass replacement.
For impact-rated glass – what you’ll find in products from PGT or CGI installed in hillside and canyon areas where wildfire ember risk is a concern – the maintenance story is different. The glass-to-frame lamination is designed to hold together under impact, but the outer layer still needs the same annual edge-seal inspection. Impact-rated doesn’t mean maintenance-free.
Building a 3-Year Maintenance Log That Pays Off
A maintenance log is the most underrated documentation in home ownership. Here’s what it does: when you sell the home, a buyer who sees a dated, itemized record of window maintenance knows the windows were cared for. When you file a warranty claim, a log that shows regular maintenance defeats the most common denial reason manufacturers use – neglect. And when a problem develops, the log tells you how long it’s been developing, which changes the diagnosis.
Here’s the structure we recommend in our experience serving Los Angeles homeowners:
What to Log
- Date and scope of every inspection – exterior perimeter seal, hardware, glass unit, screens. Log all four categories every time, even if some show no issue. “No change” is data.
- Products used – sealant brand and type, lubricant used on hardware, cleaning solutions. If a sealant fails prematurely, you want to know exactly what product failed.
- Observations in plain language – “Hairline crack at lower left corner of north bedroom casement seal, approximately 1 inch, not yet open to water.” That level of detail is what a warranty department takes seriously.
- Photos with date stamps – before-and-after pictures of any repair or resealing. Store them in a dedicated folder on your phone, then back up to a cloud drive.
Why Three Years
Three years is the period in which most installation defects reveal themselves and most sealant begins its first visible degradation. A three-year log gives you three complete cycles of the LA weather patterns – three June Glooms, three Santa Ana seasons – and shows patterns rather than isolated events. It also matches the typical home refinancing cycle and puts you in a strong position for any home inspection.
How to Use It When You Sell
If you sell a home in Los Angeles, the buyer’s inspector will check windows for fogging, seal failures, and operation. A buyer who receives a three-year maintenance log alongside the inspection report is far less likely to negotiate a window credit. You’re not just saying the windows are maintained – you’re proving it. That’s worth real dollars at the closing table.
Common Mistakes to Avoid
- Caulking over weep holes. The most common DIY maintenance error in Los Angeles is sealing the small drainage holes at the bottom of the window frame, thinking they’re leaks. They’re drains, not leaks. Blocking them traps water inside the frame.
- Using the wrong sealant on stucco. Basic silicone caulk doesn’t bond well to porous stucco and will fail within a year in LA’s UV. Use a polyurethane or hybrid polymer rated for high movement and UV exposure.
- Lubricating double-hung balances with the wrong product. Spraying WD-40 or heavy grease into balance tracks attracts dust and gums up the mechanism. A dry silicone spray is the right choice for tracks; light machine oil is for metal gear assemblies like casement cranks.
- Ignoring the “soft” signs. A window that opens with increasing resistance, a sash that doesn’t hold position, or a handle that doesn’t lock as firmly as it used to are all early-warning signs. Homeowners tend to wait until full failure, which always costs more than early intervention.
- Replacing glass before fixing the cause. If an insulated glass unit fogs and you replace it without fixing the perimeter seal or glazing bead that allowed moisture in, the replacement will fog too, typically within two years. Find the water path first.
- Cleaning screens with high-pressure water. A pressure washer on a screen is the fastest way to tear mesh and bend the frame. Use a soft brush and a garden hose on low.
- Treating temperature and humidity maintenance the same. The June Gloom protocol is about corrosion and moisture control. The Santa Ana protocol is about abrasion and sealant degradation. Doing one without the other leaves your windows vulnerable for half the year.
When to Call a Professional
Some maintenance tasks are genuinely DIY, and this guide is meant to help you handle them. But there are situations where calling a professional is the right call before the problem gets bigger. If you see between-pane fogging that doesn’t clear, that’s a failed glass unit seal – not a cleaning problem. If a window has shifted in its opening and no longer opens or closes square, that’s a structural installation issue. If you see water staining on interior drywall below or around a window, the leak is already active and the damage path needs professional assessment. If any moving part requires tools beyond a screwdriver and a vacuum to access, you’re past routine maintenance.
At Juniper Windows & Doors, we see too many Los Angeles homeowners wait until a window fails completely before calling, and by then the repair is a replacement, and the replacement includes drywall work and sometimes framing. If you’re unsure whether a condition is normal aging or the start of a real problem, we’d rather look at it before you spend money. Juniper Windows & Doors offers free estimates in Los Angeles – call (682) 281-2168 and we’ll tell you straight whether it’s maintenance or a real repair.
Frequently Asked Questions
Window installation maintenance in Los Angeles should be done on two cycles: exterior perimeter seal inspection and re-sealing every 12 months (ideally in November after Santa Ana season begins), and hardware cleaning and lubrication every 6 months (May and October). In coastal LA neighborhoods where salt air accelerates aluminum corrosion, hardware should be checked every 3-4 months.
A perimeter seal repair on a standard window typically costs $80 to $200 per window in the Los Angeles market when done professionally, depending on the length of the perimeter and accessibility. Basic re-caulking of a single window with the right polyurethane or hybrid sealant runs $3 to $8 per linear foot in material and labor. Call (682) 281-2168 for an exact quote on your specific windows – estimates are free.
A warranty issue is a defect in materials or workmanship on the unit itself – fogged glass, failed frame weld, hardware that breaks under normal use. A maintenance issue is age-related wear that regular care would have prevented or delayed – dried sealant, dirty tracks, neglected hardware. The gray zone is the perimeter joint between window and house, which neither the manufacturer’s warranty nor the installer’s labor warranty typically covers after the first year. That’s the joint this guide teaches you to maintain.
You can fix the exterior perimeter seal – the joint between window frame and house – yourself if you’re comfortable on a ladder and use the right product (a polyurethane or hybrid polymer sealant for stucco in Los Angeles). The perimeter seal on the glass unit itself – the edge seal that keeps the insulating gas in – cannot be repaired by anyone. If between-pane fog appears, the glass unit needs replacement.
Exterior perimeter seals (the caulk joint between frame and house) last 5 to 10 years in Los Angeles depending on exposure, with south- and west-facing windows lasting on the shorter end due to UV. Glass unit edge seals (the seal around the insulated glass) typically last 10 to 20 years, but coastal humidity and extreme heat cycles shorten that lifespan. Annual inspection catches both types of failure before they cause damage.
Impact-rated windows from manufacturers like CGI or PGT need the same perimeter seal and hardware maintenance as standard windows – the glass-to-frame lamination doesn’t alter the maintenance schedule. In canyon and hillside zones of Los Angeles where ember risk is seasonal, the difference is in inspection timing: check the perimeter seal and surrounding cladding in early September before fire season peaks, not in November.
The Bottom Line
The maintenance tasks that protect your window investment aren’t the ones in the warranty booklet – they’re the ones that protect the joint where window meets house, the tracks where grit accumulates, and the hardware that takes the daily strain of opening and closing. In Los Angeles, that means anchoring maintenance to the June Gloom and Santa Ana cycles rather than a generic seasonal calendar. A homeowner who does two 30-minute annual inspections – one in May, one in October – catches the vast majority of window problems before they become window failures. Keep the log, use the right sealant, and remember: the cheapest repair is always the one you catch early. Browse our more guides & resources for additional home maintenance tips.
Written by Sean Mackey, Owner at Juniper Windows & Doors, serving Los Angeles since 2001.
For more on our window and door services, see Window Replacement in Los Angeles, Window Installation in Los Angeles, and Door Replacement in Los Angeles. Call (682) 281-2168 for a free estimate – a real person answers, 24/7.