
Last updated October 9, 2026
Free in-home measure and quote - PGT, CGI and CWS impact lines compared on your actual openings, style by style


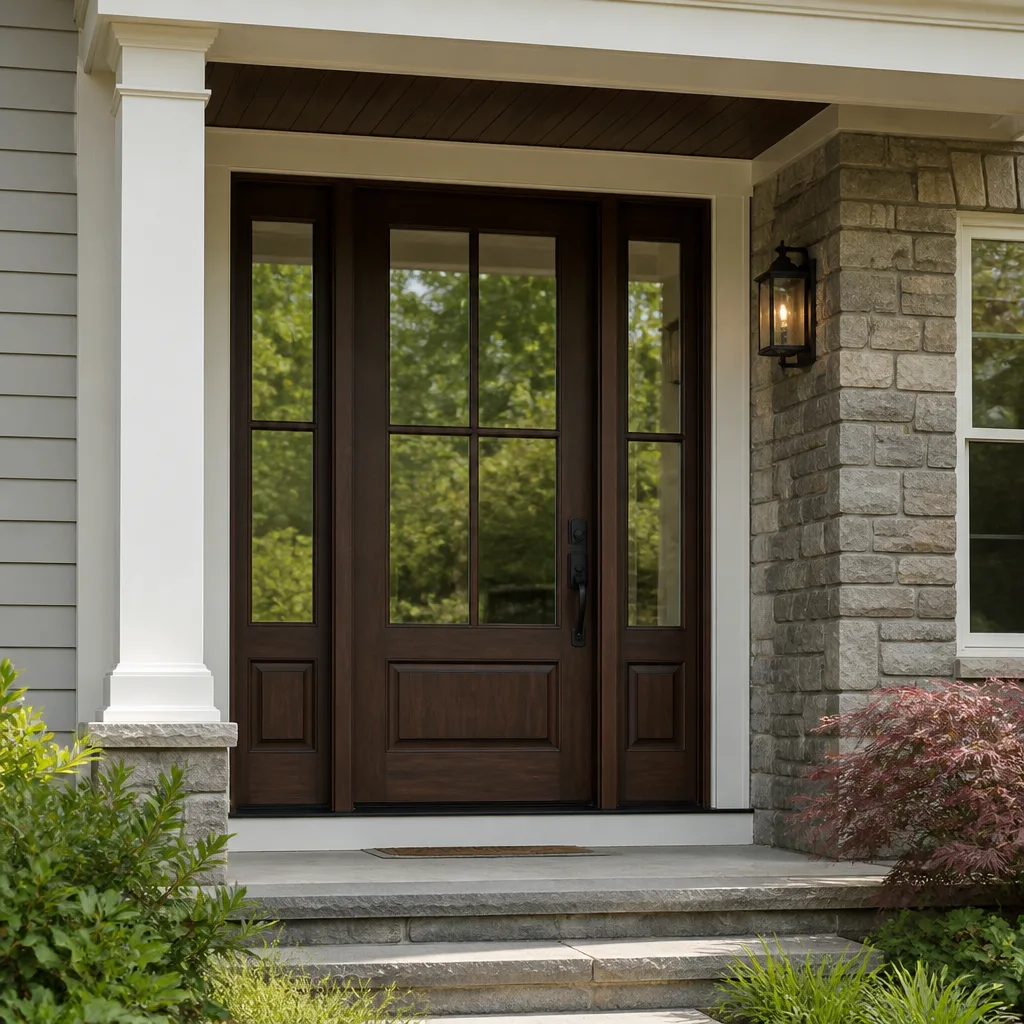
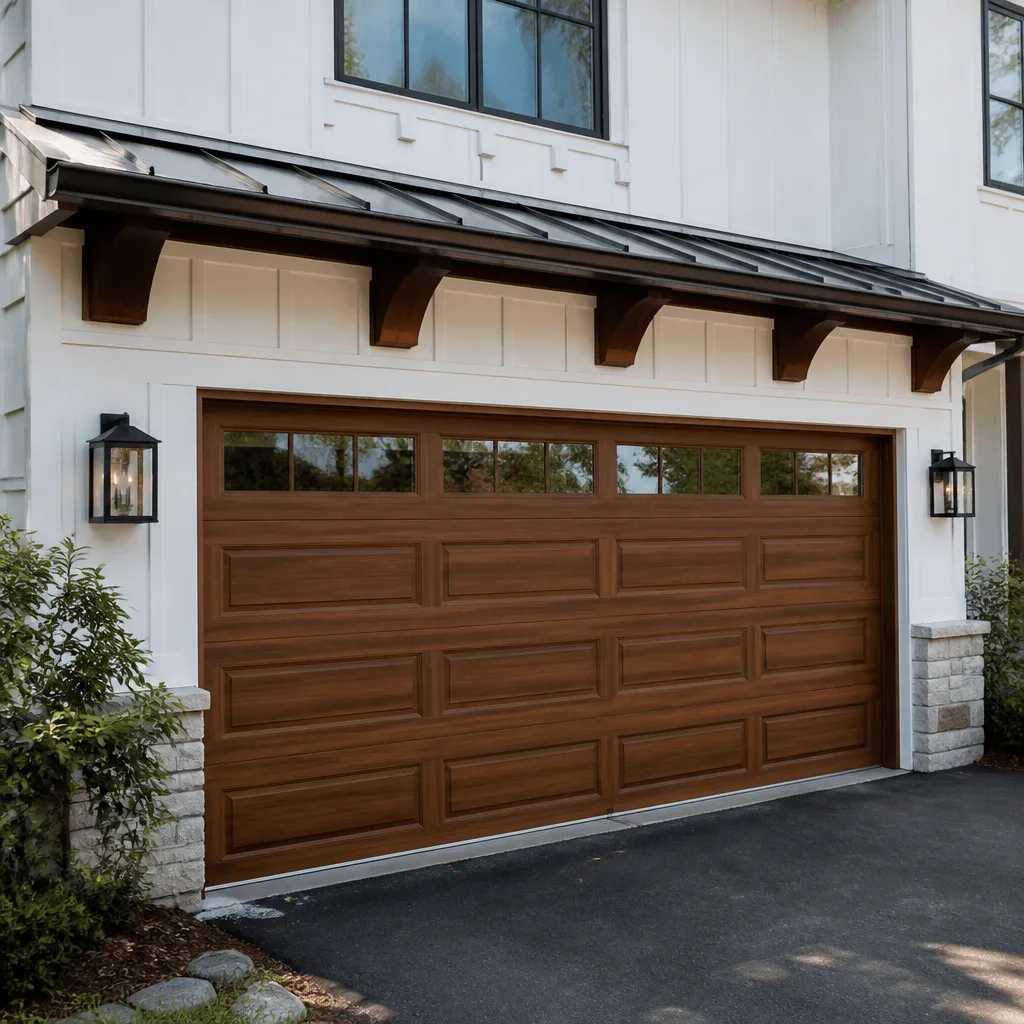
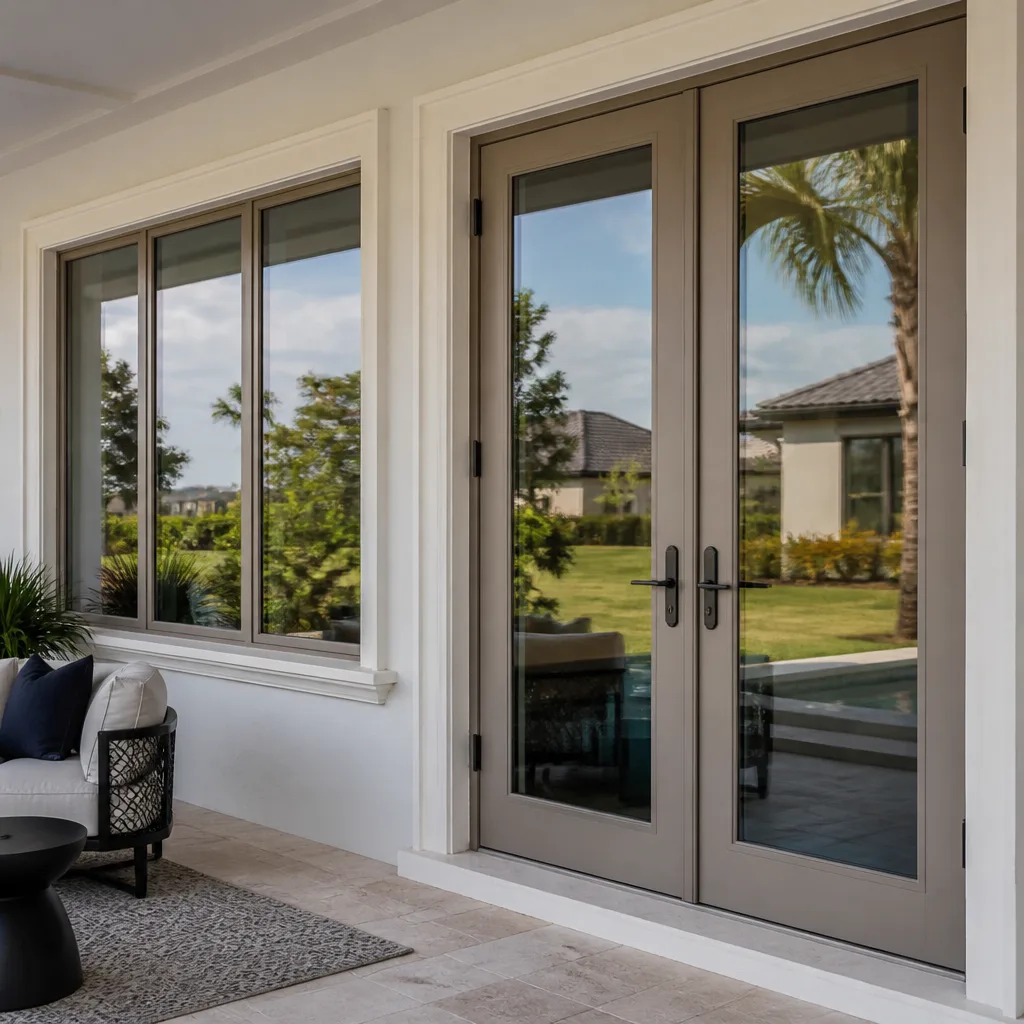

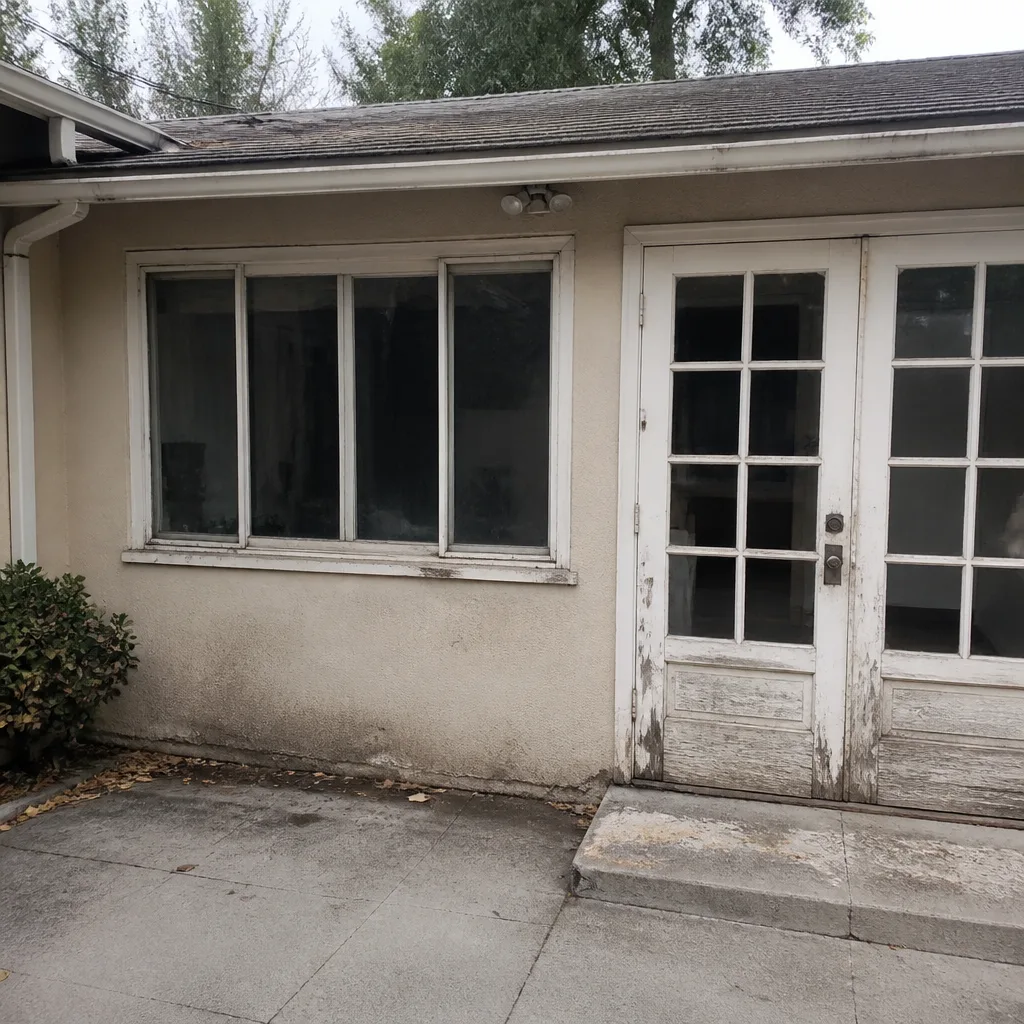 Before
 After
After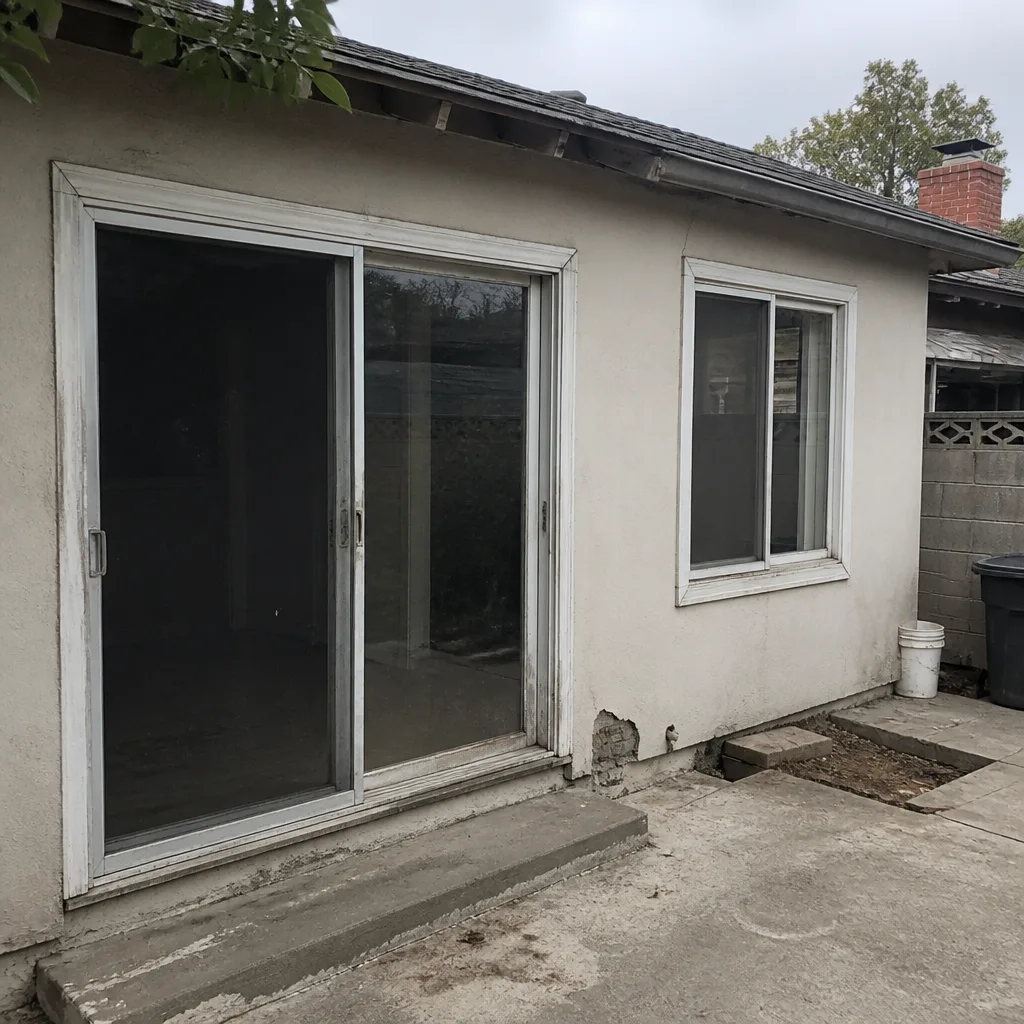 Before
 After
After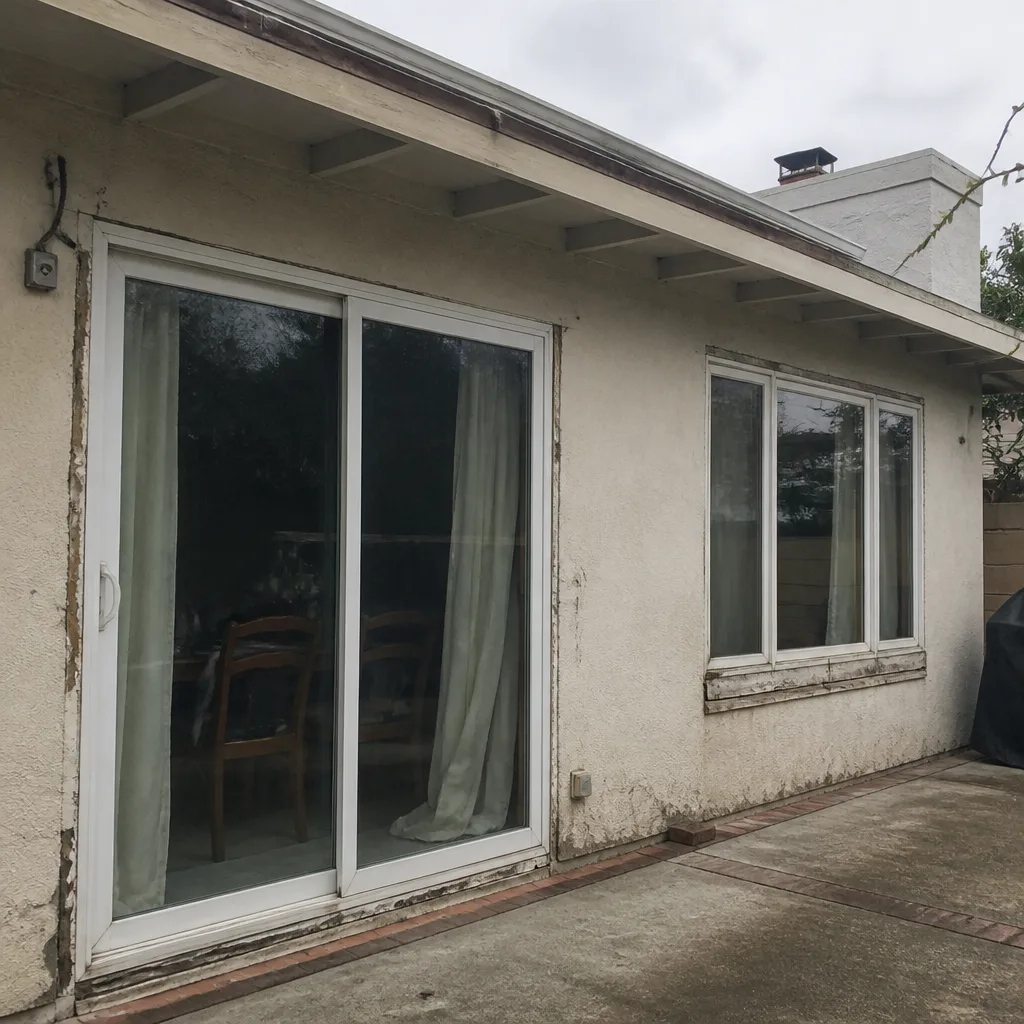 Before
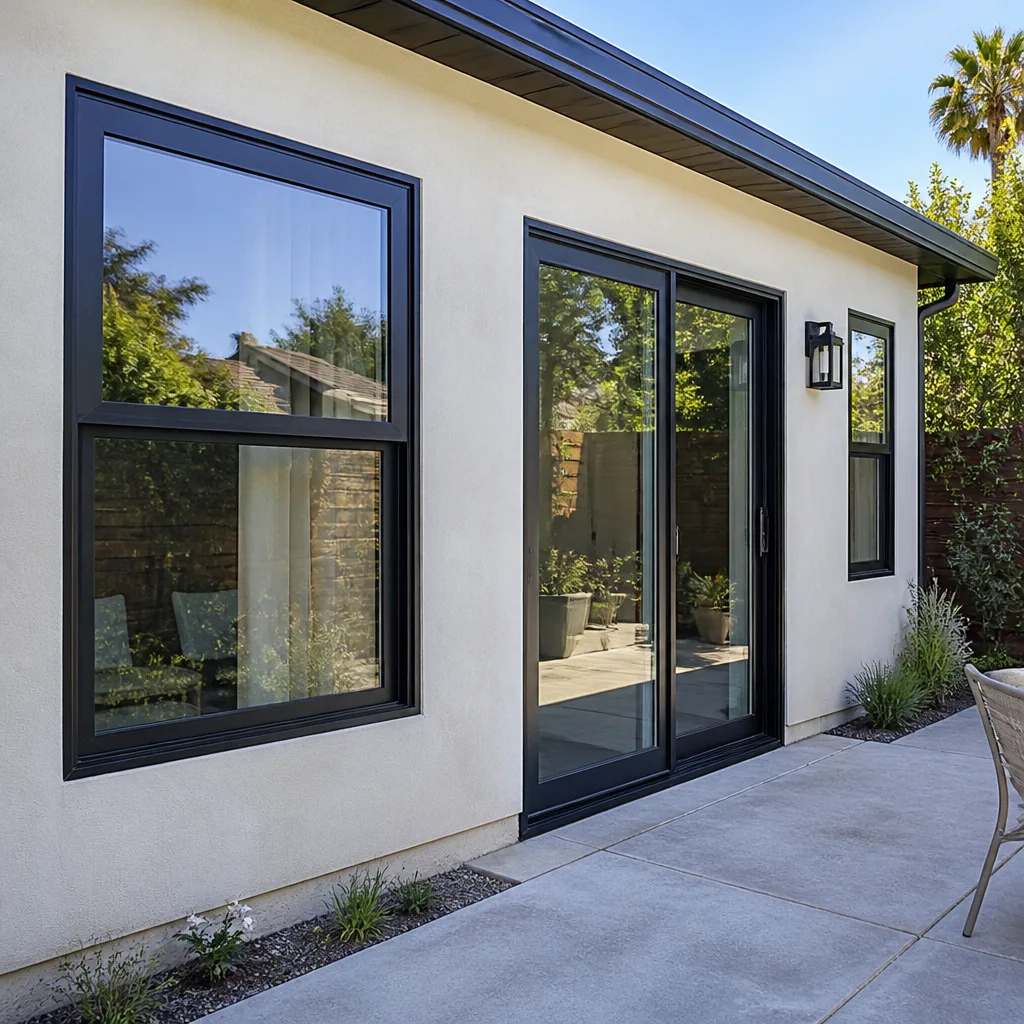 After
AfterWindow Installation Warning Signs Every Homeowner Should Know
The most expensive window callback we’ve ever untangled wasn’t caused by a bad product. It was a correctly manufactured window set into a wrongly shimmed rough opening. Three years later, the interior trim was wicking moisture into the drywall, the sill was soft under the paint, and the homeowner had no idea the problem started on installation day, not with the glass. In Los Angeles, where stucco exteriors and coastal salt air meet hundred-degree inland afternoons, a window install has to perform under conditions most product warranties never anticipate. This guide-along with our Window Replacement Maintenance Checklist for Los Angeles Homeowners-teaches you to read the whispers of a bad installation before they become water damage, mold, or a full-frame replacement you shouldn’t have needed.
Quick Answer
Bad window installation shows up as drafts you can feel near the frame, visible gaps between the window and wall, difficulty opening or closing the sash, water stains or soft drywall around the opening, and fogged glass from a failed seal. Most of these problems stem from improper shimming, skipped flashing, or a rough opening that was never measured against the actual window unit. If you catch them early, repairs are usually straightforward. If you wait until the trim stains, you’re often looking at structural water damage.
Table of Contents
- The Shim-and-Flash Checklist: What a Properly Set Window Looks Like
- How to Test for Air Infiltration Yourself Using a Stick of Incense
- Stucco Return Cracking: Flashing Failure vs. Normal Settlement
- Fogged Glass: Is It a Product Defect or an Installation Problem?
- The Documentation Trail You Should Demand on Completion Day
- What a Healthy Installation Should Not Look Like
- Common Mistakes to Avoid
- When to Call a Professional
- Frequently Asked Questions
- The Bottom Line
The Shim-and-Flash Checklist: What a Properly Set Window Looks Like
Most homeowners never see a rough opening before the window goes in, so they never learn the difference between a window that’s supported and one that’s merely wedged. A properly installed window sits on shims placed every 12 to 16 inches along the sill and jambs, with the shims transferring the weight of the glass and frame down to the framing lumber. They’re not there to fill space. They’re there to carry load.
Here’s what correct shimming looks like from the installer’s eye:
- Shims sit behind the frame, not visible after trim. If you can see plastic or wood shims sticking out past the trim or casing on a finished job, that’s a sign the installer cut corners and left the work exposed.
- The sill is flat and level before the window lands. A window set on a crowned or dipped sill will bind when it opens, even if it looks straight from the outside.
- Weight is on the sill, not the nails. A window that relies on trim nails or face screws for structural support will sag. In our experience in the Los Angeles hills, where hillside homes settle unevenly, a sagging window shows up as a gap at the top corner within two years.
- Jamb shims are placed near hinge points on casements and awnings. Those are the high-torque spots. If they’re missed, the sash pulls the frame out of square.
Flashing is the second half of the checklist. The correct sequence is: sill flashing first (angled to direct water outward), then side flashing lapped over the sill, then head flashing lapped over the sides. The laps matter. Water runs downhill, and flashing that’s lapped backward funnels water into the wall cavity instead of out over the stucco or siding. A window can be level, square, and flashed backward, and the homeowner won’t know until the first sideways rain. We see this regularly on Los Angeles homes with recessed windows and thick stucco returns, where the flashing detail is easy to hide and harder to inspect after the fact.
How to Test for Air Infiltration Yourself Using a Stick of Incense
You don’t need a blower door test to find out whether air is moving through your window. You need a stick of incense, a calm day, and five minutes per window. Here’s the step-by-step:
- Close and lock the window. Locking engages the weatherstripping. If you test an unlocked window, you’re measuring the wrong thing.
- Light a stick of incense and hold it near each seam of the window frame: the bottom sash meeting, the top sash meeting, where the sash meets the jamb on both sides, and along the outermost edge where the window frame meets the wall.
- Watch the smoke. A steady vertical wisp means no air is moving. A wisp that bends, flutters, or streams horizontally means air is passing through that seam.
- Pass and fail look like this: Smoke that drifts lazily and stays within an inch of the seam is borderline. Smoke that streams away from the window at a 45-degree angle or more is a clear fail. On a breezy day, you’ll feel the draft on your hand before you see the smoke move.
- Mark the failing windows with a piece of tape and repeat the test on the next one. Two or more failing windows on the same wall usually points to a systemic installation issue, not a single bad weatherstrip.
Air infiltration in Los Angeles homes is often misdiagnosed as “old windows need replacing” when the real issue is a rough opening that wasn’t insulated around the frame or weatherstripping that wasn’t seated because the frame was racked during install. The incense test separates those two problems in about ten seconds per seam. If the smoke streams at the frame-to-wall junction, the issue is almost certainly installation. If it only streams at the sash meeting rail, it’s more likely weatherstripping or a balance problem.
Stucco Return Cracking: Flashing Failure vs. Normal Settlement
Stucco cracks around windows in Los Angeles. That’s not unusual and not automatically a problem. The question is which type of crack you’re looking at, because the fixes are completely different and treating one like the other wastes good money.
Normal settlement cracks are hairline, usually vertical, and tend to appear at the corners of the window opening. They follow the path of least resistance in the stucco membrane and don’t widen over time. They’re cosmetic. A good elastomeric patch and repaint handles them.
Flashing failure cracks tell a different story. Watch for these patterns:
- Stair-step cracks running diagonally from the upper corner of the window down toward the lower corner. This often means water has gotten behind the stucco from improperly lapped head flashing, and the substrate is swelling.
- Cracks that widen after rain. If a crack is visibly larger in February than it was in August, you’re not looking at normal settlement. You’re looking at active moisture movement behind the stucco.
- Efflorescence or white mineral staining below the window sill. That’s dissolved salt from the stucco or masonry, carried by water that escaped through a flashing gap. Normal settlement doesn’t create efflorescence.
- Cracks paired with interior staining on the same window. When the stucco crack outside lines up with a soft spot or discoloration inside, the water path is through the window opening, not around it.
The tell we look for on a Los Angeles home is the combination: a diagonal stucco crack at the upper corner of the window plus a slight hesitation when you run a moisture meter along the interior sill. By the time the inside is visibly stained, the flashing problem has been active for two or three rainy seasons. The repair then involves pulling the window, re-flashing the opening properly, and patching the stucco, which costs significantly more than catching it at the first hairline crack.
Fogged Glass: Product Defect or Installation Problem?
A fogged insulated glass unit (IGU) is the classic installation-versus-product mystery. The fog is moisture that got between the two panes of glass, which means the edge seal that held the panes together failed. The question is what caused the seal to fail.
Here’s how to tell the difference:
- Product defect fogging appears gradually, often within the warranty period, and usually shows up as a soft haze or condensation pattern that worsens over months. The seal failed on its own.
- Installation-related fogging often appears after the window has been in place for less than a year and is frequently concentrated at one corner or edge, not evenly distributed across the glass. This happens when the window frame is racked out of square during installation, putting the IGU edge seal under constant shear stress. The seal eventually lets go because the glass unit is fighting the frame.
- Drainage-related fogging shows up when the window’s weep holes are blocked or were never cleared after installation. Water sits in the sash channel, the humidity inside the frame climbs, and the IGU seal degrades from moisture exposure. This is an installation or post-installation cleaning issue, not a manufacturing defect.
In the Los Angeles market, we see drainage-related fogging most often on stucco homes with recessed windows, where weep hole clearance is frequently skipped because it’s fiddly work. We’ve also seen installation-related seal failure on retrofit windows that were forced into rough openings that were a half-inch too narrow. The frame flexes, the seal fails, and the window fogs. The product was fine. The opening wasn’t.
If your fogged window is still under the manufacturer’s glass warranty, the IGU replacement may be covered. What’s not covered is the labor to remove the sash, pop the glazing bead, and reset the new unit. That’s a homeowner cost regardless of cause, so knowing whether the fog is a product issue or an installation issue matters for who pays for the next one.
The Documentation Trail You Should Demand on Completion Day
Most homeowners accept a handshake and a final walkthrough on installation day. That’s not enough. You should walk away with a documentation trail that proves what was done behind the trim, because that’s the part you’ll never see again without tearing the wall open. Here’s what a complete handoff looks like:
- Photos of the rough opening before the window was set. You want to see the framing condition, the shim locations, and the sill. If the crew didn’t take these, ask them to walk you through what they saw. If they can’t, that’s a red flag.
- Photos of each flashing layer. Sill flashing, side flashing, head flashing. These should be visible in sequence. A good crew shoots these as they go, and we’ve found that simply asking for them changes how carefully the work is done.
- A signed completion checklist. This lists what was installed, what was caulked, what was insulated, and what was left clean. It should be signed by the lead installer, not just the salesperson.
- The manufacturer warranty registration. For brands like CGI and ES Windows, the warranty often needs to be registered within a specific window after installation. If it’s not registered, the warranty doesn’t exist. Get the confirmation number.
- A written description of anything unusual. If the crew found a rotted sill, an undersized header, or an existing water intrusion issue, that should be documented in writing on the day it was discovered, not surfaced later with a change order.
This documentation isn’t busywork. It’s the difference between a warranty claim that gets processed and one that gets denied for “improper installation, not covered.” If the manufacturer’s rep asks for photos of the flashing and you have them, your claim moves. If you don’t, it stalls. In Los Angeles, where window replacement on stucco homes is a six-to-eight-thousand-dollar project for an average three-bedroom, that documentation is worth the time it takes to collect.
We understand this level of documentation is exactly what the Juniper Windows & Doors home service model was built around. Homeowners shouldn’t have to trust that the work behind the trim is right. They should be able to see it.
What a Healthy Installation Should Not Look Like
Some installation problems announce themselves immediately. Others take years. Here’s a list of signs we tell homeowners to check for in the first week after a window install, because catching them early is cheap and catching them late is not:
- Visible daylight around the frame or trim. If you can see outside between the window frame and the wall at any point, flashing or insulation was skipped. This is not acceptable on any install, anywhere, including a garage.
- A sash that binds at one corner. This usually means the frame is racked, which happens when the rough opening wasn’t measured correctly or the window was forced into an opening that was too small for it.
- Wrinkled or buckling interior trim. Trim that cups or pulls away from the wall within weeks of installation is reacting to moisture behind it. The window was flashed wrong, and water is already moving.
- Caulk that cracks within the first month. High-quality exterior caulk has some flexibility. If it cracks immediately, the joint was too tight, the wrong product was used, or the frame is moving because it’s not properly shimmed.
- A U-factor sticker left on the glass. This sounds trivial, but the sticker means nobody checked the glass unit. The U-factor sticker is removed during final cleaning when the installer confirms the unit matches the order. If the sticker is still there, that check was skipped.
- Cold spots on the wall directly adjacent to the window. Run your hand along the wallboard around the frame on a cold morning. If the wall is noticeably colder within a few inches of the window, the rough opening wasn’t insulated.
Los Angeles gets enough temperature swing between the coast and the valleys that a poorly insulated rough opening shows up as a cold stripe on the wall in January and a hot stripe in August. It’s the same problem, ignored for six months at a time.
Common Mistakes to Avoid
- Waiting until the trim stains to investigate. By the time interior trim shows water staining, the water has been moving for months or years. Investigate at the first sign of a draft, a crack, or a binding sash, not at the cosmetic evidence stage.
- Assuming a new window means a good window. A brand-new window installed in a badly prepped opening will fail faster than an old window that was properly flashed. The product is only as good as the opening it sits in.
- Accepting a verbal warranty on installation labor. If the installation warranty isn’t in writing, it doesn’t exist. Demand the specific term: 365 days, parts and labor, in writing. If the contractor won’t put it on paper, that tells you everything you need to know.
- Fixing the symptom without finding the path. Caulking over a stucco crack or repainting a water stain without addressing the flashing behind it is deferred failure. The water just moves to a new exit point.
- Replacing one window at a time from different manufacturers. Varying glass specs and frame materials across adjacent windows on the same elevation looks inconsistent and performs inconsistently. In a Los Angeles house with strong afternoon sun on one side, that difference becomes visible in fading and comfort within a year.
- Skipping the documentation demands. If you don’t ask for rough opening photos and flashing photos on day one, you’ll never get them later. These photos are the evidence that protects you when a problem surfaces a year after install.
- Hiring on price alone without reviewing the flashing spec. The lowest bid on a Los Angeles window job is often low because flashing labor is being shorted. Ask each bidder to describe their flashing sequence in writing. The one who can’t describe it is the one who skips it.
When to Call a Professional
Call a professional when the incense test shows air movement at the frame-to-wall junction, when the stucco crack pattern looks diagonal and widens after rain, when a fogged window is less than a year old, or when you have two or more of the warning signs above on the same wall. These are not DIY fixes. Proper flashing repair requires removing trim and sometimes the window itself, and doing that work without damaging the waterproofing system on a stucco home is skilled labor.
At Juniper Windows & Doors, we offer free estimates throughout the Los Angeles area, including Window Replacement in Los Angeles and Window Installation in Los Angeles. If you suspect an installation problem, call (682) 281-2168 and we’ll send a technician to look at the opening, the flashing, and the frame before you spend any money on repairs.
Frequently Asked Questions
A correctly installed window has no visible gaps between the frame and wall, opens and closes smoothly without binding, shows no air movement at the seams on an incense test, and produces no water staining or stucco cracking after the first rainy season. If those conditions hold for a full year, the installation was likely sound.
Minor fixes like re-caulking and shim adjustment run $150 to $400 per window. Flashing repair that requires removing the window, re-flashing the opening, and resetting the unit runs $800 to $2,000 per window depending on stucco work. Full frame replacement due to water damage to the surrounding framing runs $2,500 to $5,000 per opening. Call (682) 281-2168 for an exact quote on your specific Window Installation, estimates are free.
Manufacturer warranties cover product defects, not installation errors. Installation workmanship is covered by the installer’s own warranty, which is why it’s critical to get the installation warranty in writing. Juniper Windows & Doors covers installations with the 365-Day Done Right Promise, which means if the work isn’t right within a year, we make it right at no charge.
A standard retrofit window replacement takes 30 to 60 minutes per window for an experienced crew. A full-frame replacement takes two to four hours per opening. If the work for a whole-house project is scheduled to be done in one day, ask what that actually means for the flashing sequence, because good flashing takes time.
Sometimes. If the frame is square and the flashing is the only issue, the window can be pulled, the opening re-flashed, and the same unit reset. If the frame has been racked or the rough opening has water damage, replacement is usually more cost-effective than repair. A proper diagnosis requires pulling the trim and inspecting the opening, which is standard procedure in our Los Angeles service area.
Document it with photos, note which glass unit and which corner the fog appears in, and contact the installer immediately. If the window is under a year old, the cause may be an installation problem rather than a product defect, and that changes who pays for the fix. Call (682) 281-2168 for a diagnosis of fogged glass on any recently installed window in Los Angeles.
For most retrofit window replacements in Los Angeles, permits are not required for like-for-like size replacements. Full-frame replacements or any job that modifies the rough opening may require a permit depending on the municipality. We handle Door Replacement in Los Angeles and window replacement with the same standard: we tell you upfront whether a permit is needed and we pull it when it is.
We install windows from eight product lines, including CGI, CWS, ES Windows, and ECO Window Systems. The right glass package depends on your exposure, your climate zone within Los Angeles County, and whether you’re in a wildfire-adjacent or coastal environment. We’ll spec a window based on your actual conditions, not what’s on the truck.
The Bottom Line
Window installation problems rarely announce themselves with a catastrophe. They appear as a draft you feel on a cold morning, a hairline crack in the stucco, a sash that sticks, or a fogged corner of glass. Each of these whispers points to something specific: a racked frame, a skipped flashing lap, an uninsulated rough opening, or an IGU under stress. Learn to read them-our more guides & resources can help-and you catch problems when a shim adjustment and re-flash solves everything. Ignore them and you’re replacing framing, drywall, and the window itself. In Los Angeles’s stucco-heavy housing stock, that difference is measured in thousands of dollars. The documentation trail and the written warranty are your leverage, and no install should be accepted without both.
Written by Sean Mackey, Owner at Juniper Windows & Doors, serving Los Angeles since 2001.