
Last updated October 9, 2026
Free in-home measure and quote - PGT, CGI and CWS impact lines compared on your actual openings, style by style
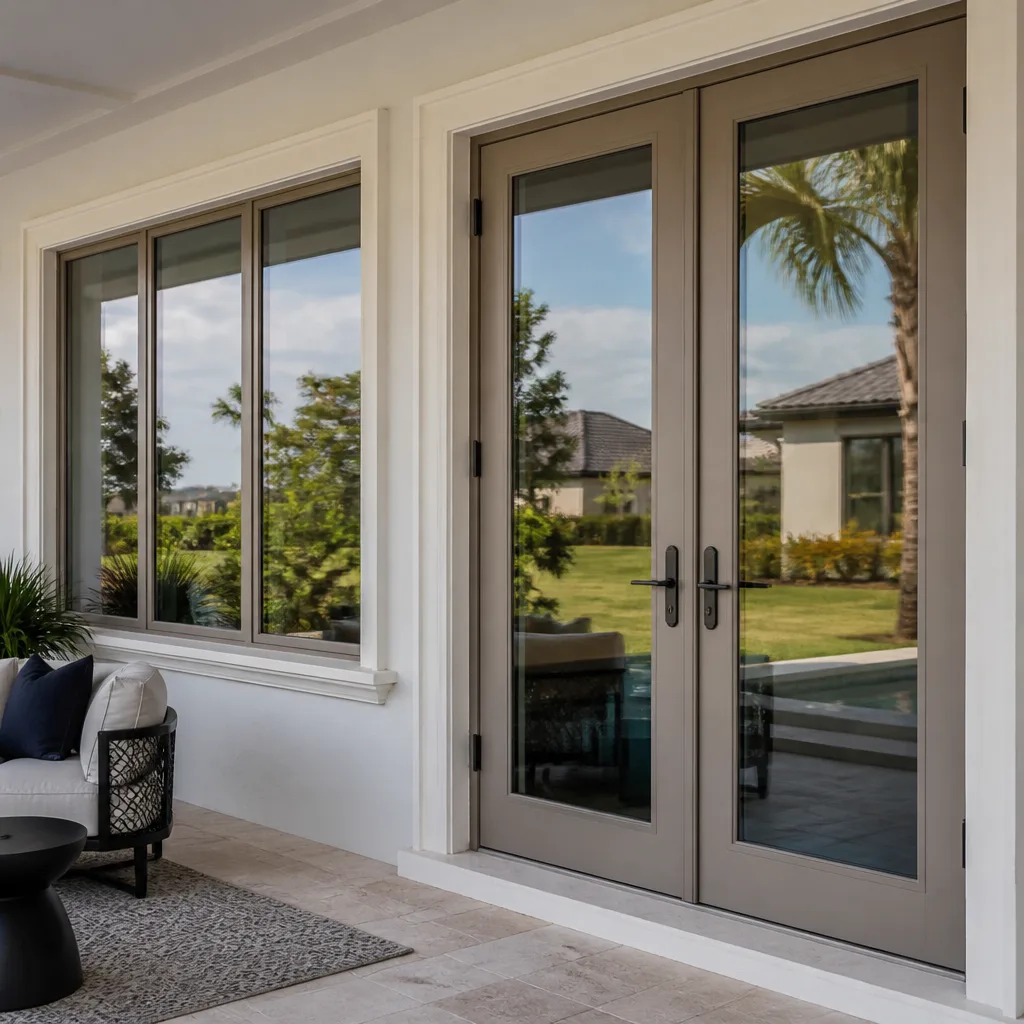
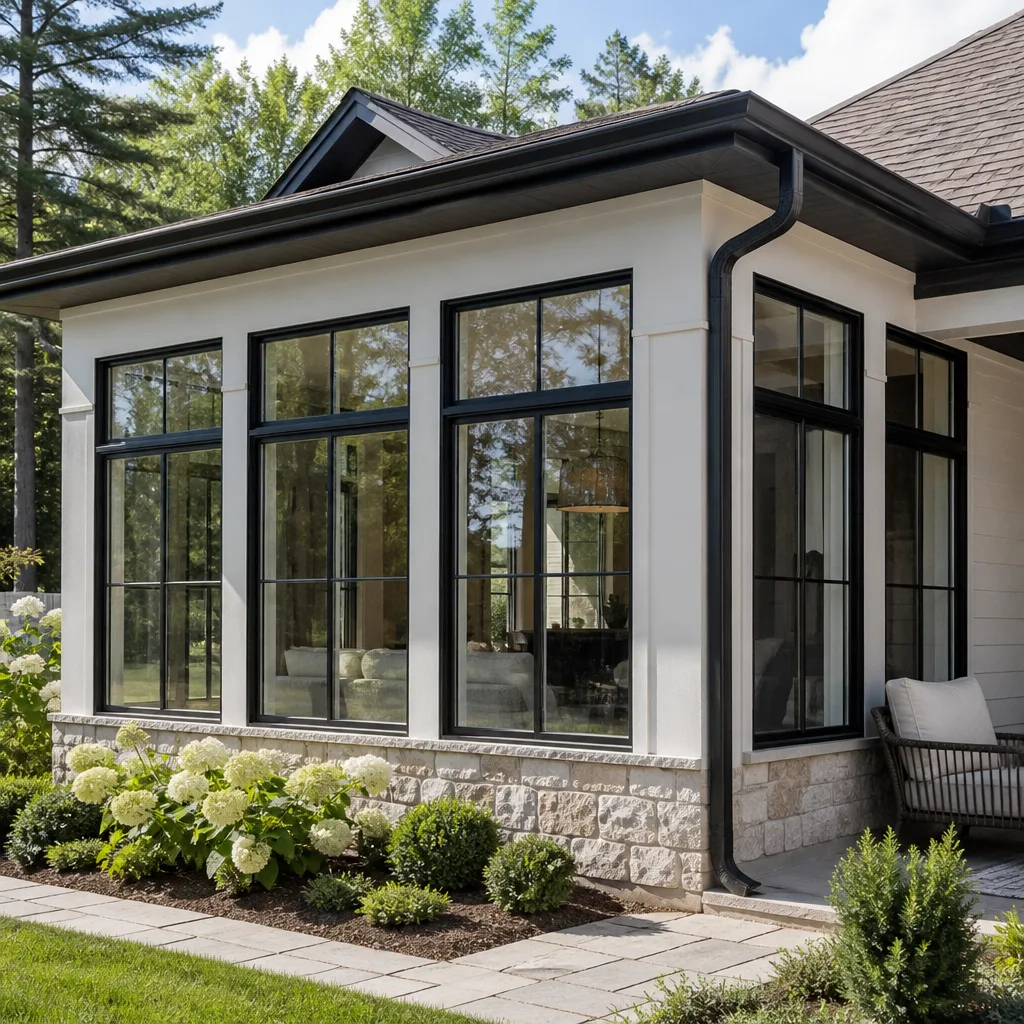
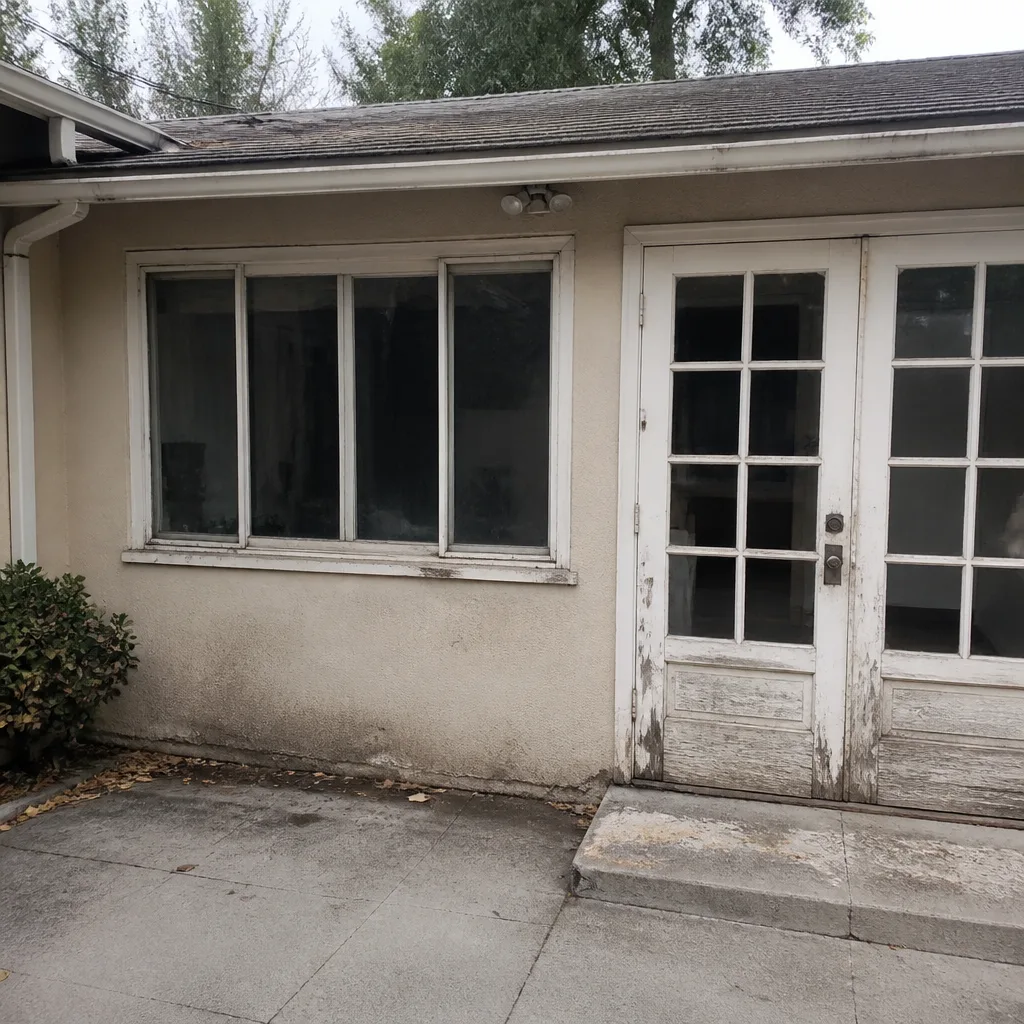 Before
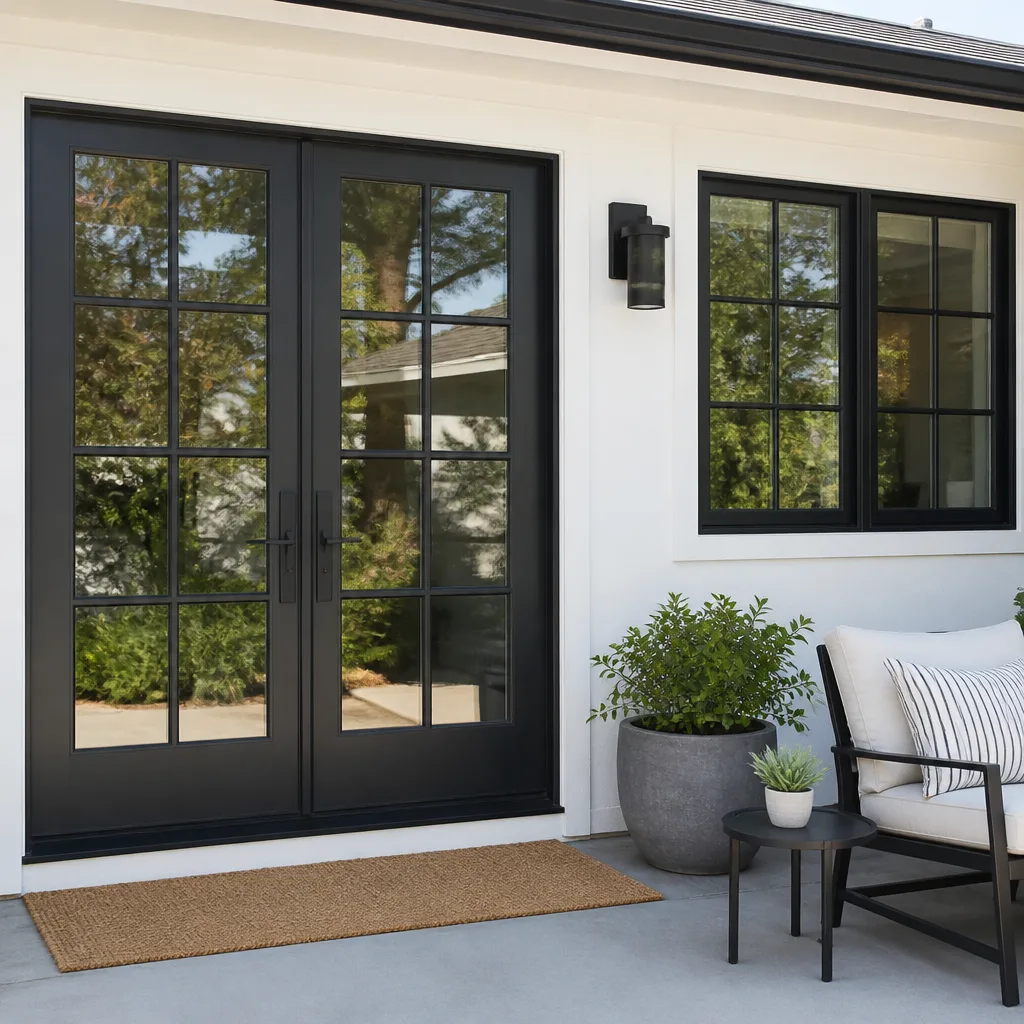 After
After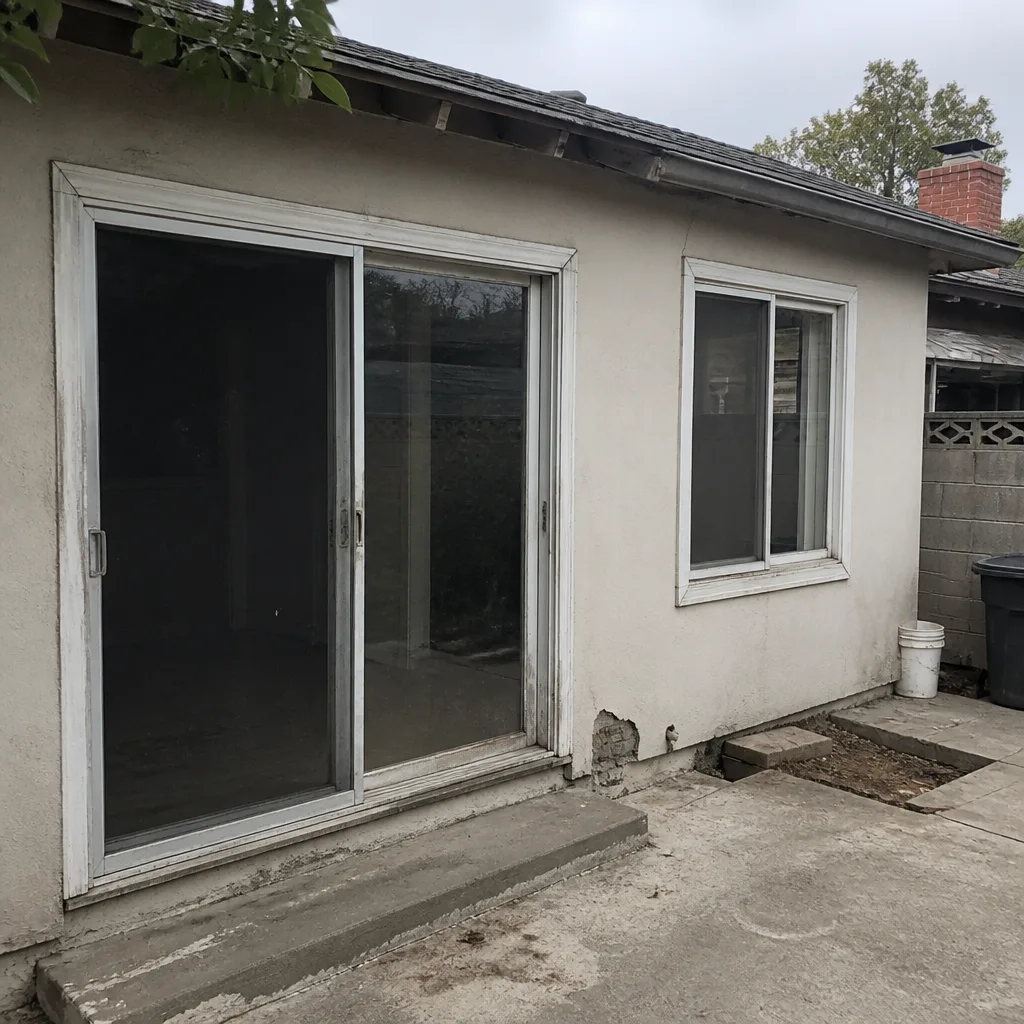 Before
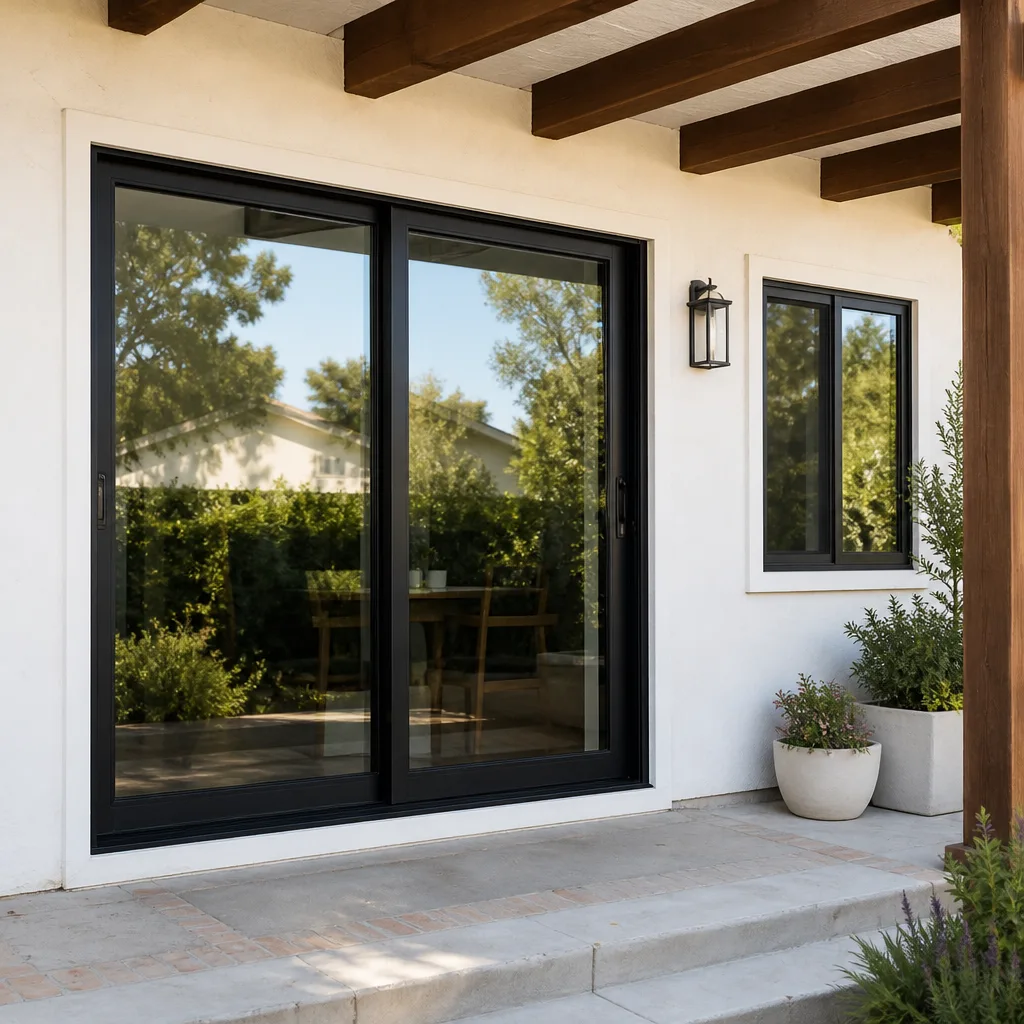 After
After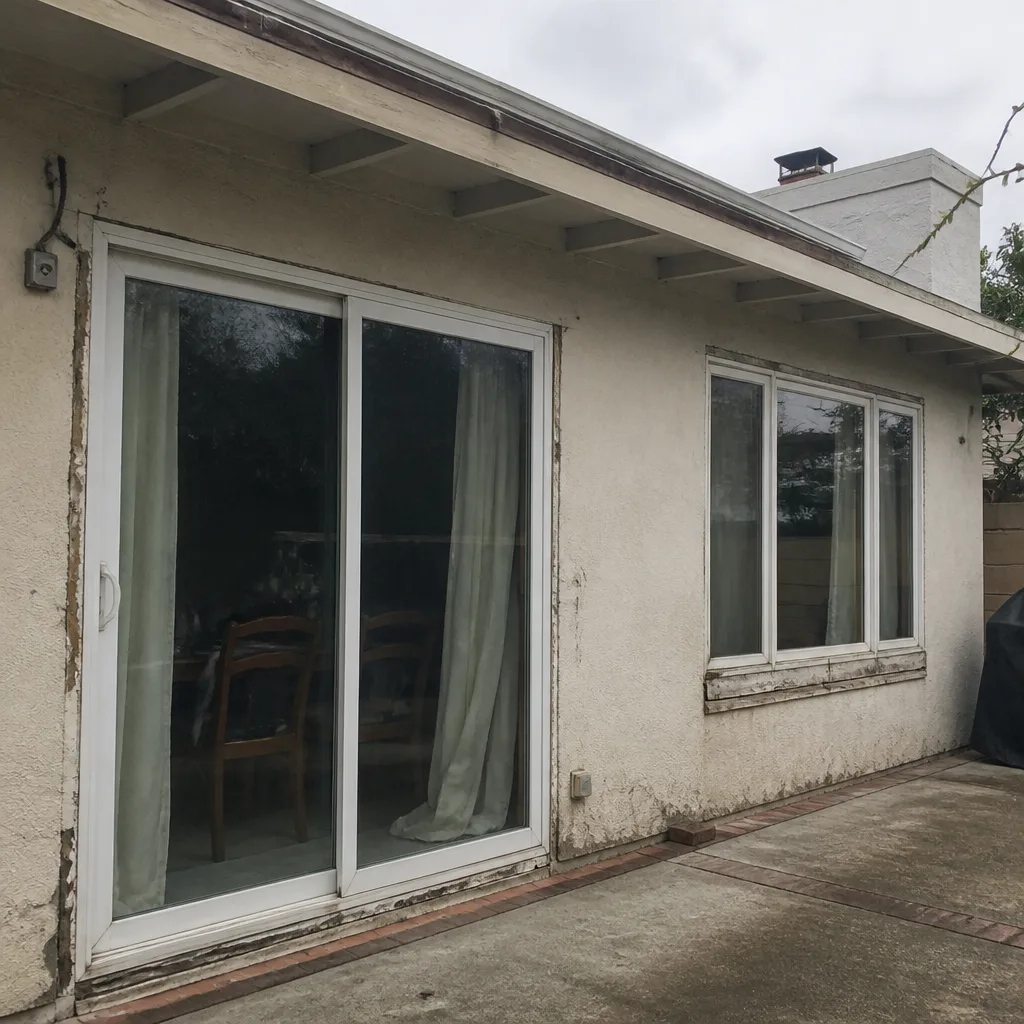 Before
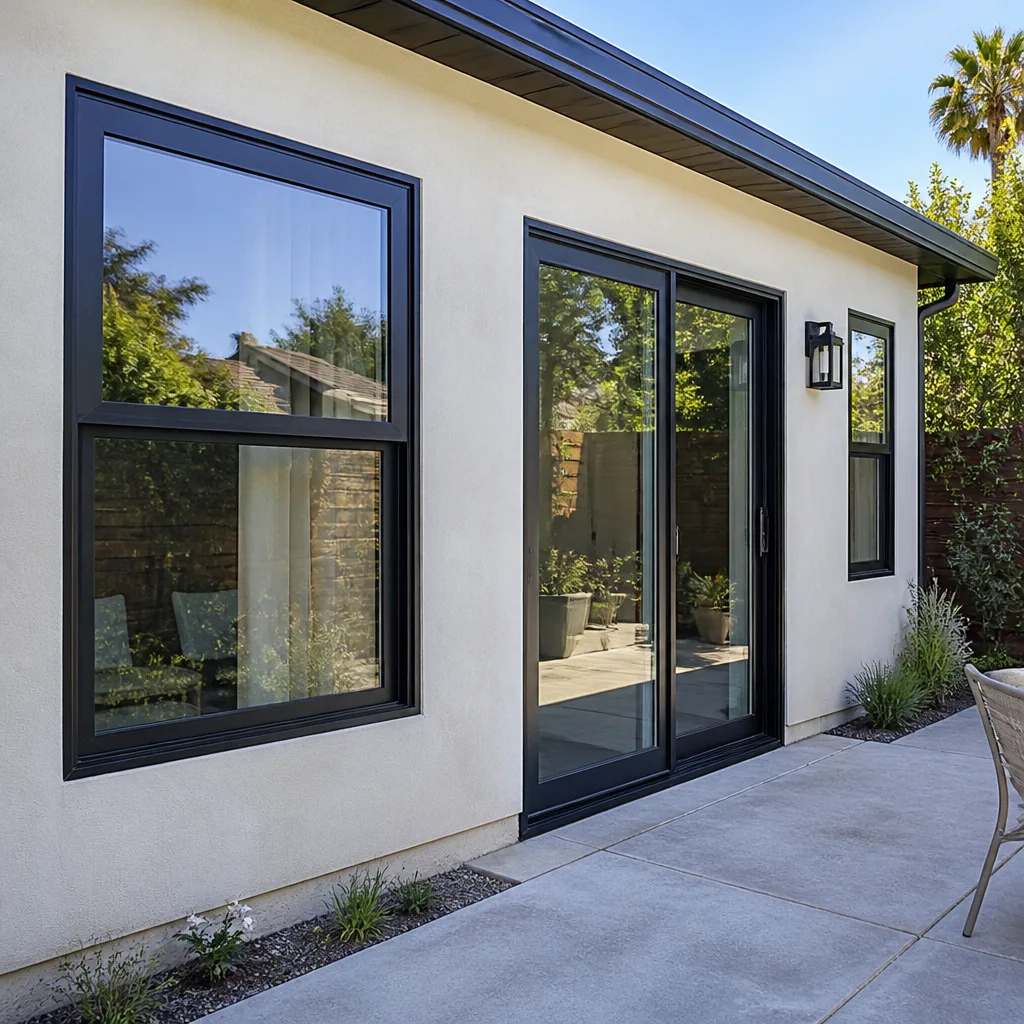 After
AfterWindow Replacement Troubleshooting: Common Problems and How to Fix Them
A window failing its first winter after replacement isn’t a defective product 70% of the time – it’s a flashing or shimming error that a good installer would have caught on day one. Most homeowners in Los Angeles blame the glass, the frame, or the brand when something goes wrong, because that’s what they can see. But the truth is messier: the window itself is usually fine. The problem is how it was put in, sealed, leveled, and flashed. This guide walks you through the most common post-installation failures, how to tell a product warranty issue from an installation defect, and what actually costs money to fix versus what a careful adjustment can resolve in an afternoon. For related reading, see our guide on Window Replacement Warning Signs Every Homeowner Should Know. By the end, you’ll know when to call the installer back, when to lean on a manufacturer warranty, and when you’re looking at a $40 fix you can handle yourself.
Quick Answer
Most our Window Replacement services problems fall into two buckets: installation errors (drafts, racking, leaks around the frame) and product failures (failed seals, warped sashes, defective hardware). Drafts, binding, and water intrusion around the rough opening are installer issues and should be covered by a written workmanship guarantee. Fog between the panes is a seal failure and falls under the manufacturer’s glass warranty. Start with a visual inspection and a draft test, document what you find, then call whoever is responsible before touching anything yourself.
Table of Contents
- Warranty Issue vs. Installation Defect: How to Tell the Difference
- Condensation Between Panes: What Seal Failure Actually Means
- Draft Diagnosis: Finding Exactly Where Air Is Getting In
- Racking and Binding: When a Window Is Out of Square
- Water Intrusion: Flashing, Weepholes, and the Rough Opening
- Hardware Failures: Balancers, Locks, and Latches
- Common Mistakes to Avoid
- When to Call a Professional
- Frequently Asked Questions
Warranty Issue vs. Installation Defect: How to Tell the Difference
Here’s the single most useful distinction a homeowner can make before spending a dollar on repairs: a manufacturer’s warranty covers the window itself. A workmanship guarantee covers everything around it. In Los Angeles, where we see everything from 1920s Spanish bungalows to glassy modern builds up in the hills, the line between these two gets blurred constantly because contractors would rather you think every problem is a product defect. It’s not.
A manufacturer defect means the window left the factory with a problem: a seal that failed prematurely, a sash that warped, a lock that snapped under normal use. These issues appear regardless of who installed the window and are usually covered by the brand’s warranty, often 10 to 20 years on glass and 5 to 10 on hardware, depending on the line. Brands like ES Windows, ECO Window Systems, and Mr-Glass all carry their own specific coverage, so read the paperwork that came with your job. If you don’t have it, call the manufacturer with your window’s serial number, which is usually etched into the glass corner or printed on a sticker inside the frame.
An installation defect means the window is fine, but the way it was put into your wall was bad. This is the contractor’s problem, and in California, a licensed contractor’s workmanship is typically warrantied for at least one year by state law, though the exact terms vary by company. Juniper Windows & Doors puts it in writing: a 365-Day Done Right Promise covering parts and labor on every completed installation. If the work isn’t right within that year, we make it right. No invoice, no argument.
Here’s a quick visual checklist to tell them apart at a glance:
- Draft coming through the sash (where the window opens). Usually a product issue: the weatherstripping or seal is defective.
- Draft coming around the frame (where the window meets the wall). Almost always an installation issue: poor insulation, missing shims, or failed caulk.
- Fog or moisture between the glass panes. Product issue: the seal failed. This is a manufacturer warranty claim.
- Condensation on the interior glass surface. Not a window failure at all. It’s indoor humidity meeting cold glass. More on this below.
- Window hard to open, close, or lock. Could be either. If the frame is square and the window still binds, it’s a product issue. If the frame is out of square, it’s installation.
- Water pooling on the interior sill after rain. Installation issue in nearly every case: flashing or weeping problem at the rough opening.
Document everything before you call anyone. Take photos. Note the date, the weather, and exactly where the problem shows up. A contractor who asks for this before scheduling is doing you a favor – a contractor who dismisses your photos as irrelevant probably isn’t planning to fix anything at all.
Condensation Between Panes: What Seal Failure Actually Means
Condensation between the panes of a double- or triple-pane window means the inert gas fill has leaked out and moist air has worked its way in. It’s a seal failure, plain and simple. It is not a humidity problem in your house, and no dehumidifier will fix it. Once that seal is gone, the insulating gas is already gone with it, and the window’s U-factor, its resistance to heat transfer, starts degrading. In Los Angeles, where summer cooling loads matter as much as winter heating, a failed seal means your AC works harder and your energy bill creeps up.
The threshold that signals you need action is simple: if you can see moisture, fog, or water droplets between the glass panes that you cannot wipe away from either side, the seal is done. That’s the bright line. Some homeowners in coastal neighborhoods like Playa del Rey or San Pedro notice it more often because of the salt air and humidity swings, but seal failure happens everywhere in LA County eventually.
What most people don’t realize is that seal failure is covered under the manufacturer’s glass warranty, not by the installer. The glass unit itself gets replaced, often called an IGU (insulated glass unit) swap. It’s a fraction of the cost of a full window replacement, typically $150 to $400 per window depending on size and glass package, and the frame stays in place. If your window is still under the manufacturer’s warranty period, the replacement glass may cost you nothing but the service call.
One note from the field: impact-rated glass, the kind rated for wind-borne debris and common in Los Angeles hillside homes where fire and storm hardening matters, is built differently than standard annealed glass. When an impact-rated seal fails, the replacement unit needs to match the original spec exactly, which means working with a dealer who carries the same product line. A mismatched IGU in an impact-rated frame voids the entire assembly’s rating. Don’t let a handyman swap in a generic glass pack on a PGT or other impact-rated window.
If the seal failure is paired with water staining inside the frame or around the sill, you’re now dealing with an installation problem layered on top of a product issue. That’s when the written guarantee matters.
Draft Diagnosis: Finding Exactly Where Air Is Getting In
A lit incense stick is the cheapest diagnostic tool in window troubleshooting, and it works better than your hand ever will. Light one, hold it about two inches from the window, and move it slowly around the entire perimeter: top of the sash, bottom, both sides, and then the gap between the frame and the wall. If the smoke wavers, bends, or blows inward, you’ve found the leak. If it rises straight, move on. Turn off ceiling fans and close interior doors first so you’re testing the window, not the HVAC.
Where the smoke blows tells you who to call, and this is where homeowners in Los Angeles save real money. Here’s the breakdown:
- Leak at the sash (where the moving part meets the fixed frame). This is normally a weatherstripping failure, which is a product-level repair. Most brands sell replacement weatherstripping kits for under $50. If the window is under warranty, the manufacturer usually covers it.
- Leak between the frame and the wall (the rough opening). This is an installation failure: the installer didn’t insulate the gap properly, missed shims, or left voids in the foam. The fix is pulling the interior trim, re-insulating, and re-caulking, typically a $200 to $500 job for a competent technician.
- Leak through the wall itself, not the window. In older Los Angeles homes with stucco or wood siding, air often infiltrates through wall penetrations around outlets, plumbing, or old framing gaps near the window opening. This is not a window problem at all, and no window replacement will fix it.
If you’re replacing windows in an older home, as many LA buyers are, the rough opening matters just as much as the glass going into it. A good installer insulates and air-seals that cavity with closed-cell foam and backer rod before the trim goes back on. A bad installer caulks the visible gap and calls it done. The difference shows up in your February heating bill and your August AC bill, every year, for as long as you own the house.
Racking and Binding: When a Window Is Out of Square
Racking is what happens when a window is forced into an opening that isn’t square, or when it’s shimmed wrong and the frame twists. Binding is the symptom: the sash sticks, scrapes, won’t lock, or needs two hands to move. In our experience across Los Angeles, from the hillside foundations in Silver Lake that shift with the seasons to the older wood-frame houses in the Valley, racking is one of the most common installation errors we see on someone else’s work.
Here’s how to check if a window is racked:
- Measure the diagonals. From the top-left corner of the visible glass to the bottom-right corner, then the opposite diagonal. On a square window, these two measurements should be within 1/8 inch of each other. More than 3/16 inch off and the window frame is out of square.
- Open the sash halfway and let go. It should stay put. If it creeps open or slides shut on its own, the frame isn’t level across the width.
- Look at the reveal lines. The gap between the sash and the frame should be consistent all the way around. If it’s tight at one corner and wide at another, something is out of alignment.
A professional re-level typically costs $150 to $350 per window in the Los Angeles market, assuming the frame hasn’t been permanently deformed. The fix involves removing interior trim, cutting the caulk and foam seal, re-shimming the unit level and square, and re-sealing. It’s an afternoon job for a technician who knows what they’re doing.
A full replacement runs $600 to $2,000 per window depending on size, material, and glass package. So the difference between catching racking early and living with it for five years is real money. If the window was installed less than a year ago, a racking problem should be covered by the installer’s workmanship guarantee. At Juniper Windows & Doors, that’s the 365-Day Done Right Promise, in writing, on every job. If it’s out of square because of foundation movement over decades, that’s a structural issue, not a window defect, and you may need a different conversation with a contractor who can address the opening itself before any new window goes in.
Water Intrusion: Flashing, Weepholes, and the Rough Opening
Water coming through or around a new window in Los Angeles almost always traces back to the rough opening, not the glass. Most water intrusion we diagnose comes from one of three places: missing or improperly lapped flashing at the sill, clogged or plugged weepholes in the frame, or a failed caulk joint between the exterior trim and the wall cladding. Here’s how to trace which one you’re dealing with.
Weepholes are small drainage openings built into the bottom exterior edge of most modern window frames. Their job is to let condensation and minor infiltration drain to the outside instead of pooling inside. In a dry, dusty climate like Los Angeles, they clog with debris – dust, pollen, spider nests, the fine grime that settles on every horizontal surface. If water pools inside the track but never escapes, check the weepholes first. A paperclip or a can of compressed air usually clears them in thirty seconds. This is a homeowner-level fix, not a service call.
Flashing is the water management system at the rough opening: sill pan flashing at the bottom, flashing tape lapped up the sides, a drip cap at the top. Correct flashing sheds water down and out. Incorrect flashing lets water behind the frame and into the wall cavity, where it rots the framing and shows up as staining on the interior drywall months or years later. In Los Angeles, we get most of our rain in a short winter window, which means a flashing problem can hide for a long time and then reveal itself all at once during a heavy storm. If water appears on the interior sill only when rain hits the window directly, and never on dry, windy days, suspect flashing.
Caulk failure at the perimeter is the easiest water problem to spot and the one most often mistaken for a window defect. Caulk has a lifespan here: five to ten years maximum against California UV exposure. If the caulk bead is cracked, pulling away, or missing entirely, water is getting behind the frame. The proper fix is removing the old bead completely, backer rod where needed, and a high-quality exterior sealant applied to the manufacturer’s spec. A $12 tube of caulk and an hour of careful work solves what some contractors would charge $500 to “fix” with a full replacement pitch.
One Los Angeles-specific note: many older homes in neighborhoods like Hancock Park or Los Feliz have original wood siding under stucco patches, and the window rough openings were never properly flashed when the original single-pane windows went in fifty years ago. If you’re replacing windows in a house like that, insist on full sill pan flashing at the rough opening during installation. Skip it, and the best window in the world will still leak.
Hardware Failures: Balancers, Locks, and Latches
Window hardware fails in predictable ways, and most of it is a manufacturer issue, not an installation one. The most common failure we see in Los Angeles homes is a broken balancer on a double-hung window – the internal spring or coil mechanism that counterweights the sash so it stays open where you leave it. When a balancer fails, the sash either slams shut, won’t stay up, or is suddenly much harder to lift. Replacement balancers are model-specific and usually run $25 to $75 per pair, with labor bringing a balancer swap to around $100 to $200 per window. If the window is under warranty, the manufacturer covers the parts.
Lock and latch failures are the second most common. A lock that was aligned correctly at installation and suddenly doesn’t catch usually means the sash has settled out of alignment, or the strike plate has worked loose over time. Tighten the screws first; that fixes maybe half of all lock complaints without any parts at all. If the lock mechanism itself has failed – a broken cam, a stripped gear – it’s a replacement part, typically $20 to $60 from the manufacturer.
Crank operators on casement windows are another frequent point of failure, especially in coastal areas of LA where salt air accelerates corrosion. A stiff, grinding crank usually means the operator gear is stripped or the hinge hardware has corroded. Replacement operators are brand-specific, and this is exactly why it matters that your installer has access to the original product line. A generic replacement part from a hardware store may fit, but it won’t match the original torque or travel, and then the window never quite closes right again. If you’re buying from a dealer with access to Therma-Tru or ECO Window Systems lines, for example, the correct replacement operator is a stocked part, not a special order.
The rule of thumb: if the hardware worked when the window was installed and failed within a few years, it’s a product failure and the manufacturer should cover it. If it never worked right from day one – hard to lock, stiff to crank, won’t latch cleanly – that’s an installation alignment problem, and the installer should fix it under workmanship coverage.
Common Mistakes to Avoid
- Paying to replace a window that only needs a new IGU. A failed seal between panes means new glass, not a new window. The frame is fine. Don’t let a contractor talk you into a $1,500 replacement for a $300 glass swap.
- Ignoring a draft because “it’s an old house.” Air infiltration isn’t a character feature. In Los Angeles, a drafty window costs you money every month in heating and cooling, and it’s usually fixable with weatherstripping or re-insulation at the rough opening.
- Caulking the interior of a leaking window. Interior caulk never stops water intrusion; it just traps moisture inside the wall cavity where it rots framing you can’t see. Fix the flashing or the exterior seal first.
- Assuming every warranty claim goes through the installer. Glass seal failures go through the manufacturer. Workmanship issues go through the contractor. Filing the claim with the wrong party wastes weeks and gets you a runaround.
- Replacing windows over a foundation or framing problem. If the opening is out of square because the house has settled, a new window won’t fix the racking. It’ll just bind in the same place the old one did. Address the opening first.
- Throwing away the paperwork. Every window has a serial number, and every warranty claim needs it. Stash the paperwork from your installation, or at minimum photograph the labels before you close the wall up.
When to Call a Professional
Call a professional when the problem is in the rough opening: water intrusion around the frame, racking or binding, air infiltration that affects more than one window on the same wall, or any time you’re not sure whether the failure is product or installation. These are not homeowner-level fixes, and the cost of guessing wrong is measured in water damage and framing rot, not just discomfort. Also call a professional if your window is impact-rated. Messing with the frame or glass on an impact assembly voids the rating, and in Los Angeles hillside areas where that rating matters for fire and wind hardening, that’s a risk you don’t take. Juniper Windows & Doors offers free estimates in Los Angeles – visit the Juniper Windows & Doors home page to see how we work, or call (682) 281-2168 to schedule a visit. We’ll tell you what’s actually wrong and what it costs in writing before anything gets replaced.
Frequently Asked Questions
Most air leaks fall into two price bands: weatherstripping replacement at the sash runs $30 to $80 per window, while re-insulating and re-sealing the rough opening runs $200 to $500 per window. If the window was recently installed and the leak is at the frame, the installer’s workmanship guarantee should cover it. Call (682) 281-2168 if you’re in Los Angeles and want an exact quote – estimates are free and written.
If the problem is in the glass or the moving hardware – fog between panes, a broken lock, a snapped balancer – it’s typically a manufacturer warranty issue. If the problem is around the window – drafts at the frame, leaks at the sill, racking or binding – it’s an installation defect and falls under the contractor’s workmanship coverage. Document what you see, then file with the right party.
Water appearing on the interior sill during rain points to a flashing or exterior seal failure at the rough opening, not a problem with the window itself. In Los Angeles, where rain is seasonal, this problem often hides through the dry months and appears suddenly during winter storms. The fix is re-flashing or re-sealing the exterior perimeter, not replacing the window.
A quality vinyl, fiberglass, or aluminum window installed correctly in Los Angeles should last 25 to 40 years, with the glass seal warranty often covering 10 to 20 years. Coastal salt air and hillside sun exposure can shorten hardware life, but the frame and glass should hold. Window Replacement in Los Angeles is covered in depth on our dedicated page.
Sometimes. Start by checking the weepholes for debris, tightening any loose screws on the lock or hinges, and cleaning the tracks. If the window is racked or out of square, that’s a professional job, not a DIY fix. Forcing a racked window risks cracking the glass or breaking the hardware, which turns a $200 re-level into a replacement.
Window replacement in Los Angeles generally doesn’t require a permit when the opening size stays the same and it’s a like-for-like swap. Structural changes, new openings, or enlarging an existing opening do trigger the permit process, and that’s work you want a contractor who handles the paperwork end to end. Window Installation in Los Angeles explains what to expect, or call us for specifics on your project.
If the frame is square, the glass is intact, and the draft is at the sash, replacing the weatherstripping fixes it for under $80. If the draft is at the frame or the window is 30-plus years old with a failing seal, replacement makes more sense. A written estimate will tell you which camp you’re in. Door Replacement in Los Angeles and window work are both areas where we’ll give you an itemized quote before any work begins.
The Bottom Line
Most window replacement problems in Los Angeles are installation failures wearing a product’s face. Drafts at the frame, water at the sill, racking and binding – these are the fingerprints of a rushed or careless install, not a factory defect. Before you pay to replace anything, diagnose where the failure actually lives: the sash, the frame, the glass, or the rough opening. Then hold the right party accountable. If you have a written workmanship guarantee, use it. If you don’t, that’s the lesson. The best window in the world means nothing if it wasn’t put in square, sealed tight, and flashed right. For more guides & resources on keeping your installation solid, explore our blog. When the work is done correctly, the window should disappear into the wall and do its job for decades without you thinking about it once.
Written by Sean Mackey, Owner at Juniper Windows & Doors, serving Los Angeles since 2001.