
Last updated October 9, 2026
Free in-home measure and quote - PGT, CGI and CWS impact lines compared on your actual openings, style by style
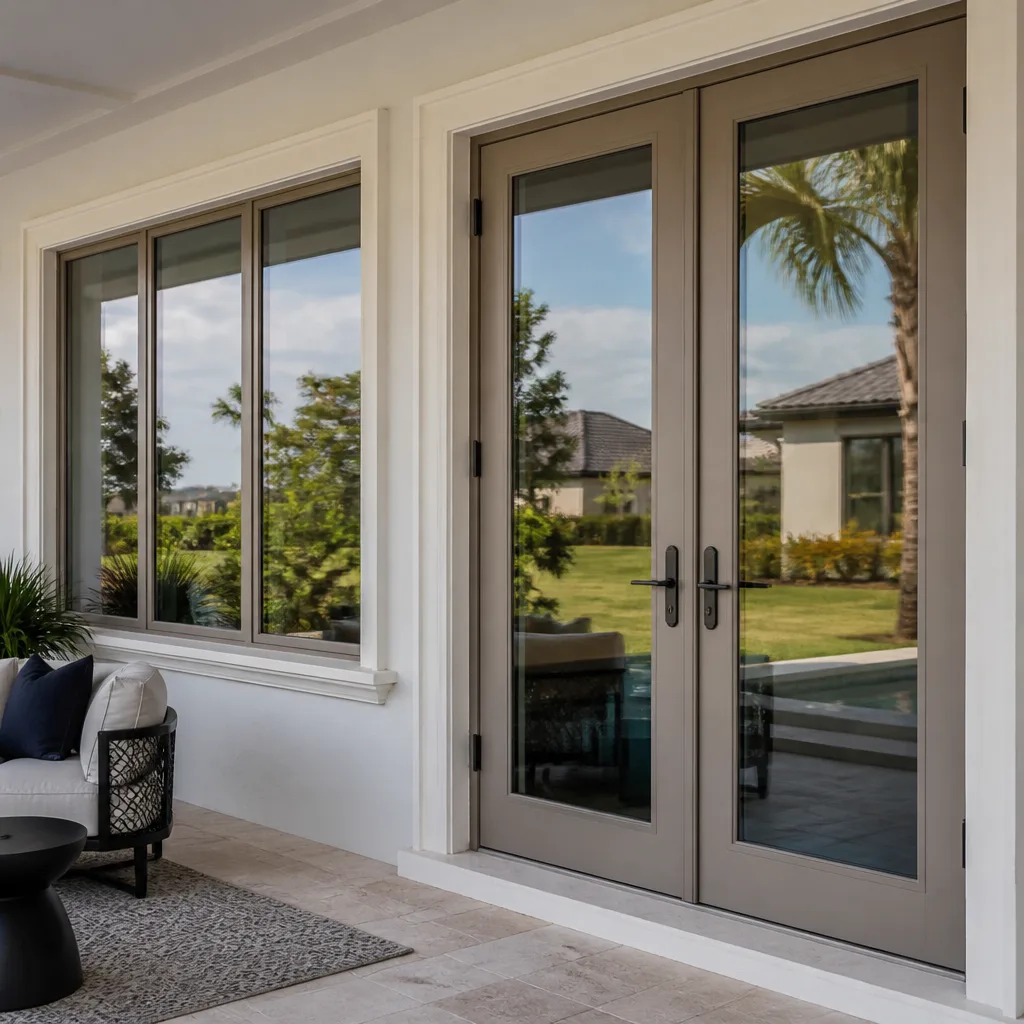
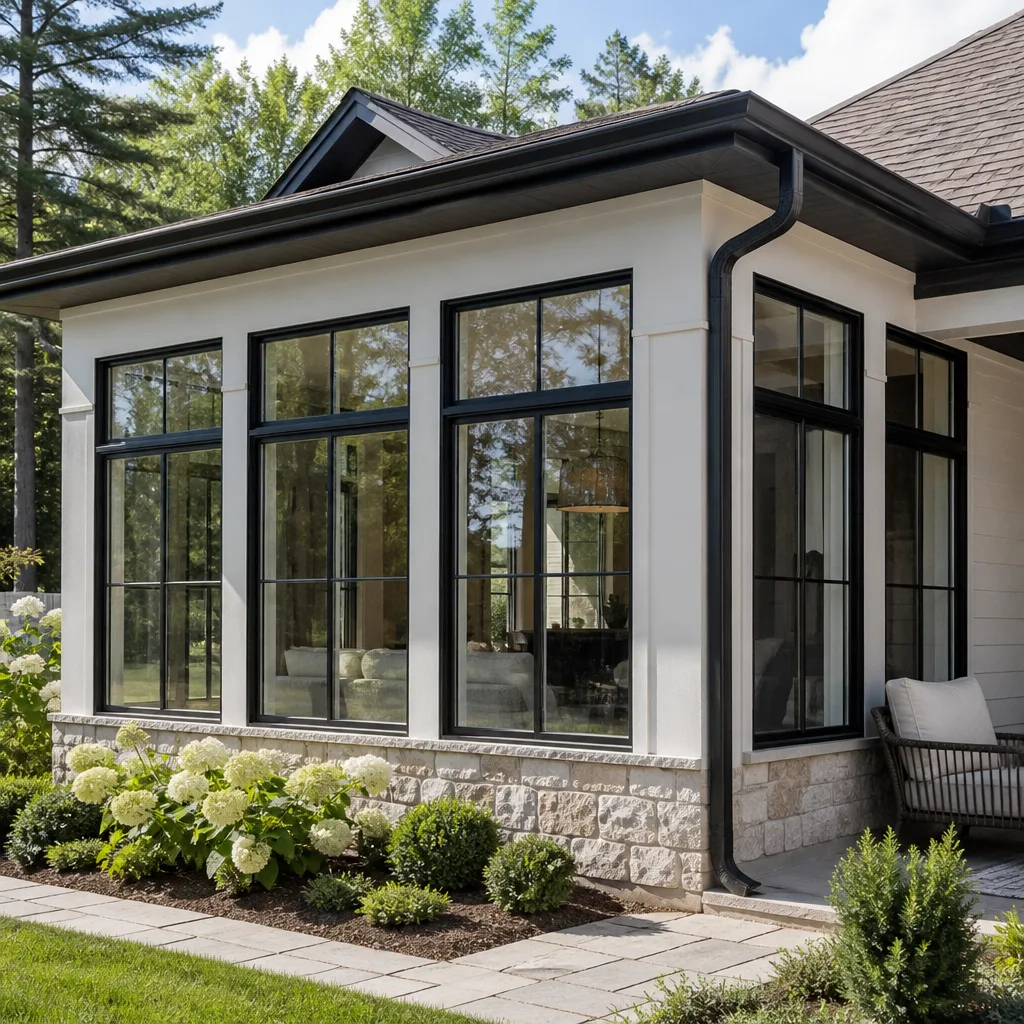
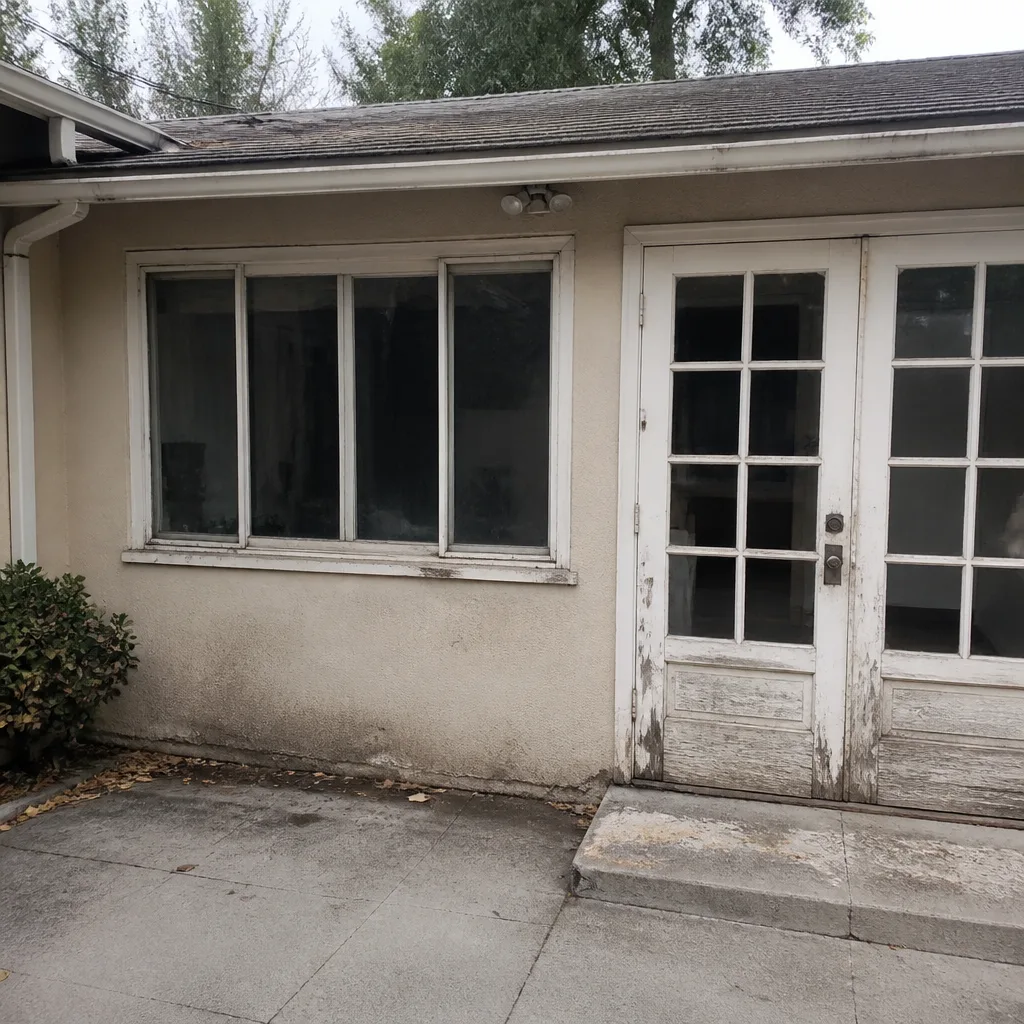 Before
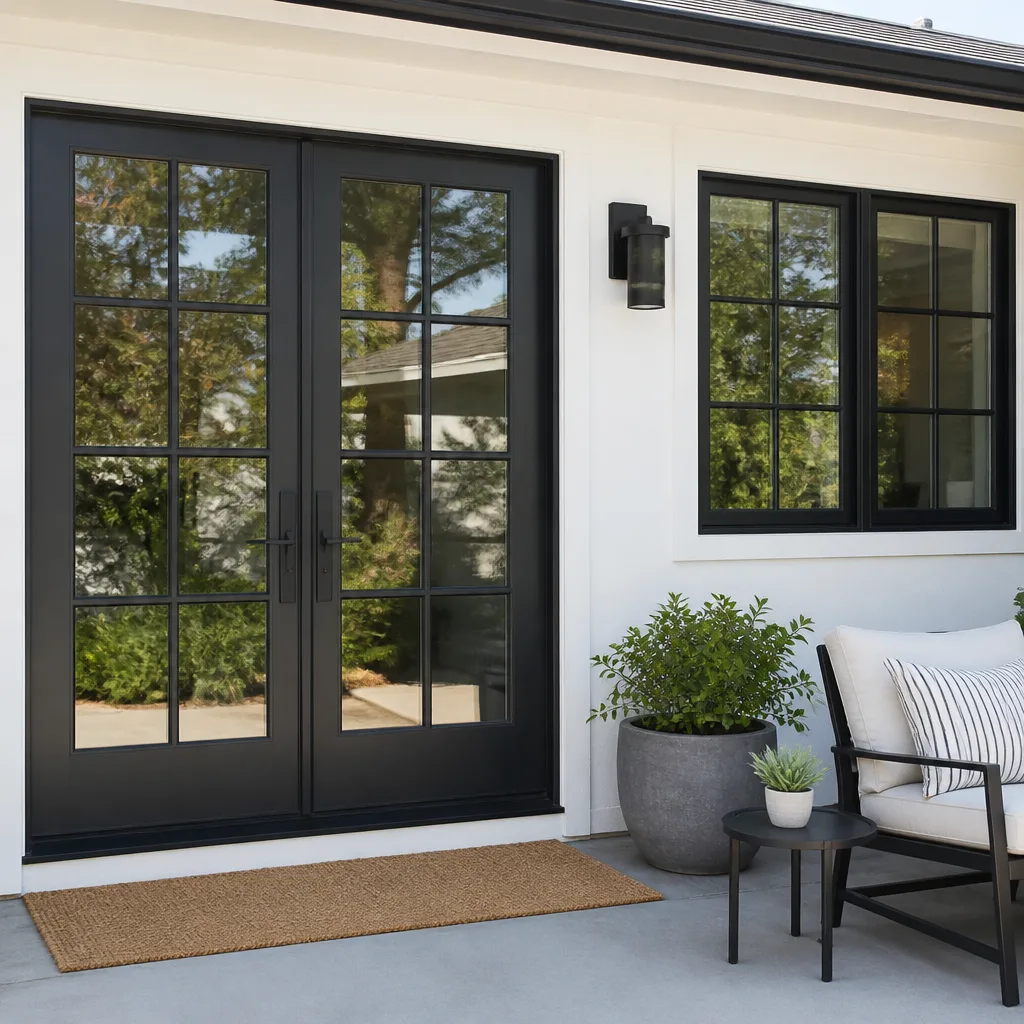 After
After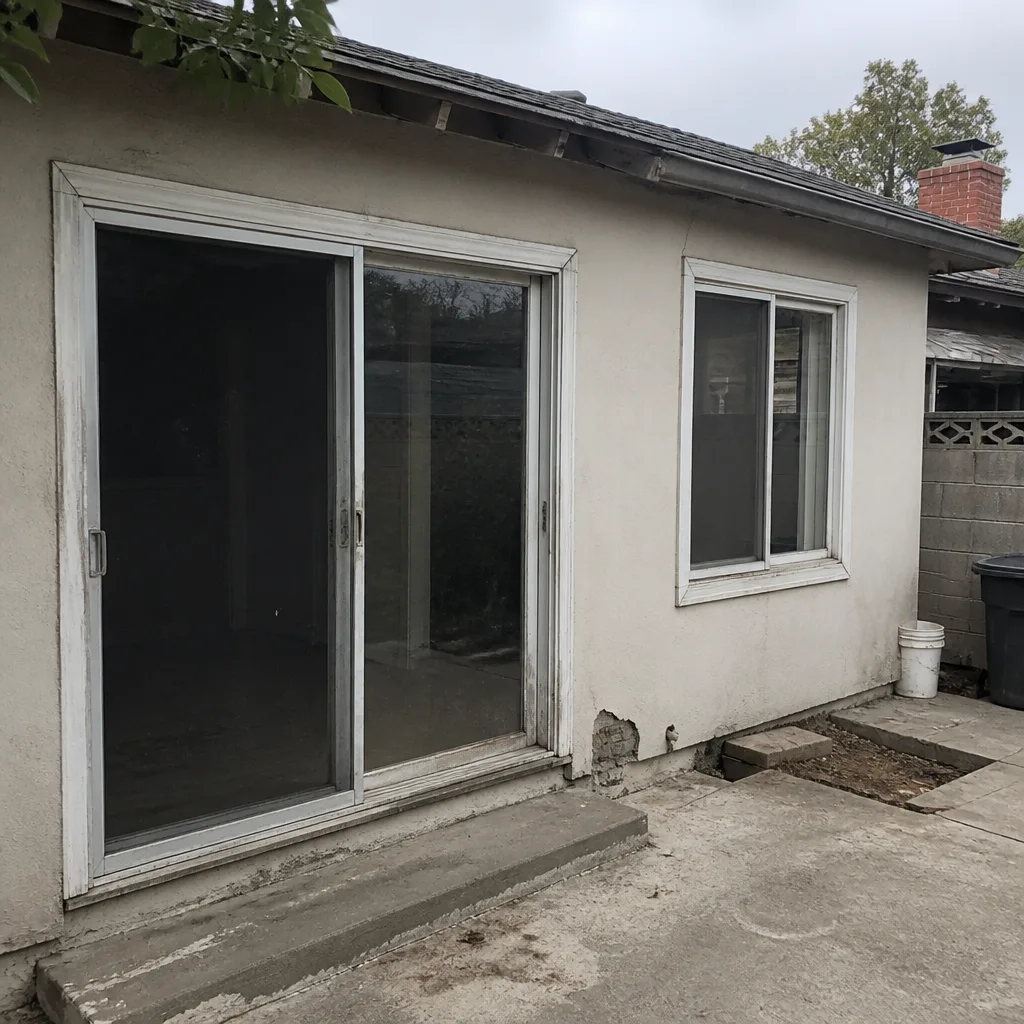 Before
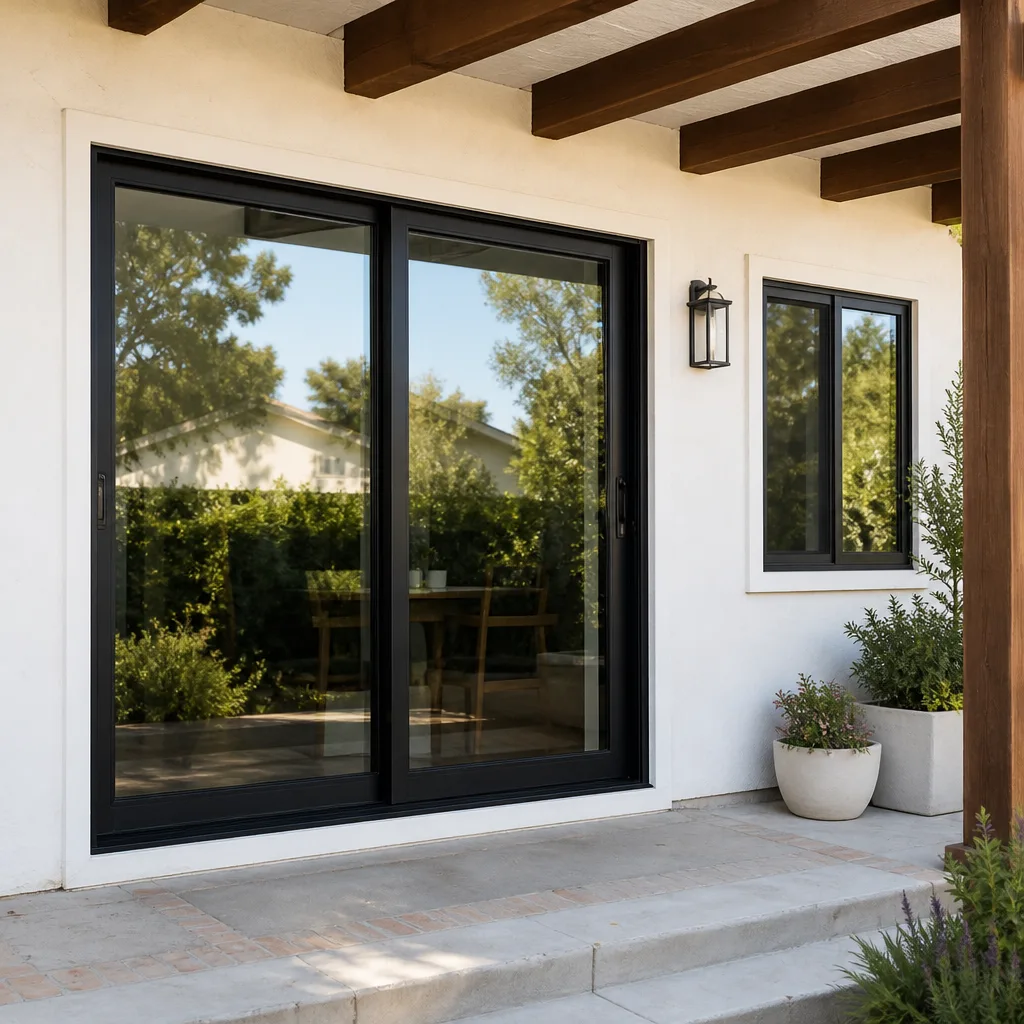 After
After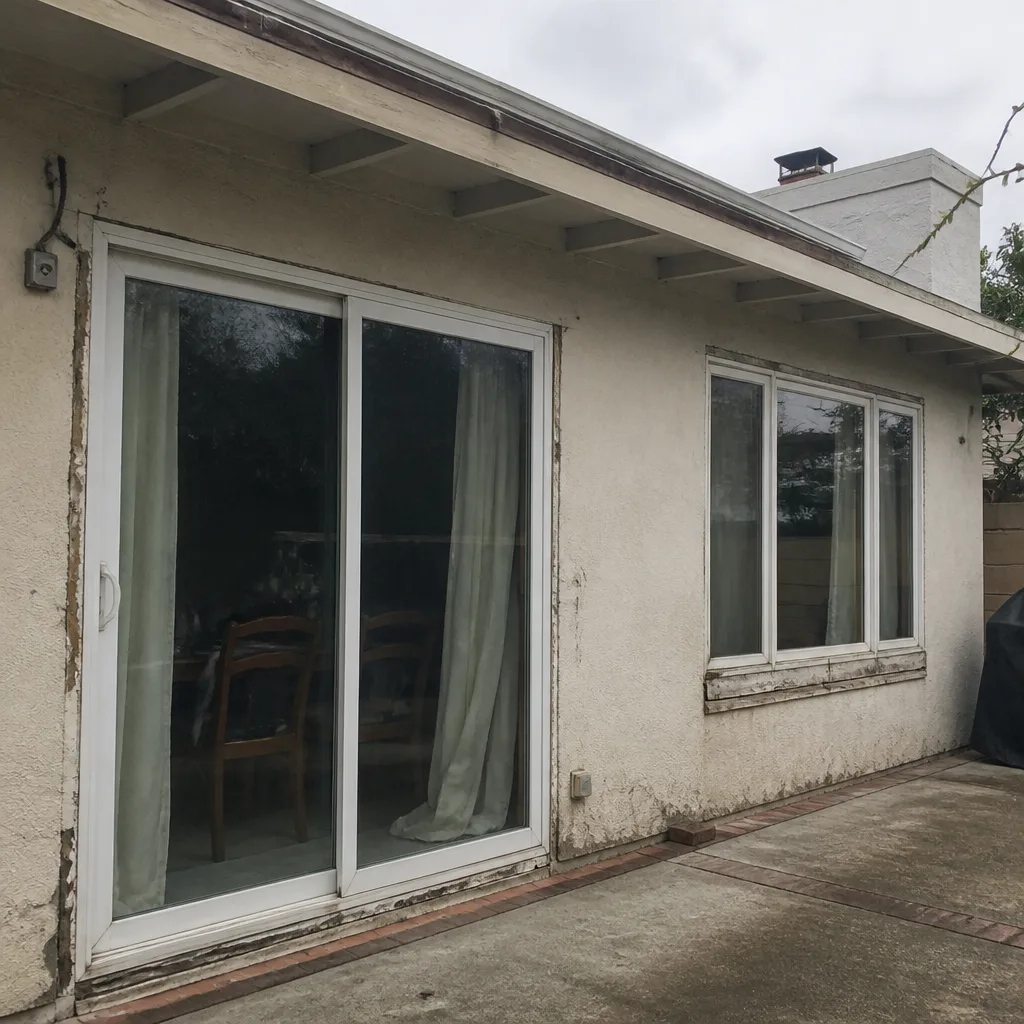 Before
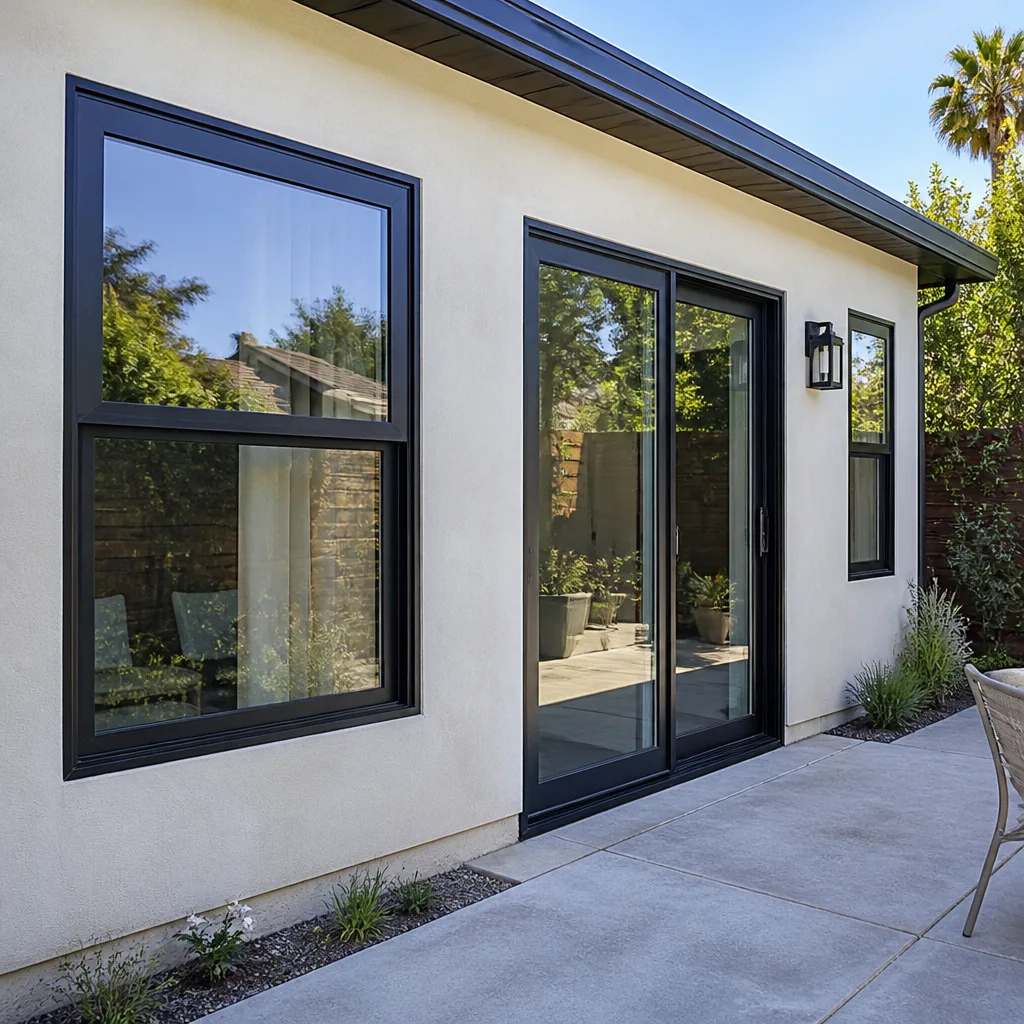 After
AfterDIY vs Professional Door Replacement: What’s Safe to Do Yourself
Swapping a pre-hung interior door into an existing rough opening is a legitimate Saturday project, and you should feel good about doing it. Replacing an exterior door in a stucco-clad Los Angeles home without understanding what’s behind that stucco is how a $400 DIY saves $400 today and costs $8,000 in mold remediation three years from now. This guide walks the exact line between those two scenarios, because the honest answer isn’t “always hire a pro” and it isn’t “you can do anything with enough YouTube”-though our DIY vs Professional Window Installation: What’s Safe to Do Yourself guide covers similar territory for windows. You’ll learn the three-tier framework we use to classify door work, the LA-specific permit triggers under LAMC, what a WRB continuity check actually involves, and the real tool and material math that makes DIY exterior work shakier than most homeowners expect.
Quick Answer
Interior door swaps in an existing rough opening, hardware replacement, weatherstripping, and threshold adjustments are safe DIY projects. Exterior door replacement, any work that touches the structural header or rough opening framing, and any exterior work on a stucco home should go to a licensed contractor for Door Replacement, because those jobs involve the weatherproofing plane, LA building code, and warranty coverage that self-installation voids.
Table of Contents
- The Three-Tier Framework: DIY-Safe, Skilled, and Contractor-Only
- Tier 1: Genuinely DIY-Safe Door Work
- Tier 2: Skilled DIY That’s Reasonable With the Right Tools
- Tier 3: Contractor-Only Work (And Why)
- LA Permit Reality: What LAMC Says About Door Replacement
- The WRB Continuity Test: The Step Most DIYers Skip
- Tool and Material Cost Reality: The Real Math of DIY Exterior Doors
- What Voids Your Warranty: Therma-Tru, ViewLux, and Self-Installation
- Common Mistakes to Avoid
- When to Call a Professional
- Frequently Asked Questions
- The Bottom Line
The Three-Tier Framework: DIY-Safe, Skilled, and Contractor-Only
Most door advice online lumps everything into two buckets: “easy DIY” or “call a guy.” That’s why so much of it is wrong. In our experience doing Door Replacement in Los Angeles, the line between what’s safe to do yourself and what requires a licensed contractor isn’t skill level. It’s whether the work touches the rough opening, the structural header, or the weatherproofing plane. Those three boundaries create a three-tier system that answers the DIY question better than any listicle:
- Tier 1: DIY-Safe. Hardware swaps, weatherstripping replacement, threshold adjustment, hinge tightening, strike plate realignment. These jobs don’t touch the rough opening, the header, or the waterproofing. You can’t structurally damage the home, and the worst case scenario is a door that sticks or a lock that doesn’t latch perfectly.
- Tier 2: Skilled DIY. A pre-hung interior door in a drywall-framed rough opening where the rough opening is already correct. This requires shimming, leveling, and patience, but it doesn’t involve the structural header or the weatherproofing plane. A careful homeowner with good tools can do this over a weekend.
- Tier 3: Contractor-Only. Any exterior door replacement, any work that modifies the rough opening framing, any job requiring header modifications, and any exterior door in a stucco home. This tier involves the weatherproofing plane, LA building code compliance, and product warranties that require licensed installation.
The rest of this guide goes tier by tier with the detail that matters: what you can actually do, what to check before you do, and the Los Angeles specifics that change the math. For related reading, see our DIY vs Professional Window Replacement: What’s Safe to Do Yourself breakdown.
Tier 1: Genuinely DIY-Safe Door Work
These jobs are the ones we tell friends and neighbors to do themselves without hesitation. They require basic hand tools, take under two hours, and can’t compromise the building envelope.
Hardware Replacement: Locksets, Handles, Hinges, and Strike Plates
Replacing a doorknob, deadbolt, or handleset is a 30-minute job with a Phillips screwdriver. The crucial step most people skip is the strike plate: the small metal plate on the door frame that the latch or deadbolt slides into. If your new hardware doesn’t match the old strike plate position, the door won’t latch cleanly. The fix is moving the strike plate, which requires a chisel and about 20 minutes of careful work. If you’re swapping exterior deadbolts, use a 3-inch screw on the strike plate that reaches the framing behind the jamb. That’s the single cheapest security upgrade on any exterior door, and it’s a 10-second change.
Weatherstripping Replacement
Drafty doors in LA are usually a weatherstripping problem, not a door problem. On an exterior door, run your hand along the perimeter on a windy day. Air leaks at the jamb, the head, or the threshold mean the weatherstripping has compressed or torn. Replacement kits cost $10 to $30 at any hardware store, and the install is straightforward: pull the old strip out, press the new strip into the kerf or adhesive channel, and trim to length. The only skill involved is cutting the 45-degree corners cleanly at the top. Do this on every exterior door in the home once a year, and your AC bill will thank you, because the temperature swings in Los Angeles from the coast to the Valley put real strain on door seals.
Threshold Adjustment and Door Sweeps
If the gap between the door bottom and the threshold is letting light or air through, the threshold itself usually has adjustment screws. Many aluminum thresholds have a raised center section controlled by screws along the length. Tightening or loosening those screws raises or lowers the threshold cap to meet the door sweep. If the threshold cap is worn or the sweep is brittle, both parts replace in under an hour. The only trade note that matters here: keep the gap tight enough to seal but not so tight that the door binds. A 1/8-inch gap is the practical sweet spot for a smooth swing with a good seal.
Tier 2: Skilled DIY That’s Reasonable With the Right Tools
This tier is where the honest answer lives for interior doors. A pre-hung interior door in an existing rough opening is a real project, but it’s one a careful homeowner can complete in a weekend without professional help.
Pre-Hung Interior Door in a Drywall Rough Opening
A pre-hung door arrives already mounted to its jambs and hinged, which eliminates the hardest parts of traditional door hanging: mortising hinges and aligning the slab. The job comes down to four things:
- Confirm the rough opening. Measure the opening width and height. A pre-hung door needs a rough opening that’s 2 to 2.5 inches wider and 1 to 1.5 inches taller than the door slab. If your rough opening isn’t square, shimming will correct it, but if the framing is way out of level, this becomes a Tier 3 job.
- Check the header. Look at the framing above the rough opening. If there’s a solid header board (usually a double 2×4 or 2×6), that’s load-bearing and you’re fine to proceed, because you aren’t touching it. If you see a cut joist or anything that looks altered, stop and call someone.
- Shim, level, and plumb. Position the door in the opening, shim the hinge side first to make it plumb, then shim the latch side to establish an even reveal. Check the door swing in both directions before you nail the jambs into place. Use 8d nails through the jambs at every shim point.
- Trim and finish. Reinstall the casing, caulk the joints, and patch any drywall gaps. This is the cosmetics layer that makes the job look like it was always there.
The tools required are more involved than Tier 1: a 4-foot level, shims, a finish nailer or hammer and nail set, a miter saw for casing, and a chisel for any jamb adjustments. If you don’t own a miter saw, that’s a $150 to $300 expense and the single most common reason DIY interior doors end up looking DIY. As Window Installation in Los Angeles specialists, we see the same tool math play out on window retrofit jobs: the people who already own the right tools save real money. The people who don’t end up spending more on tools than the install would have cost.
Tier 3: Contractor-Only Work (And Why)
Everything from this point forward is contractor territory. Not because homeowners aren’t capable, but because the consequences of getting it wrong are structural, financial, or legally expensive.
Exterior Door Replacement
An exterior door isn’t a bigger interior door. It’s a waterproofing assembly. The difference is everything that lives behind the trim: flashing, the weather-resistant barrier (WRB), sealant, and the door pan at the sill. In Los Angeles, the two big exterior variables are stucco and the California Building Code (CBC), which governs exterior penetrations in a way that interior work never has to worry about.
Stucco and the Weatherproofing Plane
Most LA homes built before 1990 are stucco. Stucco is a drainage system: water gets behind it, hits the WRB, runs down, and exits through weep screeds at the bottom. When you cut the stucco to remove an exterior door, you are cutting into that system. If the new door isn’t flashed correctly, integrated into the WRB, and sealed at the sill pan, water that used to drain harmlessly now has a direct path into the wall cavity. We have seen exterior doors in Los Angeles that leaked for years behind the trim before the homeowner noticed anything. By then, the framing was rotted, the insulation was saturated, and the mold remediation bill exceeded the cost of the original door replacement by a factor of ten.
Structural Header Work
If the new door is wider or taller than the existing opening, the rough opening framing has to change. That means the header above the opening: the structural beam that carries the weight of the wall and anything above it. In a single-story LA home, a header change is serious structural work. In a two-story home or a hillside home with uplift considerations, it’s more serious. This work requires a permit, a structural engineer in some cases, and a licensed contractor who knows how to temporarily support the wall while the header is swapped. There is no DIY version of this that doesn’t risk the structural integrity of your home.
LA Permit Reality: What LAMC Says About Door Replacement
Los Angeles building permits for door work follow a simple rule: alteration of the rough opening requires a permit. A like-for-like swap, meaning the new door fits the existing rough opening with no framing changes, generally doesn’t require one for interior work. The LA Department of Building and Safety is clear that any modification to structural framing, including headers, is permit work.
Here’s where it gets specific for Los Angeles:
- Exterior door replacement in any home type: If the rough opening is untouched and the work is a direct swap, many LA homeowners complete this without a permit, and LADBS doesn’t chase it. But the moment the job involves cutting stucco wider than the existing opening, altering the rough opening, or replacing the header, a permit is required.
- Homeowner-pulled permits: Under the California Business and Professions Code, a homeowner can pull their own permit for work on their own primary residence, provided they do the work themselves or hire unlicensed labor directly. This is legal. However, LAMC and LADBS inspection requirements for exterior door work are strict about flashing, waterproofing, and structural compliance. If your self-performed work fails inspection, you own the correction, and in Los Angeles, corrections on non-compliant exterior door work are expensive.
- Licensed contractor requirement: When a homeowner hires someone to perform work on their Los Angeles home that requires a permit, that person must be a licensed contractor in the appropriate classification. Hiring an unlicensed handyman for permitted structural work is illegal in LA, and the homeowner is exposed on insurance, workers’ comp, and liability.
The practical takeaway for most LA homeowners: interior door swaps are yours. Exterior door replacements that touch the rough opening are contractor work under a valid permit. When in doubt, check with LADBS before you cut anything.
The WRB Continuity Test: The Step Most DIYers Skip
The weather-resistant barrier behind your stucco is the difference between a dry wall cavity and a mold factory. Before you commit to any exterior door swap, DIY or contractor-performed, you need to verify the WRB is intact behind the existing door opening. Here’s the practical procedure:
- Remove the interior trim. On the inside of the home, remove the casing around the door with a flat bar. Go slow and keep the casing intact so it can be reinstalled.
- Inspect the gap between the jamb and the rough framing. Look for tar paper, housewrap, or a synthetic WRB (like Tyvek or similar) visible in the gap. On a stucco home, the WRB should be tar paper or synthetic felt, lapped so water drains outward and down.
- Check for damage. Look for torn, rotted, or missing WRB sections. If the barrier is compromised at the door opening, the leak started long before you considered replacing the door.
- Inspect the sill area. The bottom of the rough opening should have a door pan or a continuous WRB layer that drains under the threshold to the exterior. That’s the drainage path. If it doesn’t exist, your new door will leak.
- Document everything. Photos with a date stamp. If a contractor tells you the WRB is fine and it isn’t, those photos are your evidence. If you’re doing a DIY interior swap and the WRB looks compromised on an adjacent exterior wall, those photos tell you to stop and call a pro before that wall rots further.
In Los Angeles, homes built under the 1980s code cycles often have inconsistent WRB detailing around door and window openings. The older the home, the more likely the original door flashing is inadequate, and the more important this check becomes before the new door goes in.
Tool and Material Cost Reality: The Real Math of DIY Exterior Doors
The “I’ll save the labor” math gets shaky for exterior door work once you price the full material and tool list. Here’s what a proper exterior door installation in Los Angeles actually requires, line by line:
- Door unit: A quality exterior door, pre-hung, runs $500 to $2,500 depending on material and brand. Therma-Tru and ViewLux fiberglass doors start higher than steel but last longer in LA’s coastal salt air and Valley heat. A cheap big-box slab door is a false economy on an exterior opening.
- Flashing materials: Aluminum or copper flashing, sill pan, and corner gaskets: $60 to $180. These are not optional. Skipping them is the number one cause of exterior door leaks.
- Sealant: A high-quality polyurethane or silicone exterior sealant runs $15 to $30 per tube, and a proper exterior door uses two to three tubes. Silicone caulk from the paint aisle is not an exterior door sealant.
- Shims, fasteners, and screws: Another $40 to $75. Exterior door installation uses specific flashing tape, shims, and corrosion-resistant fasteners that a standard interior project doesn’t require.
- Stucco patching: If your exterior walls are stucco, the reveal around the new door has to be patched and refinished. Stucco patch material and texture matching tools cost $50 to $200, and getting the texture to match the existing wall is a skill that takes years. On a DIY job, it’s usually visible.
- Tool math: A reciprocating saw for cutting out the old door (if you don’t own one: $100 to $200), a hammer drill for masonry fasteners on stucco ($60 to $150), an angle grinder for flashing cuts ($50 to $120), and a 6-foot level and laser level ($100 to $250 combined). If you’re starting from zero, a proper exterior door installation tool list tops $500 before you buy the door.
Here’s the honest math from our experience doing Window Replacement in Los Angeles and door work across the city: a professional exterior door replacement in Los Angeles typically costs $1,800 to $4,500 all-in, depending on door selection and opening condition. A DIYer buying the door, the flashing, the sealants, the stucco patch materials, and the necessary tools often lands at $1,500 to $2,500, and that’s before the value of two days of labor, the risk of a failed inspection, and the cost of paying a contractor to fix whatever went wrong. The savings is real but thinner than you’d think, and the risk is asymmetric: a mistake on an interior door is cosmetic, but a mistake on an exterior door is structural.
What Voids Your Warranty: Therma-Tru, ViewLux, and Self-Installation
Most premium door manufacturers state plainly in their warranty terms that improper installation voids coverage. Here’s the specific language pattern across Therma-Tru, ViewLux, and the brands we install:
- Therma-Tru: Therma-Tru’s warranty covers manufacturing defects in the door slab and components, subject to the door being installed according to the printed installation instructions. A self-installed Therma-Tru door that leaks because the homeowner skipped the sill pan or flashed incorrectly is not covered, because the defect isn’t in the product; it’s the installation.
- ViewLux: ViewLux fiberglass doors carry a warranty that requires installation by a qualified professional for full coverage. The company reserves the right to deny claims where installation quality is the root cause of the failure. If you self-install and the door warps or the glass fogs, you’ll need to prove the installation wasn’t the problem, and that’s a hard standard for a homeowner to meet.
- PGT and CGI: These are impact-rated product lines built for LA’s wind and wildfire zones. Impact-rated doors have specific installation requirements for the frame, the anchoring, and the glazing. A self-installed impact door that isn’t anchored to the structural framing with the correct fasteners won’t perform in a wind event, and the warranty is void the day the inspection fails.
The pattern is consistent: the door itself is warrantied against manufacturing defects, but the installation is the homeowner’s responsibility when they do it themselves. When a licensed contractor installs the door, the installation is their responsibility, and their workmanship warranty stands alongside the manufacturer’s product warranty. At Juniper Windows & Doors, our workmanship warranty covers the installation for a full year under the 365-Day Done Right Promise, parts and labor, in writing. That’s a backstop no self-install gets.
Common Mistakes to Avoid
- Reusing the existing frame on an exterior door when the rough opening is rotted. If the rough opening framing is rotted or the WRB is compromised, swapping the slab into the old frame seals the problem inside the wall. You’ll have the same leak, now hidden behind a new door.
- Assuming stucco is waterproof. Stucco is a water drainage system, not a waterproof skin. Cutting stucco without correctly flashing and sealing the new opening directs water into the wall cavity instead of around it.
- Buying a cheap exterior door from a big box store. The $250 exterior steel door has a thin frame, a cheap threshold, and no provision for a proper sill pan. It’s designed for price, not performance, and in LA’s wet winters and hot summers, it’s a false economy.
- Skipping the header check before widening an opening. Cutting into the header above a door without temporary support and proper structural engineering risks the wall sagging, drywall cracking, and in a worst case, a collapse. This is the most dangerous mistake in DIY door work.
- Using the wrong sealant. Exterior door flashing needs polyurethane or high-grade silicone sealant that stays flexible and bonds to the flashing and substrate. Standard acrylic caulk fails in a season in LA sun and rain.
- DIYing an impact-rated door without understanding the anchoring requirements. Impact-rated doors from PGT and CGI have specific fastener schedules and anchoring details for LA’s wind load requirements. Get the anchoring wrong, and the door won’t perform when it matters most.
- Ignoring the permit requirement on structural work. In Los Angeles, permitted structural work that’s done without a permit creates a disclosure problem when you sell the home and can invalidate your homeowners insurance claim if the work fails.
When to Call a Professional
Call a professional for any exterior door replacement, any work that touches the rough opening framing or header, any stucco work around an exterior opening, and any impact-rated door installation. Also call if the WRB continuity check reveals damage behind the existing door, because that’s a wall cavity problem that extends beyond the door itself. These aren’t skill calls; they’re structural and legal calls. A licensed contractor carries the insurance, pulls the permit, stands behind the flashing work, and owns the outcome in writing. Juniper Windows & Doors offers free estimates in Los Angeles on door replacement projects, with a written price before any work begins and a 365-day warranty covering parts and labor after it’s done. Call (682) 281-2168 to schedule yours.
Frequently Asked Questions
A professional exterior door replacement in Los Angeles typically costs $1,800 to $4,500 all-in, depending on the door materials, the condition of the rough opening, and whether stucco patching is required. Interior pre-hung door installation runs lower, usually $400 to $1,200 including labor and materials. The largest cost variables are the door itself (steel, fiberglass, or impact-rated) and the condition of the existing opening. Call (682) 281-2168 for an exact quote on your specific door, with the price in writing before any work starts.
Yes, a property owner can pull a permit for work on their own primary residence in Los Angeles, including structural door work, under California law. However, if you hire someone to perform the work, that person must be a licensed contractor. Homeowner-pulled permits also mean the homeowner owns the compliance burden: if the work fails inspection, you own the correction, and exterior door corrections in LA are expensive.
A pre-hung door arrives mounted to its hinges and frame (the jamb assembly) and installs as a complete unit into the rough opening. A slab door is just the door itself, and it requires mortising hinges and drilling for hardware, which is a level of precision most DIYers struggle with. For DIY work, a pre-hung door is always the right call because it eliminates the most technically demanding steps.
Not with a contractor who provides fixed written pricing. At Juniper Windows & Doors, every project receives a written price before work begins, and that number doesn’t change unless a hidden condition is discovered and documented in writing with a change order. The 365-Day Done Right Promise covers completed installations for a full year, parts and labor, in writing. Call (682) 281-2168 for a fixed quote on your Los Angeles door project.
An exterior door replacement typically takes one full day for the demolition, installation, flashing, sealing, and interior trim work, with stucco patching sometimes requiring a second day for curing and texture matching. An interior pre-hung door swap takes four to six hours. The timeline varies with the condition of the rough opening and whether structural work is required.
An energy-efficient, properly installed exterior door pays for itself in Los Angeles in the form of lower cooling and heating bills, because LA’s temperature swings from the coastal zones to the Valley put real strain on door seals. A new fiberglass door from ViewLux or Therma-Tru seals tight, resists sun and salt air better than steel, and eliminates the drafts and leaks that old doors develop within a decade of install. It’s not just cosmetic; it’s an energy and structural upgrade.
The Bottom Line
Most doors are DIY projects or contractor jobs, and the line between them is simple: exterior, structural, header, or stucco work belongs to a licensed contractor. Interior pre-hung swaps, hardware, weatherstripping, and thresholds are yours. Los Angeles adds its own wrinkles: stucco drainage systems, permit triggers under LAMC, and warranty language from Therma-Tru, ViewLux, and PGT that makes self-installation a real risk on premium product. The project you save on in labor can cost you the warranty, the inspection, and in the worst case, the wall cavity. If you’re unsure where your project falls, Juniper Windows & Doors home is the place to start: we’ll look at the door, tell you honestly if it’s DIY-safe, and if it isn’t, hand you a written price before anything begins.
Written by Sean Mackey, Owner at Juniper Windows & Doors, serving Los Angeles since 2001. Explore more guides & resources on our blog.