
Last updated October 9, 2026
Free in-home measure and quote - PGT, CGI and CWS impact lines compared on your actual openings, style by style
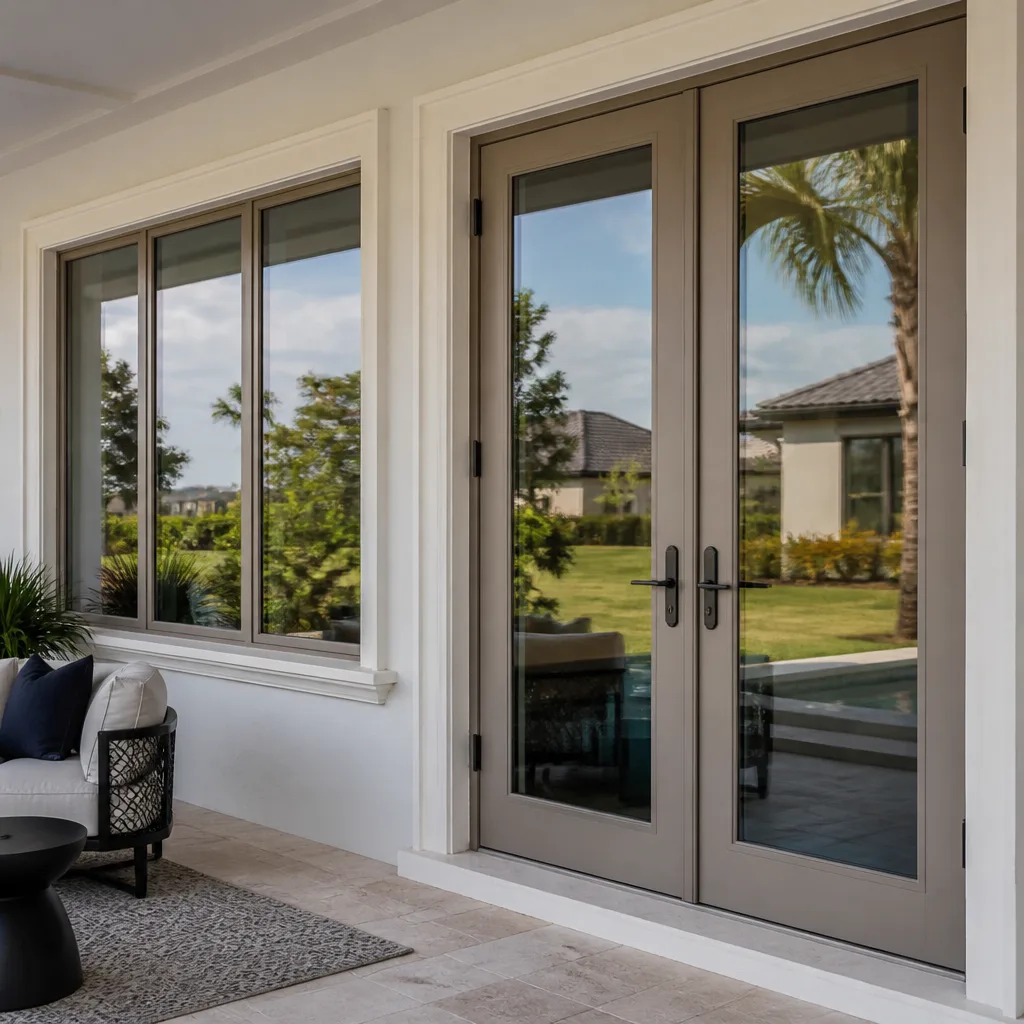

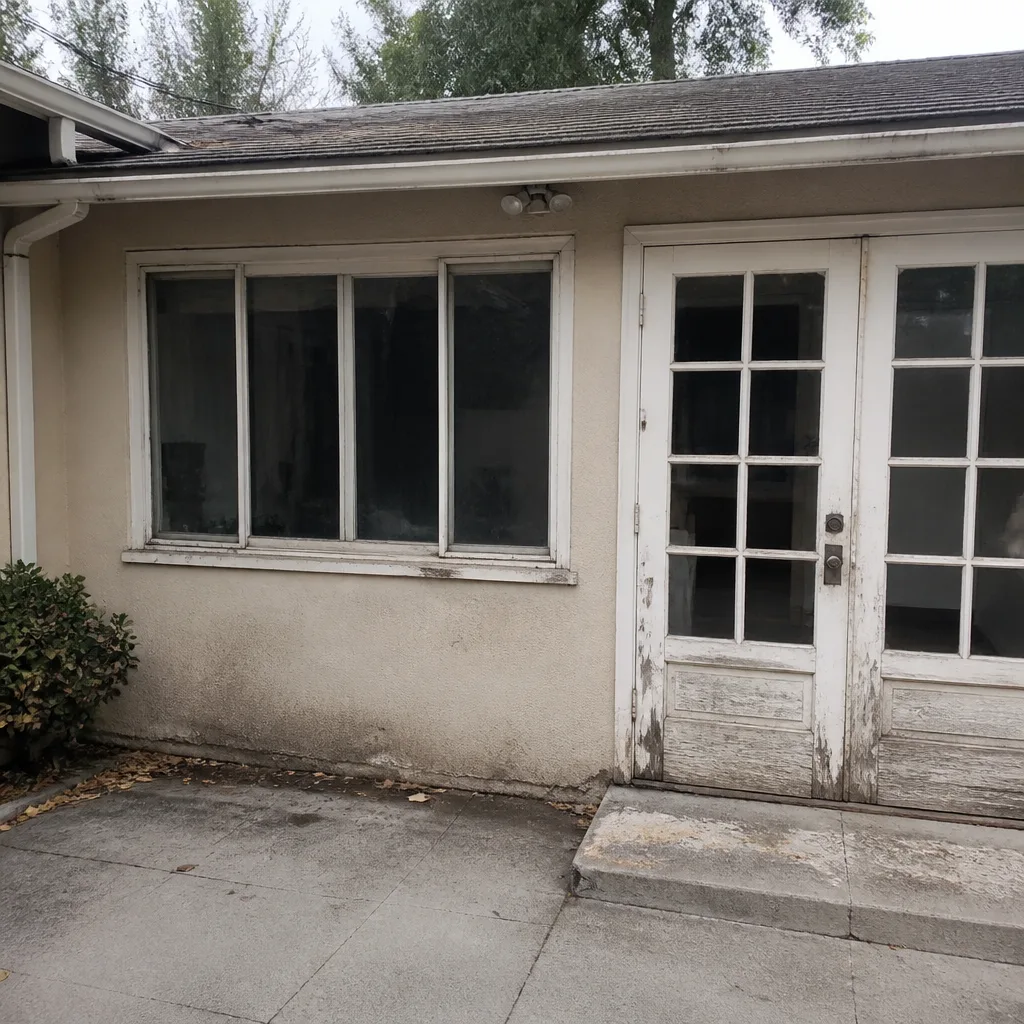 Before
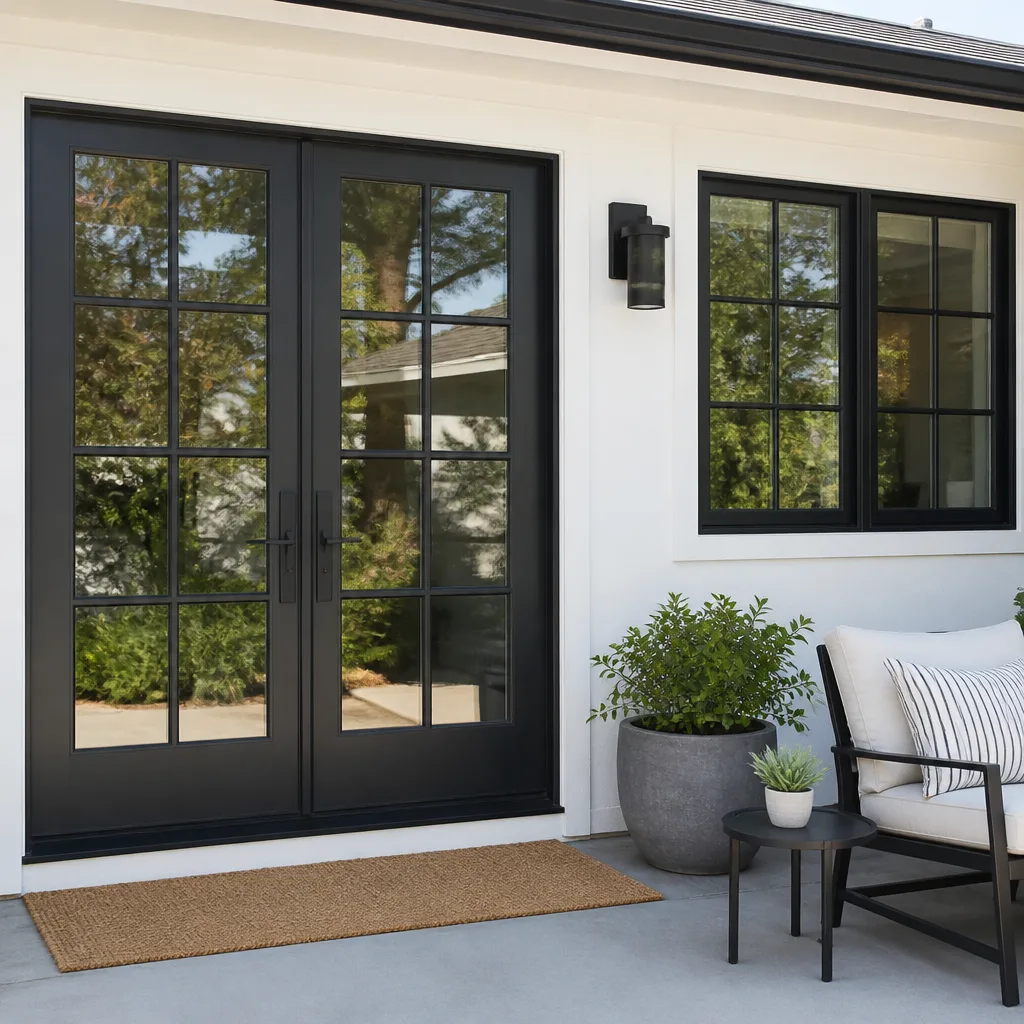 After
After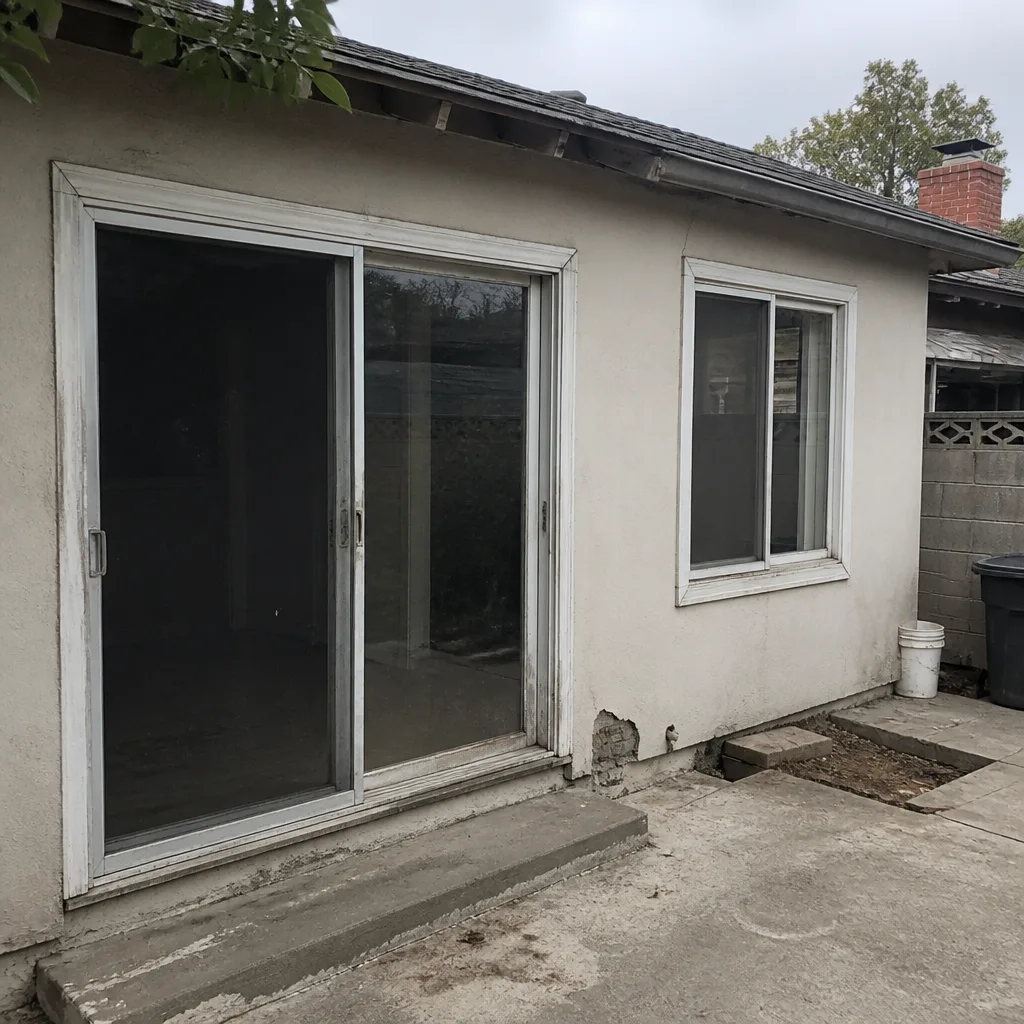 Before
 After
After Before
 After
AfterWindow Replacement Maintenance Schedule: What to Do and When
The weep holes on your vinyl window frames – those tiny slots at the bottom of the frame – clog with Los Angeles’s seasonal dust and debris within 12 to 18 months of installation. Blocked weeps are the single most common cause of premature frame rot that voids manufacturer warranties. The homeowners who get 30-year lifespans out of replacement windows aren’t lucky. They run a 20-minute annual check, twice a year, and they know exactly what to look for before a small issue becomes a four-figure repair.
This guide gives you the month-by-month maintenance calendar, plus Window Replacement Warning Signs Every Homeowner Should Know, that actually makes sense for Los Angeles weather – Santa Ana winds, winter rains, summer UV intensity – plus the hardware cycles, sealant specifics, and glass-care rules that most window companies never mention after the install crew leaves your driveway.
Quick Answer
A replacement window maintenance schedule comes down to this: inspect and clean weep holes every 6 months (March and October in Los Angeles), lubricate moving hardware annually, re-bed exterior caulk every 3 to 5 years depending on sun exposure, and replace worn operator cranks or balance shoes at the first sign of stiffness – typically years 7 to 12. Budget for a full professional service check at year 5 and year 10.
Table of Contents
- The Month-by-Month Maintenance Calendar for Los Angeles
- Weep Holes: The 10-Minute Check That Protects Your Warranty
- The Five-Year Hardware Cycle: When to Lubricate, When to Replace
- How to Inspect and Re-Bed Exterior Caulk Joints by Frame Type
- Glass Cleaning Products That Damage Low-E Coatings (and Safe Alternatives)
- How to Document Your Maintenance Log for Warranty Claims
- Common Mistakes to Avoid
- When to Call a Professional
The Month-by-Month Maintenance Calendar for Los Angeles
Los Angeles doesn’t have four seasons in the traditional sense. It has two wet months, three months of Santa Ana wind, and seven months of intense UV exposure. Your maintenance schedule should follow that reality, not a generic “spring and fall” checklist written for Minneapolis or Boston.
January – February: Rain and Drainage
This is when Los Angeles gets most of its annual rainfall, and it’s when blocked weep holes reveal themselves. Water that can’t drain through the weep system pools inside the frame track and seeps into the wall cavity. After any rain event over half an inch, run a finger along the interior frame base. If you feel moisture, you’ve got a drainage problem that needs addressing within the week. Check weatherstripping along the bottom sash for compression or tears – wet weather finds worn seals fast.
March: Post-Rain Full Inspection
The rains are tapering off, and this is the single most important inspection of the year. Walk every window in the house with a flashlight and a flathead screwdriver. Open each sash fully, check the track for grit accumulation, and clear weep holes with compressed air or a pipe cleaner. Look for water staining on interior drywall around window corners. If you find staining, the leak has been active for weeks – call a professional before drywall repair becomes part of the project scope. This is also the month to schedule any caulk re-bedding that’s overdue.
April – June: UV Prep and Early Heat
Los Angeles UV intensity starts climbing hard in April. This is when Low-E coatings and frame finishes take the most cumulative damage. Apply a UV-protectant to vinyl frame exteriors (303 Aerospace Protectant works well and doesn’t interact with frame chemistry). For wood-composite frames, check the factory finish for hairline cracks – composite expands and contracts differently than solid wood, and finish cracks along finger joints are the first sign of moisture entry. Clean glass with the right products (see the glass care section below) and inspect for seal failure – any fogging or haze between panes means the insulated glass unit has lost its argon fill.
July – September: Santa Ana and Debris Management
Santa Ana winds start in September but dust and debris accumulation builds all summer. This is when Los Angeles homes near canyon mouths, hillsides, or construction corridors see the fastest weep hole clogging. If you live in Sherman Oaks, Encino, Studio City, or any hillside community, run the weep check monthly during these three months. Wind-driven grit works into tracks, abrades weatherstripping, and blocks drainage faster than almost any other season. Also check exterior screens – Santa Ana winds push them out of track and stretch the frame corners, which creates gaps that let in insects and more debris.
October: Pre-Rain Prep
If you only maintain your windows twice a year, make October the second time. The goal is simple: get everything ready before the first winter storm. Clear all weep holes. Lubricate all moving hardware. Check every caulk joint around the exterior perimeter with a sharp eye – hairline gaps at the top corners are where water enters first. Test each window’s locking mechanism under pressure: a window that locks loosely allows wind-driven rain to penetrate the weatherstripping. Replace any cracked or loose window screens now, before winter storms make them worse.
November – December: Active Monitoring
During the rain season, check interior window sills and frames weekly during and after storms. Don’t wait for visible water – feel for dampness. Check for condensation between panes on cold mornings; this is the clearest sign of a failed insulated glass seal, and it’s most visible when the temperature differential is highest. Document any issues in your maintenance log (details in our Window Replacement Troubleshooting: Common Problems and How to Fix Them guide). If you see active leaking, call a professional within 48 hours – water damage compounds fast in wall cavities.
Weep Holes: The 10-Minute Check That Protects Your Warranty
Here’s the warranty reality most Los Angeles homeowners don’t discover until it’s too late: virtually every window manufacturer’s warranty excludes damage caused by “failure to maintain” or “obstruction of drainage.” That means a clogged weep hole that leads to frame rot is your repair bill, not the manufacturer’s. We see this in our service calls across Los Angeles more than any other single issue – and it’s almost always preventable in under ten minutes.
Weep holes are the small slots or holes drilled into the bottom exterior face of the window frame. Their job is simple: channel water that enters the track down and out of the frame before it reaches the wall. When they clog – which in Los Angeles happens in 12 to 18 months from dust, spider webs, landscape debris, and wind-driven sediment – the water has nowhere to go but sideways into your wall.
How to Check and Clear Weep Holes
- Locate the weep holes on the exterior bottom edge of every window – they’re typically 1/4-inch to 1/2-inch slots, often two per frame section.
- Shine a flashlight into the hole. If light doesn’t pass clearly, it’s clogged.
- Use a pipe cleaner, small bottle brush, or compressed air at low pressure to clear the debris. Don’t use a wire hanger – it can scratch the frame and damage the drainage channel.
- Pour a small amount of water (about 1/4 cup) into the interior track with the window closed. Watch the exterior weep holes: water should flow out within 10 to 15 seconds.
- If water doesn’t drain, the internal weep channel is blocked, not just the exterior hole. This requires removing the sash – a job for a professional if you’re not confident with window hardware.
One note for Los Angeles hillside and canyon-area homes: if you’re in a high-dust corridor like the 405-adjacent neighborhoods of Bel Air, Brentwood, or Sherman Oaks, or anywhere near active construction, run this check quarterly, not biannually. The dust load in these areas cuts the service interval in half.
The Five-Year Hardware Cycle: When to Lubricate, When to Replace
Window hardware has a predictable wear pattern, and the cycle looks like this: years 1 to 5 require nothing but annual lubrication; years 5 to 8 begin to show stiffness in cranks and sliding tracks; years 8 to 12 typically require replacement of operator cranks, balance shoes, or locking mechanisms; and by year 15, most original hardware has been replaced at least once. The homeowners who hit 30-year lifespans on their windows are the ones who replaced small hardware parts early, before the wear transferred to the frame and sash.
By Window Type: What Wears and When
- Casement and awning windows (crank-operated): Operator cranks and gear mechanisms wear fastest – expect first replacement at years 7 to 10. Lubricate the gear track annually with a dry silicone spray. If the crank requires two hands or makes clicking sounds, the gears are stripping and the operator is failing.
- Double-hung and single-hung windows: Balance shoes (the small nylon or metal parts that hold the sash in place) wear against the frame track and typically fail at years 10 to 14. The warning sign is a sash that drops suddenly, won’t stay open, or feels uneven when raising.
- Sliding windows and patio doors: Rollers flatten over time causing the sash to drag or bind. Expect roller replacement at years 8 to 12, sooner in dusty Santa Ana corridors. Lubricate tracks quarterly with silicone spray – never WD-40, which attracts dust and creates a paste that accelerates wear.
- Locking mechanisms: Multipoint locks on casement and tilt-turn windows are precise mechanisms with tight tolerances. A lock that requires force is already worn. Lubricate annually, but replace at the first sign of grinding – forcing a failing lock damages the frame escutcheon and turns a $40 part replacement into a $400 frame repair.
The Lubrication Rule
Use dry silicone spray on all sliding contact points, hinges, and gear tracks. It doesn’t attract dust the way oil-based lubricants do, which matters in Los Angeles where airborne dust is a constant. Apply once a year in October as part of pre-rain prep, and again in March after the rains flush seasonal debris through. Avoid greases entirely on window hardware – they capture grit and become abrasive paste within months.
How to Inspect and Re-Bed Exterior Caulk Joints by Frame Type
The caulk joint around your window frame is a sacrificial layer. It’s designed to fail before your window or wall does, and in Los Angeles, it fails faster than almost anywhere in the country. Intense UV breaks down sealant chemistry, and the constant expansion and contraction of frames through 40-degree daily temperature swings opens micro-gaps that become water entry points. The inspection is simple; matching the right sealant to your frame material is where DIYers make mistakes.
Inspection Steps (Every Six Months)
- Walk the exterior perimeter of every window. Look for gaps between the frame and the stucco, siding, or trim – especially at the top corners and along the bottom edge.
- Run a putty knife gently along the joint. If the caulk peels, lifts, or crumbles, it’s failed and needs removal.
- Check for discoloration – chalky white residue on colored caulk means UV breakdown is underway.
- Inside, check for any visible light through the frame joints on bright days. If light passes, water passes.
Sealant Types by Frame Material
- Vinyl frames (including PGT and CWS vinyl lines): Use a high-quality polyurethane sealant like OSI Quad Max or a silane-terminated polymer. Never use pure silicone – it doesn’t bond well to vinyl and will peel within a season in Los Angeles sun.
- Aluminum-clad and aluminum frames (including CGI and ES Windows aluminum product lines): A neutral-cure silicone works well here because it flexes with thermal expansion. Ensure the aluminum surface is clean and dry before application. Mildew-resistant formulations are worth the extra cost in coastal Los Angeles neighborhoods where marine air accelerates mold growth on sealant surfaces.
- Wood-composite and hybrid frames (including ViewLux composite lines): Use a sealant rated for both porous and non-porous surfaces – thermoplastic or STP sealants work best. Avoid acrylic latex caulk entirely on exterior joints; it hardens, cracks, and loses adhesion within 18 to 24 months in direct Southern California sun.
Full caulk re-bedding is typically needed every 3 to 5 years on south- and west-facing elevations, and every 5 to 7 years on north- and east-facing exposures. If your home is on a canyon lip or ridgeline in the Santa Monica Mountains, where UV exposure and wind load are both elevated, plan for the shorter interval.
Glass Cleaning Products That Damage Low-E Coatings (and Safe Alternatives)
Low-E coatings – the microscopic metallic layers on your window glass that reflect heat and UV – are chemically sensitive. The wrong glass cleaner degrades them over time, slowly reducing the insulating performance you paid for without any visible warning sign until the glass starts fogging or your cooling bills creep up in August. This is the most common maintenance mistake we see, and it’s almost never mentioned in owner’s manuals.
Products to avoid on coated glass: anything containing ammonia (many standard window cleaners), anything labeled as a heavy-duty degreaser, razor blades or metal scrapers (they scratch the coating permanently), and abrasive scrub pads of any kind. Ammonia breaks down the metallic layer at a molecular level, and while one cleaning won’t destroy the coating, repeated exposure over years will measurably reduce its reflectivity. Also avoid petroleum-based solvents and any product marketed as a “glass restorer” – these are formulated for uncoated automotive glass and will haze Low-E surfaces.
Safe alternatives by glass type: For standard Low-E coated glass, a solution of warm water and mild dish soap (the plain, non-antibacterial kind) with a microfiber cloth is the safest route. For harder water staining from irrigation overspray – common in Los Angeles where sprinklers hit windows in smaller lots and courtyard layouts – use white vinegar diluted 1:1 with water, applied with a soft cloth, never sprayed directly on the frame or seals. For impact-rated glass (storm windows like PGT WinGuard or CGI Sentinel lines, common in Santa Monica, Pacific Palisades, and hillside fire zones), stick with mild soap and water only – impact glass has a multi-layer interlayer construction that’s even more sensitive to chemical degradation.
One more note: after cleaning, dry the interior frame track immediately. Standing water in the track eventually works into the frame joinery and accelerates seal failure, especially on windows that face direct afternoon sun.
How to Document Your Maintenance Log for Warranty Claims
When a window fails – seal breach, frame warp, hardware failure – the manufacturer’s claims department will ask one question before anything else: “Was the window maintained according to the owner’s manual?” If your answer is “yes” but you have no documentation, your claim is weak. If your answer is “yes” and you have a dated log with specifics, your claim moves forward without friction. This is the difference between a covered replacement and a denied claim, and it takes less than five minutes per entry.
What to record in your maintenance log:
- Date and specific action taken – “Cleared weep holes on 14 windows, second floor included” is a log entry. “Checked windows” is not.
- Product used – lubricant brand and type, sealant product name, glass cleaner used. This shows you used compatible materials.
- Condition notes – any stiffness, clouding, condensation, or wear observed, even if you don’t address it immediately.
- Photos – time-stamped photos are the strongest documentation. A 30-second phone photo of the clean track post-maintenance or a close-up of the caulk joint pre-repair protects you better than a hundred written words.
- Receipts – for any sealant, lubricant, or hardware parts purchased. Receipts prove the maintenance happened when you said it did.
Store the log digitally – a folder in your phone photos app plus a simple note file works fine. When you file a warranty claim, submit the log alongside the claim. In our experience handling warranty issues across Los Angeles, a documented maintenance history is the single biggest factor separating approved claims from the other kind. If a claim is denied due to a maintenance gap, window replacement in Los Angeles becomes an out-of-pocket cost, not a covered repair.
Common Mistakes to Avoid
- Using WD-40 on window tracks. It’s a solvent, not a lubricant – it strips existing lubrication and attracts dust that becomes an abrasive paste. In Santa Ana season, a WD-40-treated track collects enough grit in two weeks to score the track surface permanently. Use dry silicone spray instead.
- Painting over weep holes. Every exterior house painting project runs this risk. Either the painter tapes poorly or just paints right over the slots. After any exterior painting in Los Angeles, check every window’s weep holes immediately – blocked weeps from paint are a common cause of frame rot that shows up one to two rainy seasons later.
- Cleaning glass with ammonia-based cleaners. This slowly destroys Low-E coatings, and the damage isn’t visible until the performance loss is already significant. Switch to mild soap and water now, before years of ammonia exposure compound.
- Forcing a stiff window crank. A crank that’s hard to turn is already failing. Forcing it strips the gear teeth and sometimes bends the hinge arm, turning a $25 operator replacement into a full hardware set replacement. Lubricate first; if it’s still stiff, replace the operator.
- Ignoring interior condensation. Condensation on the interior of double-pane glass means the insulated unit’s seal has failed and the argon fill is gone. It doesn’t fix itself, and the window’s insulating value is permanently degraded. Document it and claim it under warranty before the term expires.
- Skipping the October pre-rain check. Los Angeles’s rain season is concentrated and intense. A small caulk gap or a blocked weep hole that’s harmless through the dry months becomes an emergency during a January storm. October is the month that separates maintained windows from water-damaged walls.
When to Call a Professional
Some issues are DIY-friendly; others aren’t worth the risk. Call a professional when you see: water staining on interior drywall around window corners (the leak is active, not potential); fogging or condensation between double-pane glass (seal failure, requires glass unit replacement); a sash that drops on its own or won’t stay open (balance shoe failure – the spring mechanism is under tension and can cause injury if mishandled); or visible rot on any wood or wood-composite window frame (structural integrity may be compromised).
If you’re in the Los Angeles area and any of these issues sound familiar, Juniper Windows & Doors offers free estimates – call (682) 281-2168 and a live person will answer, day or night. We’ll assess the issue, give you a written price before any work begins, and if it’s covered under manufacturer warranty, we’ll help you file the claim with the documentation to support it.
Frequently Asked Questions
Every six months in Los Angeles, with quarterly checks between March and October if your home is in a high-dust area – hillside communities, canyon corridors, or within a mile of active construction. The check takes about ten minutes for the whole house, and it’s the highest-value maintenance task you can do. Blocked weeps are the leading cause of warranty-voiding frame rot we encounter. Call (682) 281-2168 if you’d like a professional assessment of your window drainage.
Dry silicone spray is the best lubricant for all window hardware, including tracks, hinges, operator gears, and sliding contact points, because it lubricates without attracting the dust that Los Angeles produces year-round. Avoid WD-40, petroleum greases, and any oil-based product. Apply twice a year – October and March – and wipe away any overspray from the glass and frame; silicone residue on glass causes streaking.
A failed window seal shows up as fog, haze, or condensation between the two panes of double-pane glass – not on the interior surface you can wipe, but inside the sealed unit itself. This means the seal is broken and the insulating gas has escaped. The window still functions physically, but its thermal performance is gone. If your windows are still under manufacturer warranty, document the failure with photos and file a claim; most glass warranties cover seal failure for 10 to 20 years depending on the manufacturer and product line.
Exterior window caulk lasts 3 to 5 years in Los Angeles on south- and west-facing exposures due to intense UV degradation, and 5 to 7 years on north- and east-facing walls. Homes in coastal areas where marine air and sun both attack the sealant may see failures at the shorter end of the range. The only way to know is annual inspection – hairline gaps at the top corners are the first sign that caulk is ready for replacement.
Lubrication and cleaning are DIY tasks anyone can do with the right products. Hardware replacement – operator cranks, balance shoes, locking mechanisms – is more nuanced and depends on your comfort level with hand tools and window mechanics. Balance shoes on hung windows are under spring tension and can cause injury if not handled properly. If you’re not confident, the labor cost for hardware replacement is modest compared to the cost of repairing damage from a botched DIY attempt. Window installation in Los Angeles professionals handle these repairs routinely, and a written estimate is always free.
Yes – but indirectly. Homeowners insurance in Los Angeles increasingly factors window condition and impact rating into policy decisions, especially in wildfire-prone hillside zones and coastal wind corridors. Maintained windows with functional drainage, intact seals, and working locks document better during insurance inspections. If you’re in a high-risk zone and have impact-rated glass, keep your maintenance log current – it supports both warranty claims and insurance documentation, which matters when renewal time comes around.
The Bottom Line
A replacement window that hits the 30-year mark doesn’t do it by accident. It gets there through a twice-yearly 20-minute routine: clear the weep holes in March and October, lubricate the hardware with dry silicone, inspect the caulk joints before every rain season, and clean the glass with products that respect Low-E coatings. Document everything. Replace small hardware parts at the first sign of wear, not when they fail catastrophically. For more guides & resources, the difference between a window that lasts 15 years and one that lasts 30 is rarely the quality of the original installation – it’s what happens in the years after that matters most.
If your windows are approaching the end of their useful life, or if maintenance has been deferred and problems are stacking up, Juniper Windows & Doors serves the Los Angeles area with honest assessments and written pricing on every project. Call (682) 281-2168 for a free estimate – a real person answers, 24/7.
Written by Sean Mackey, Owner at Juniper Windows & Doors, serving Los Angeles since 2001.